Revisiting the Picade in 2024

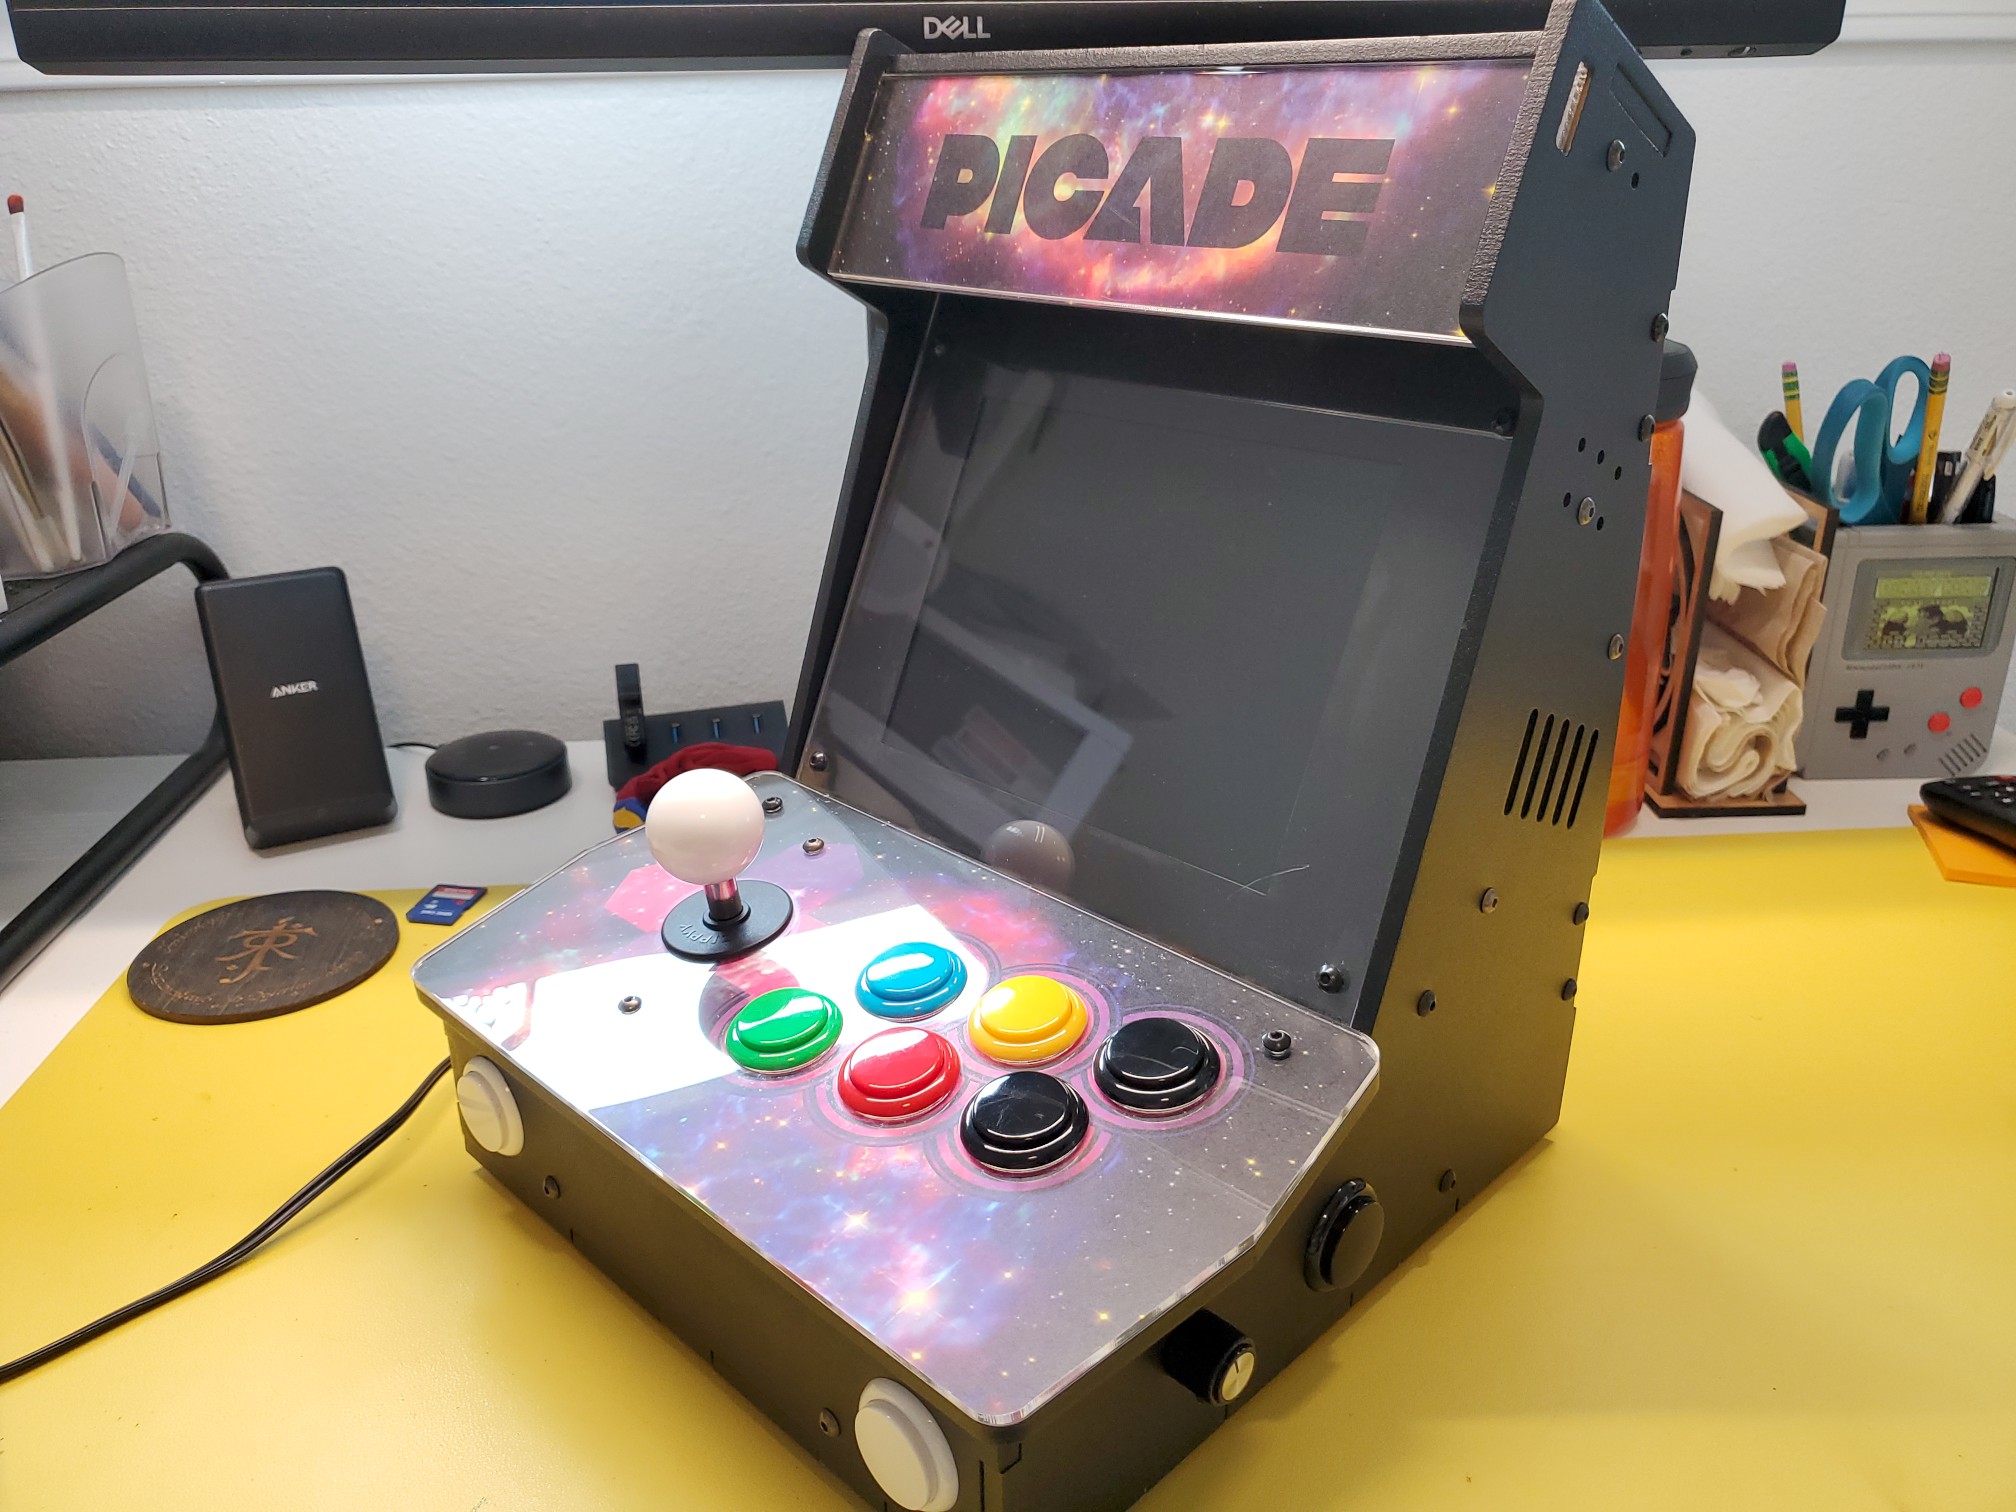
In 2014, I built a “bar-top” arcade machine powered by a Raspberry Pi running RetroPie. The cabinet was a kit from an early Kickstarter, and I wrote about my experience, including my personal mods on the design, in a series of blog posts starting here: Building the Picade Mini Part I

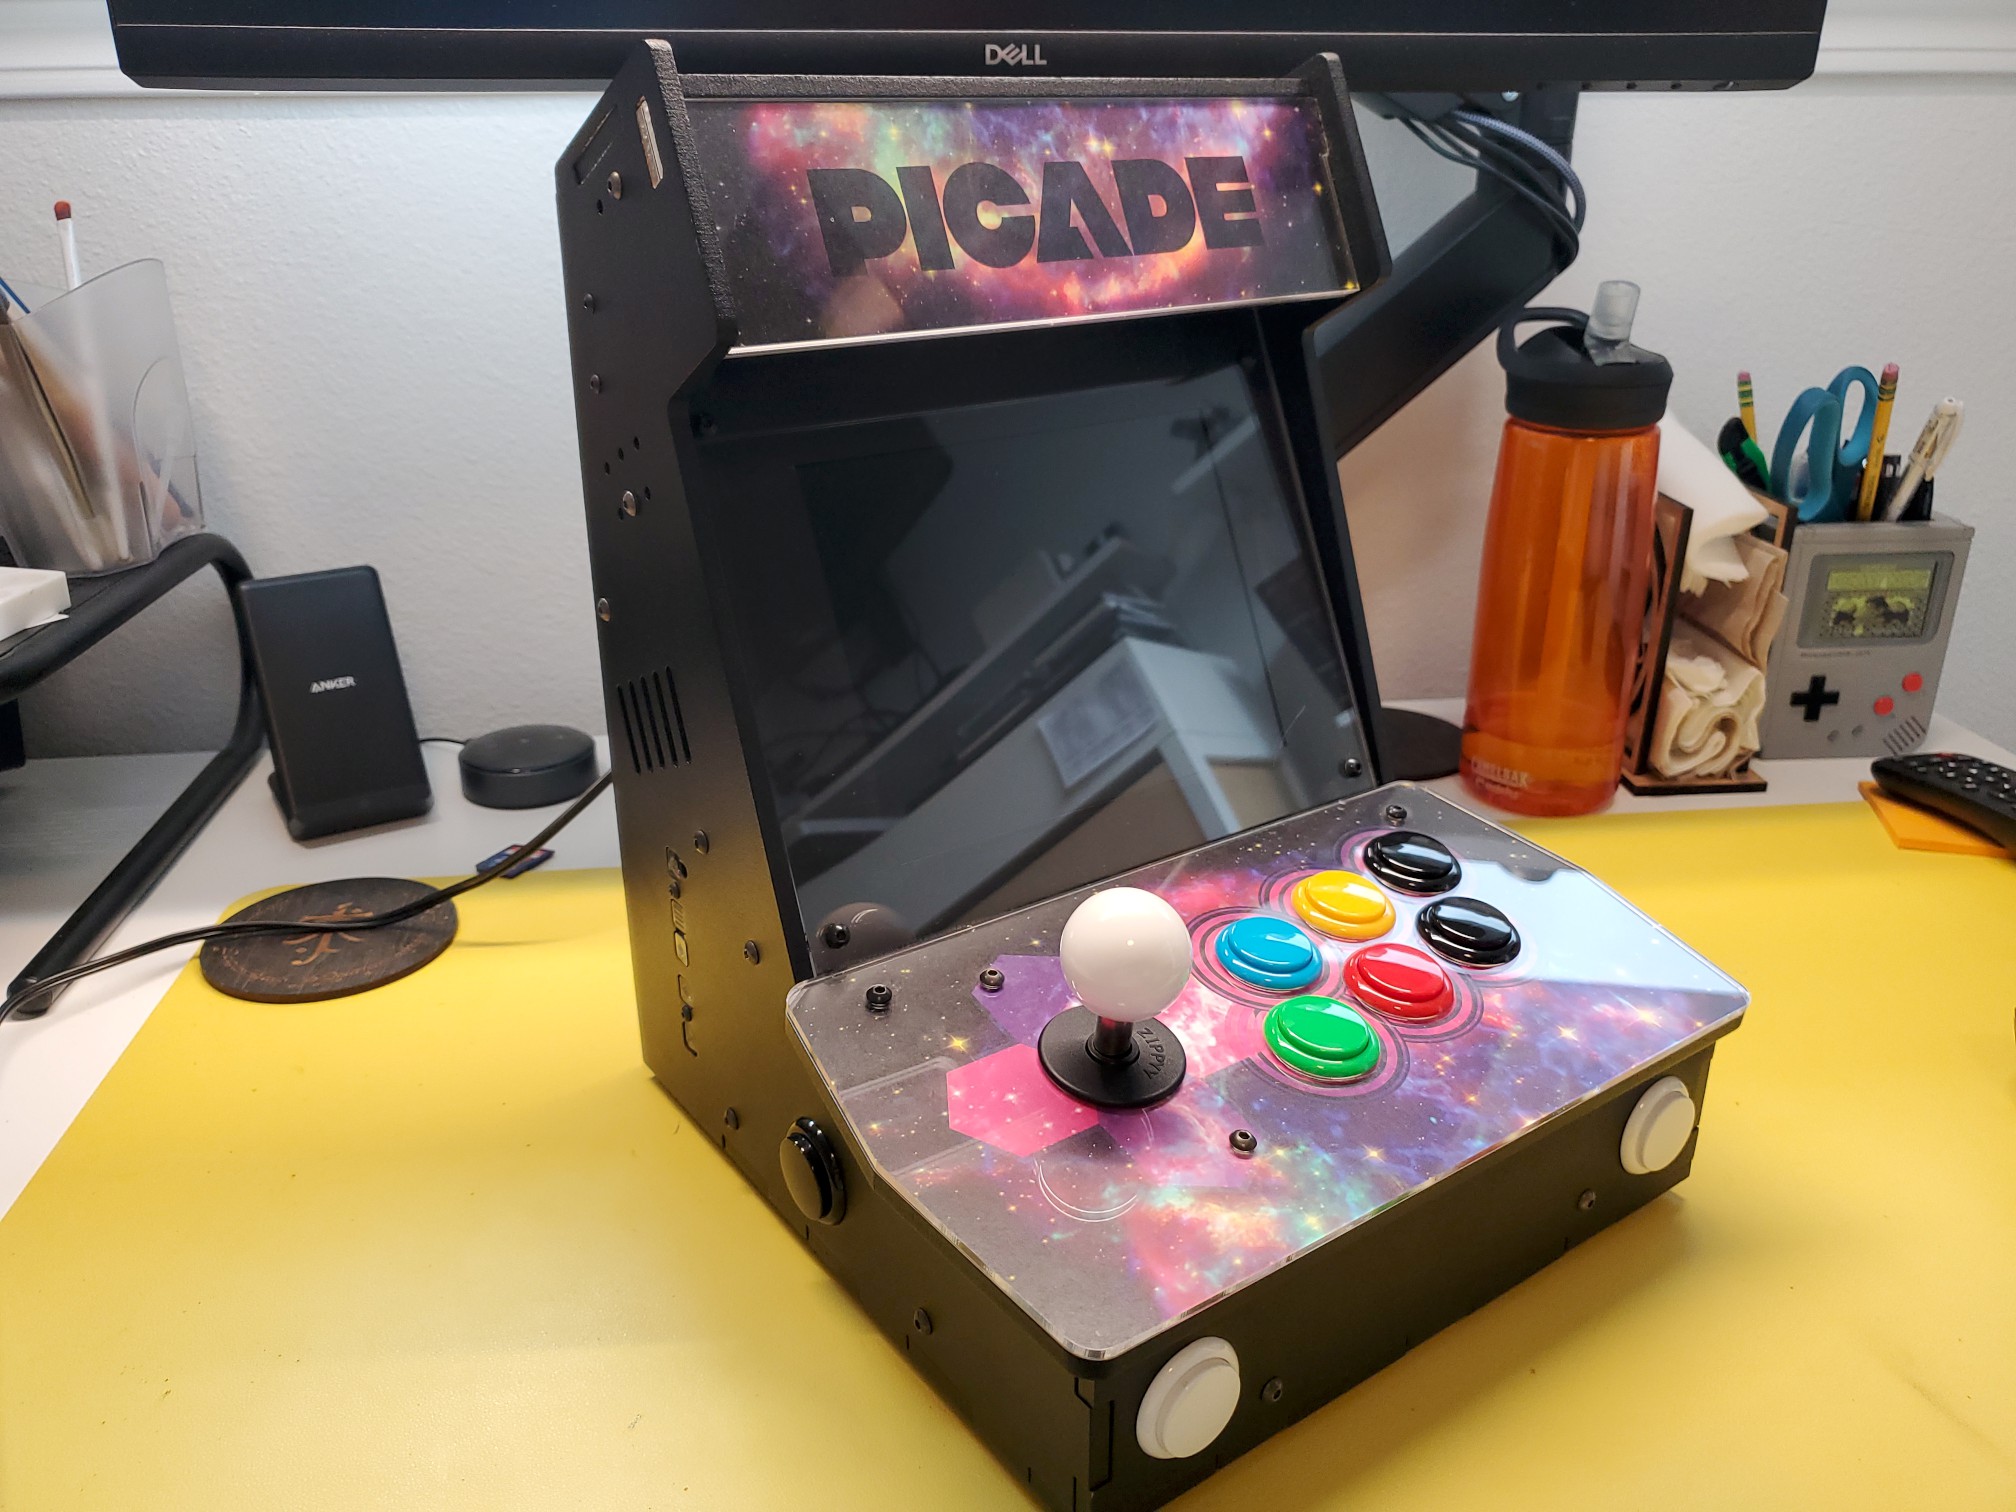
Now it’s 2024 and, suddenly in the mood to replay some old arcade games, I decided it would be a fun project to revisit my old Picade and see about giving it an upgrade.

The last decade

My Picade, and the “consolized” version I made later, haven’t been the center of my retro gaming for some time now. These days, besides original hardware, I usually play retro games on any of a variety of emulation handhelds, or on my custom Genesis Mini with my son. The little arcade machine has spent the last few years in a cabinet in the game room, but it wasn’t always tucked away. I used to keep it at the office when I worked for Xbox, and it got plenty of play during breaks. And while the original Pi powering it struggled with anything but the oldest arcade games (I distinctly remember a long running Flicky competition) I was still proud of it. But ever since I started working from home, the Picade sat collecting dust while I got my retro fix elsewhere.

It still works, mostly

Dusting it off and flipping the switch, I was glad to see it boot up exactly as I’d left it. My intent had always been for it to be more appliance than computer, so it didn’t matter that it hadn’t gotten a software update in a decade. It was like a little time-capsule of the early days of RetroPie-based projects, and it still worked.

Well, software-wise, it worked as well as it had ten years ago. But there were more than a few hardware issues (some new, some forgotten) that I decided would need addressing.

First off were the controls. The joystick was fine, but the buttons were just downright flaky. Some required you to mash them to register – some would register just by gently wiggling them without even pressing down. Not only that, none seemed to have a solid grip on the cabinet and could be easily popped out with just your fingers. So I was definitely in the market for new buttons.

The controller board still worked – it’s basically an Arduino Leonardo set up to emulate a USB keyboard – and I’d already customized the keys years ago, but that had also meant manually configuring each emulated system. Thankfully I knew both Arduino libraries and the Emulation Station controller setup had come a long way since then, and so I figured I could probably just rewrite the board to emulate a USB gamepad instead and be done with it.

One persistent issue had been the audio. The original controller board was also set to pipe audio to the speakers, but the signal was noisy and required you to use software-based volume controls, which I always hated. One of the final mods I’d done before was to install a dedicated audio amp and external volume knob. It’s not perfect – it is still unnecessarily noisy, especially at lower volumes or at quiet points like in-between levels. If you click off the volume knob it’s silent, but then there’s an annoyingly loud “pop” when you first turn it on. I figured it wasn’t worth messing with. Foreshadow… foreshadow…

The last issue was power – the old Pi needed a solid amp, and it didn’t really want you pulling too much more to power USB devices through its two built-in ports. So I used a 3A supply to power four devices in parallel: the Pi (through a Mausberry board for safe shutdowns), the monitor, the audio amp, and a homemade powered USB hub. I say homemade as I basically took a regular hub, cut the power lines to the input plug, and ran my own lines direct to my power jack.

The end result was four ports: one for the controller board, two for the plate on the back of the cabinet, and one still free, none pulling their power through the Pi. While I never plugged in anything more than a keyboard, I didn’t want to risk frying the Pi. This time around, I figure I can probably simplify things and just use the four built-in ports most newer Pis have.

Planning a new aesthetic

When I first built the Picade, the goal was to add every system I cared about with their full library, as an all-in-one retro gaming solution. I added every game ROM I could find, which in the end really made navigating and finding a game a bit of a chore. The “launcher” program, Emulation Station, was an ancient build by today’s standards, and just displayed giant plain text lists of ROMs for each configured system. To top it off, I only ever played a few games on it, usually the few working arcade games or their console ports.

I often fill up emulation devices with a system’s entire library, usually grouped into alphabetical folders using RomSort. It can be nice to know that I could drop into any game at any time. But I really enjoyed the experience of building the Genesis Mini, and rather than copying every single Sega game, taking the time to curate a small list of just my favorites. I decided early on, that if I was really going to upgrade the Picade, that I was going to stick to a curated list of arcade games I actually wanted to play. I wanted the system to feel like my Picade.

That decision to make the machine feel more personal to me, extended beyond the software setup. While the existing cabinet art was fine (and my favorite of the options in the original Kickstarter) I knew I wanted to really lean in and make it exciting for me to look at. Something that made me want to sit down and turn it on.

I decided I wanted to go with a Street Fighter design – some of my fondest “arcade” memories were of playing on an Street Fighter II Champion Edition cabinet at the San Pablo Reservoir where my grandfather used to work. The machine was outside the bait shop, sun-bleached and beat to hell, but I loved playing on it. I found high-res scans of that art at Arcade Artwork, so it was just a matter of reworking it for my mini machine.

Capturing some final media for posterity

Before getting started with the upgrade, I decided I wanted to capture some final footage of the old Picade:

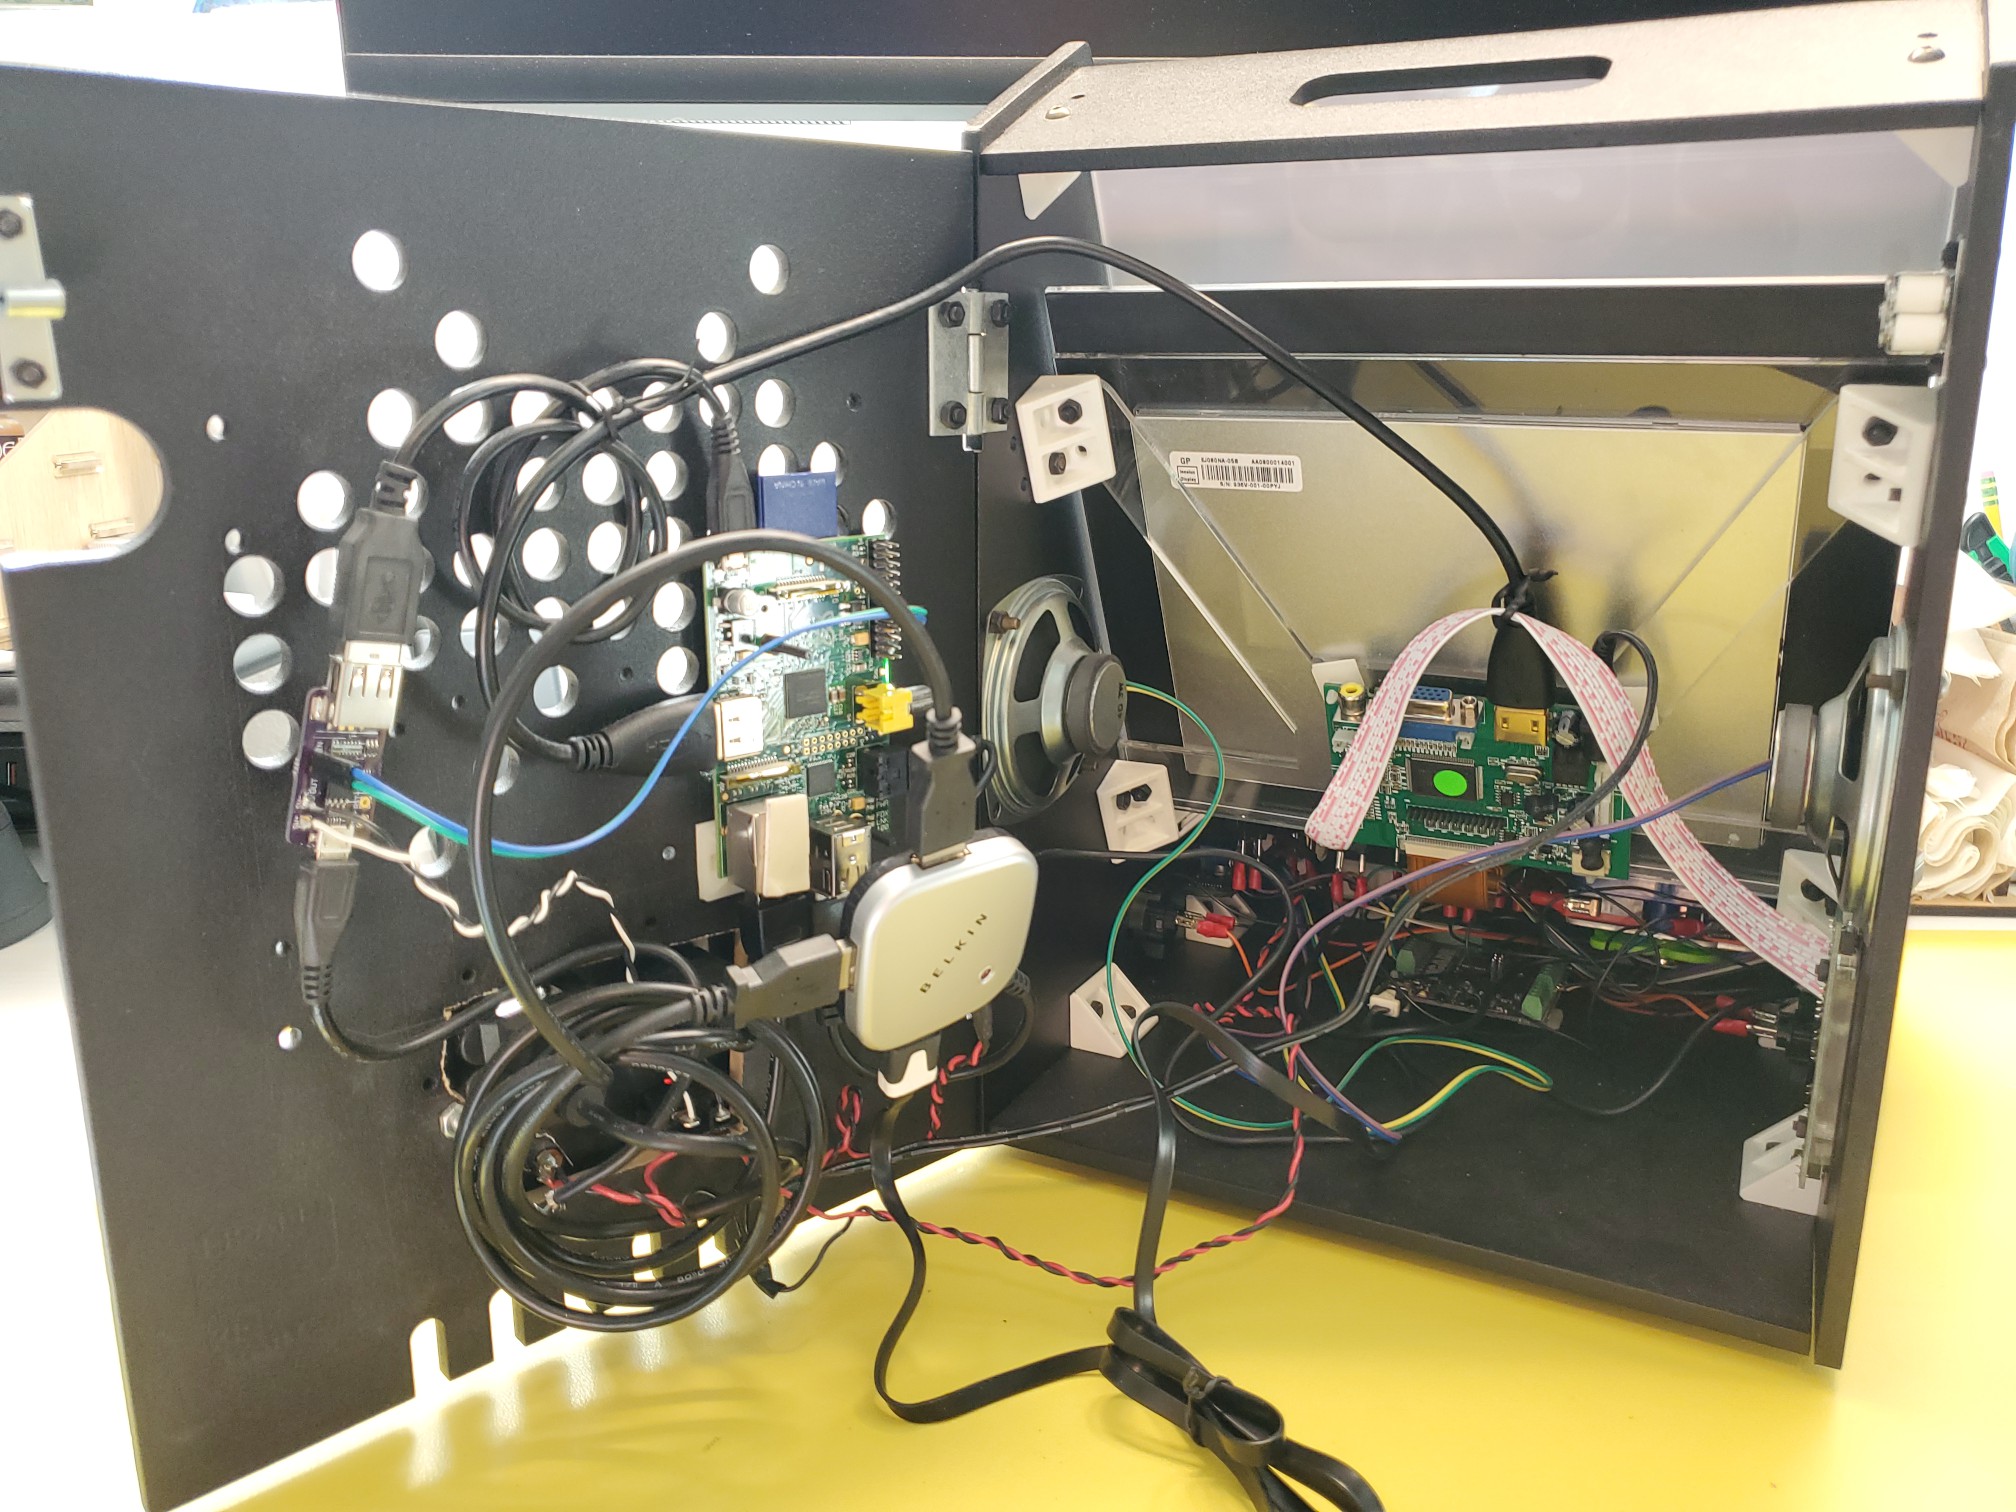
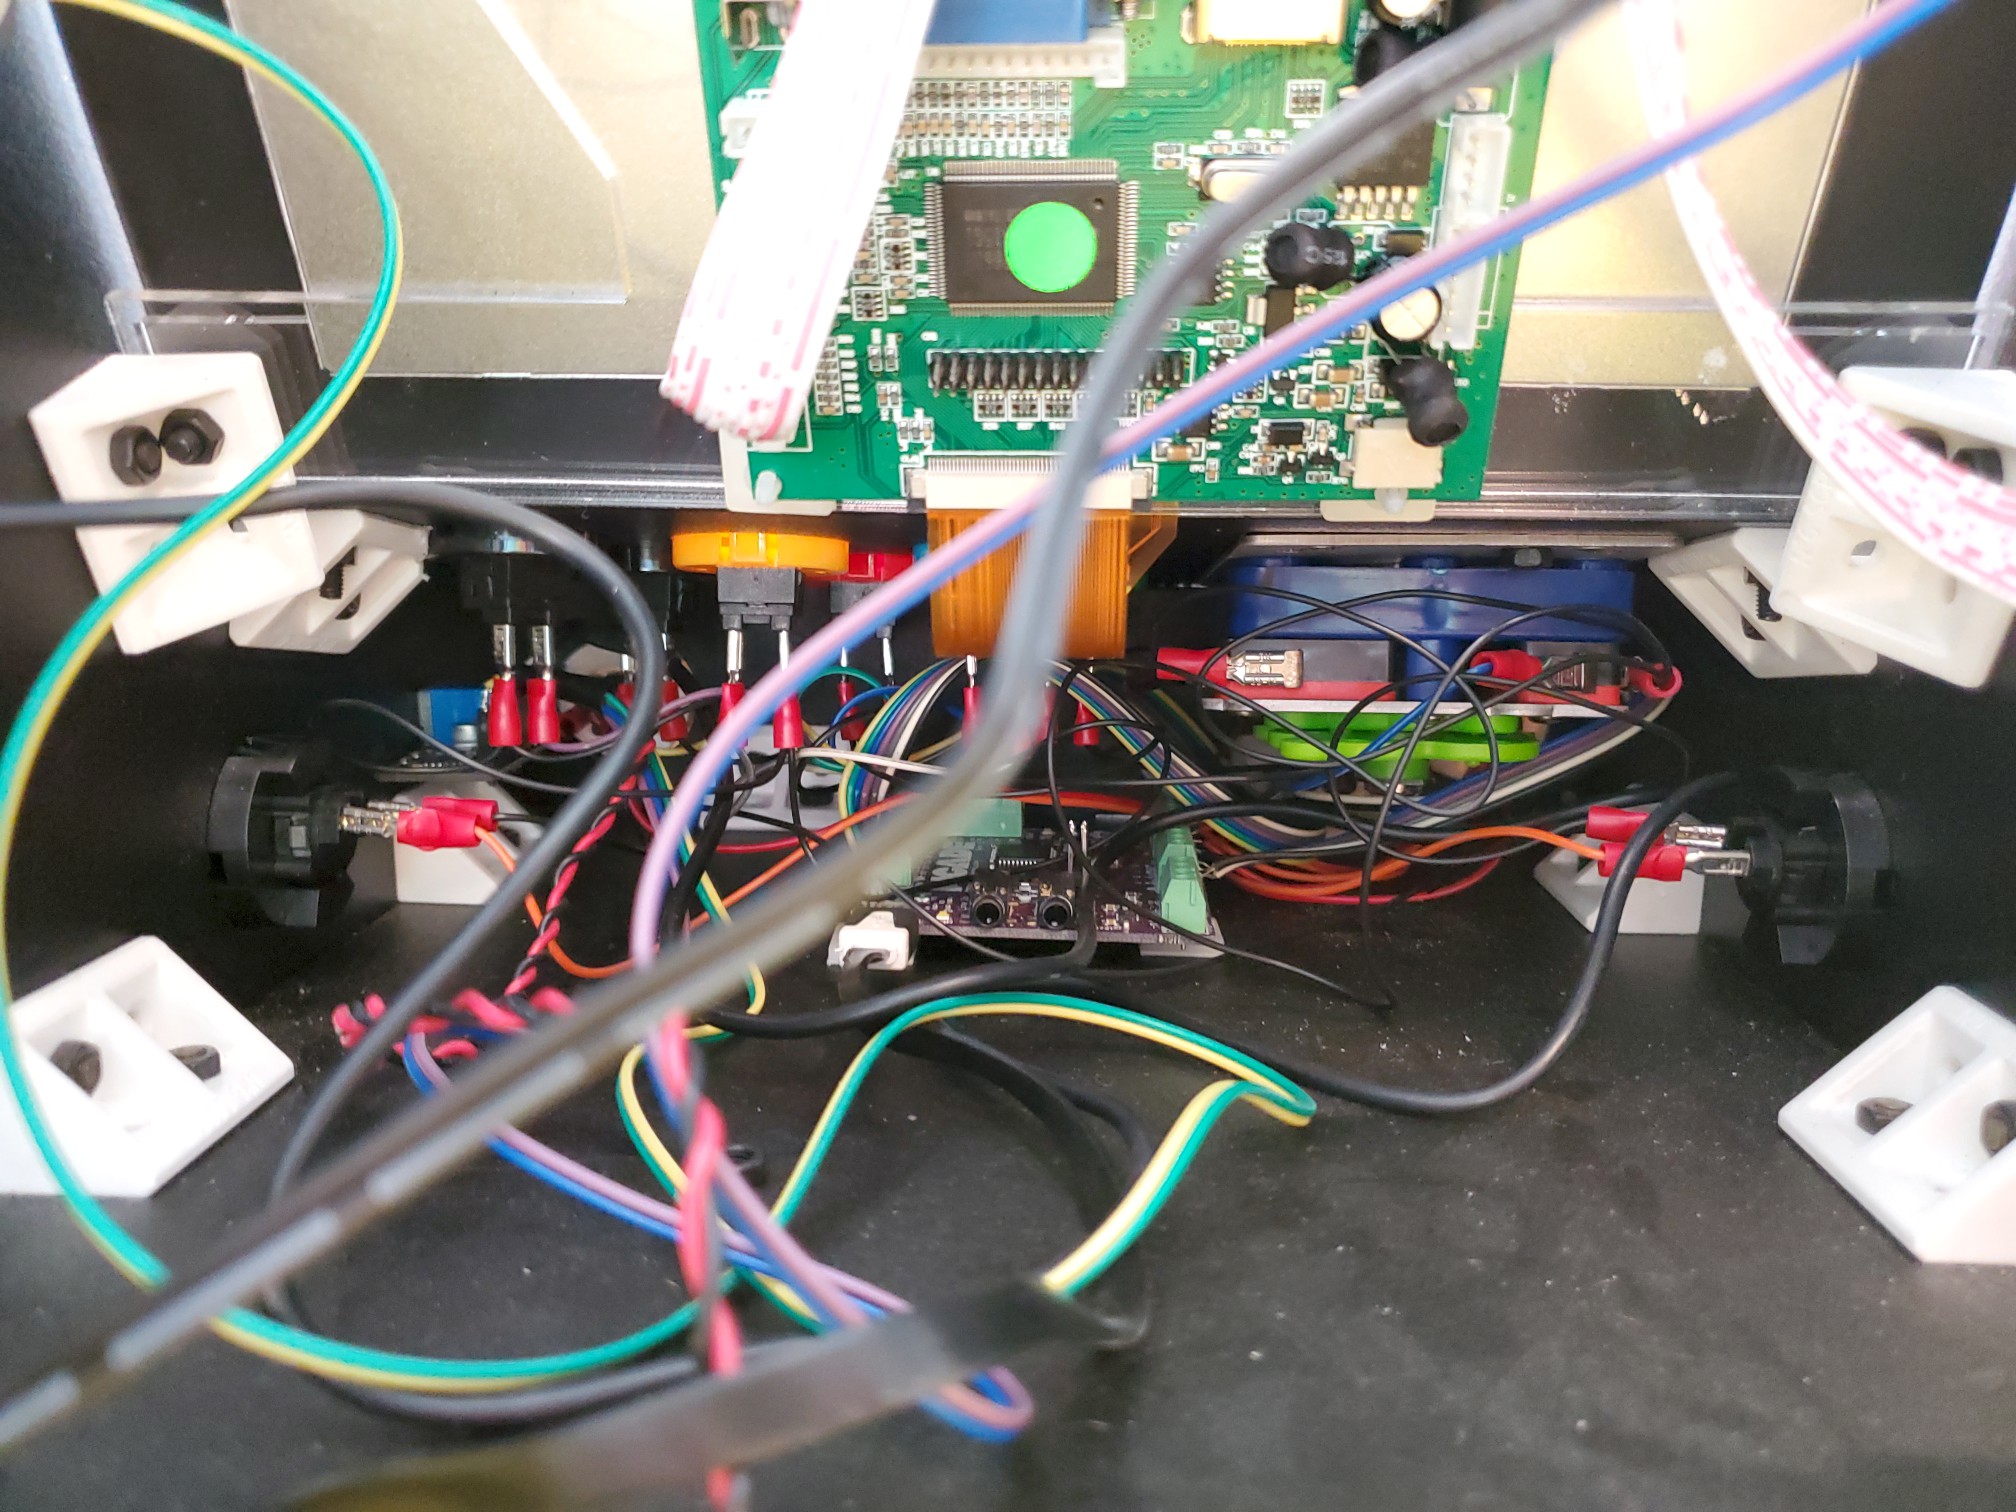
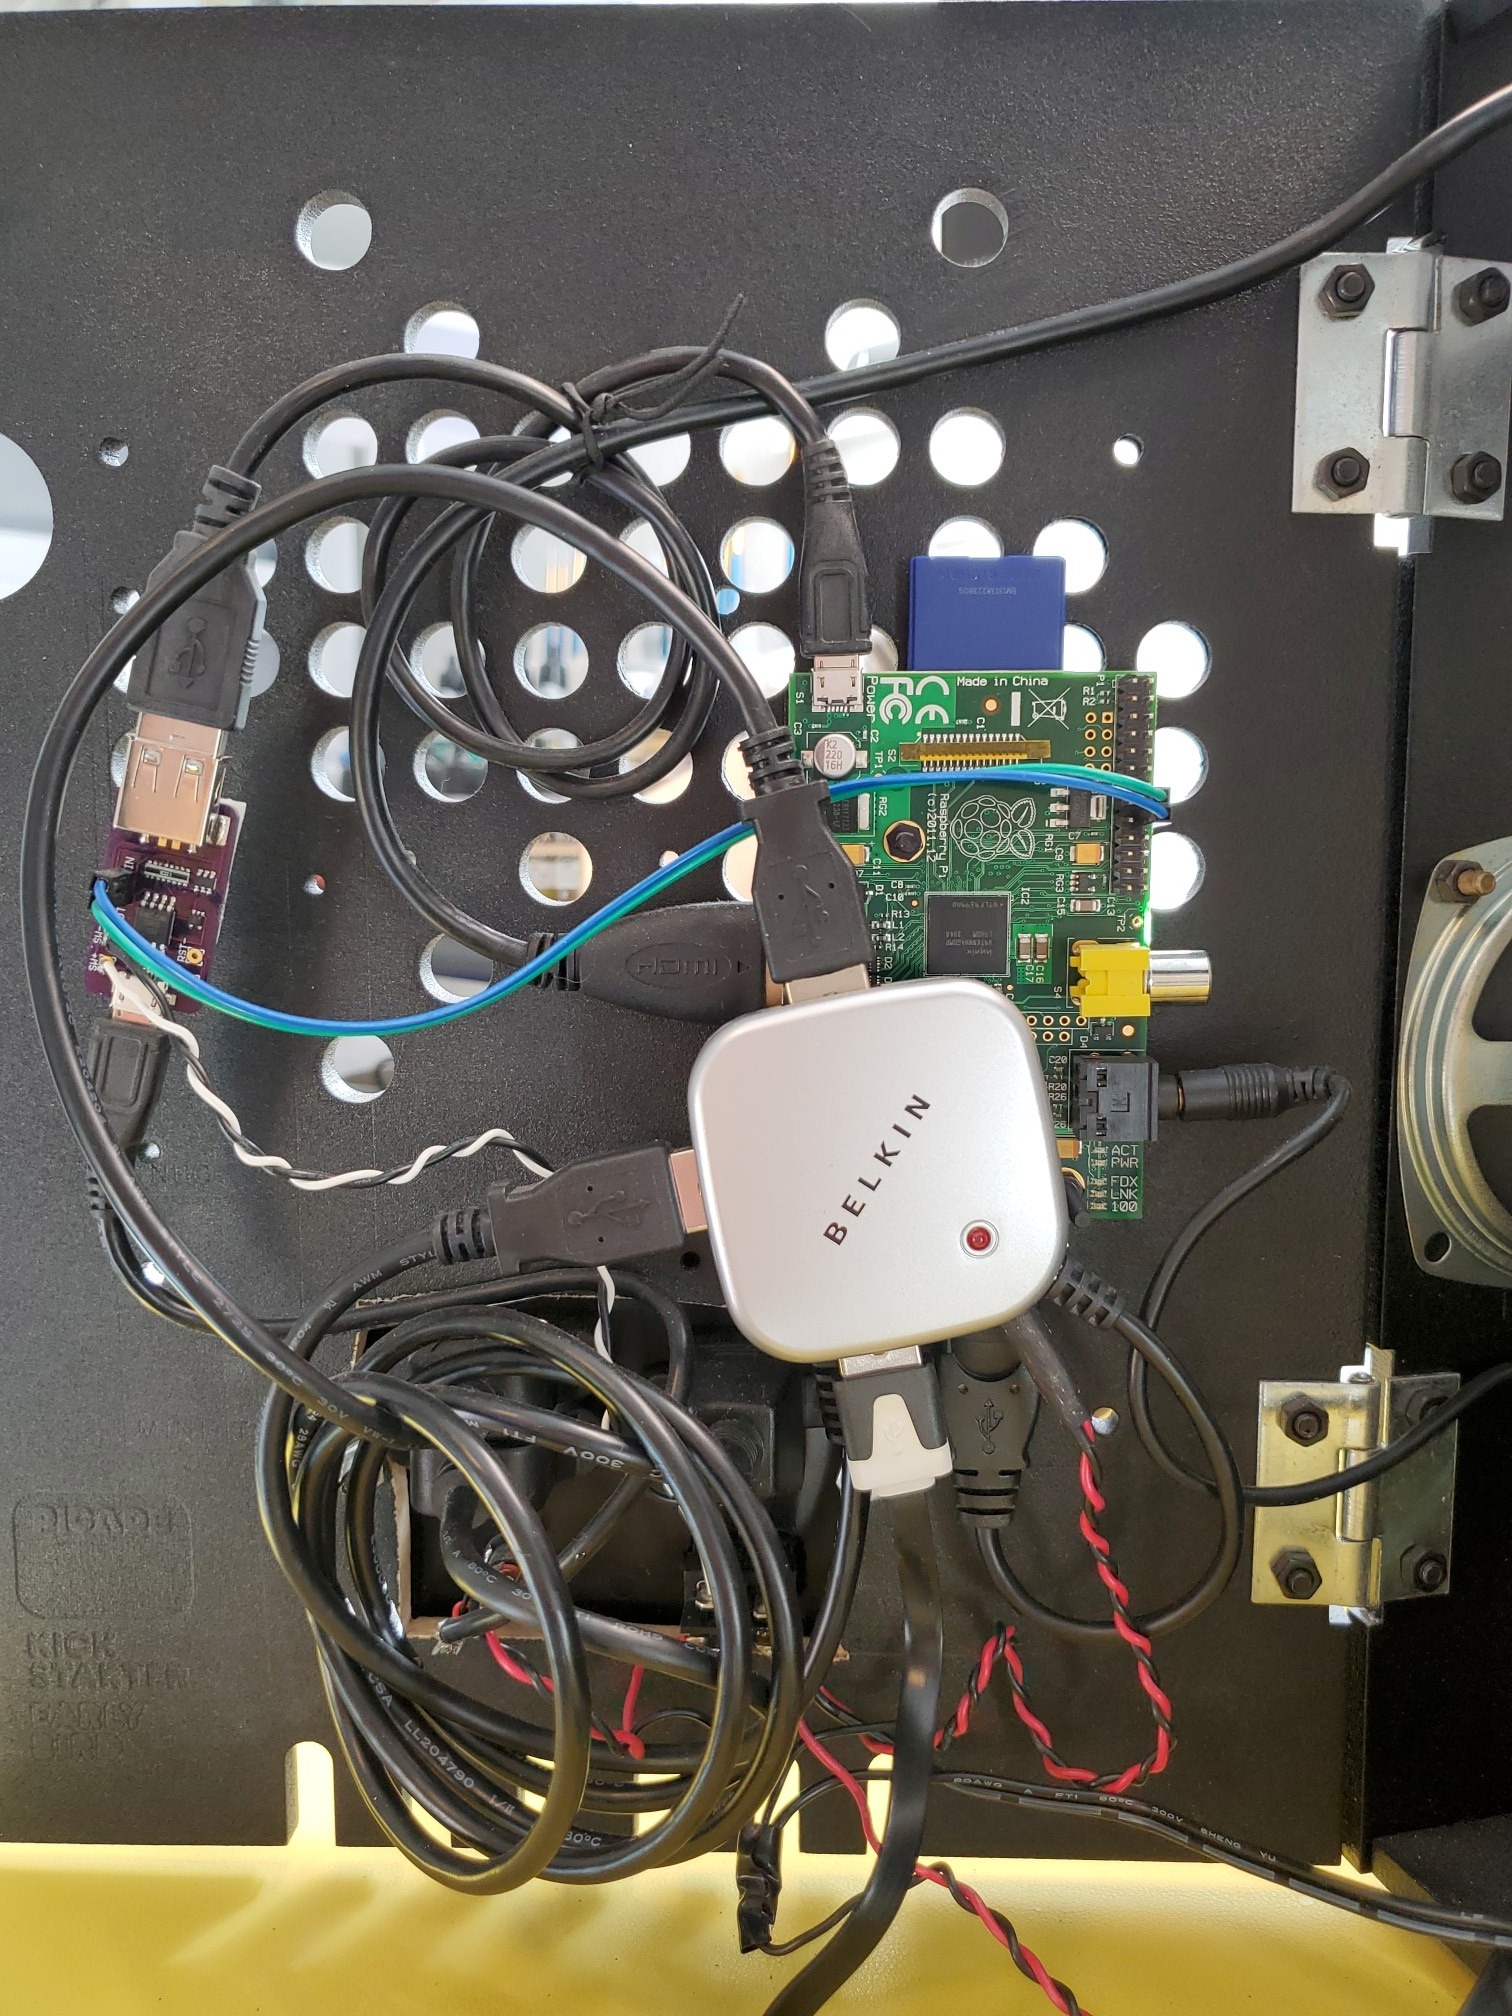
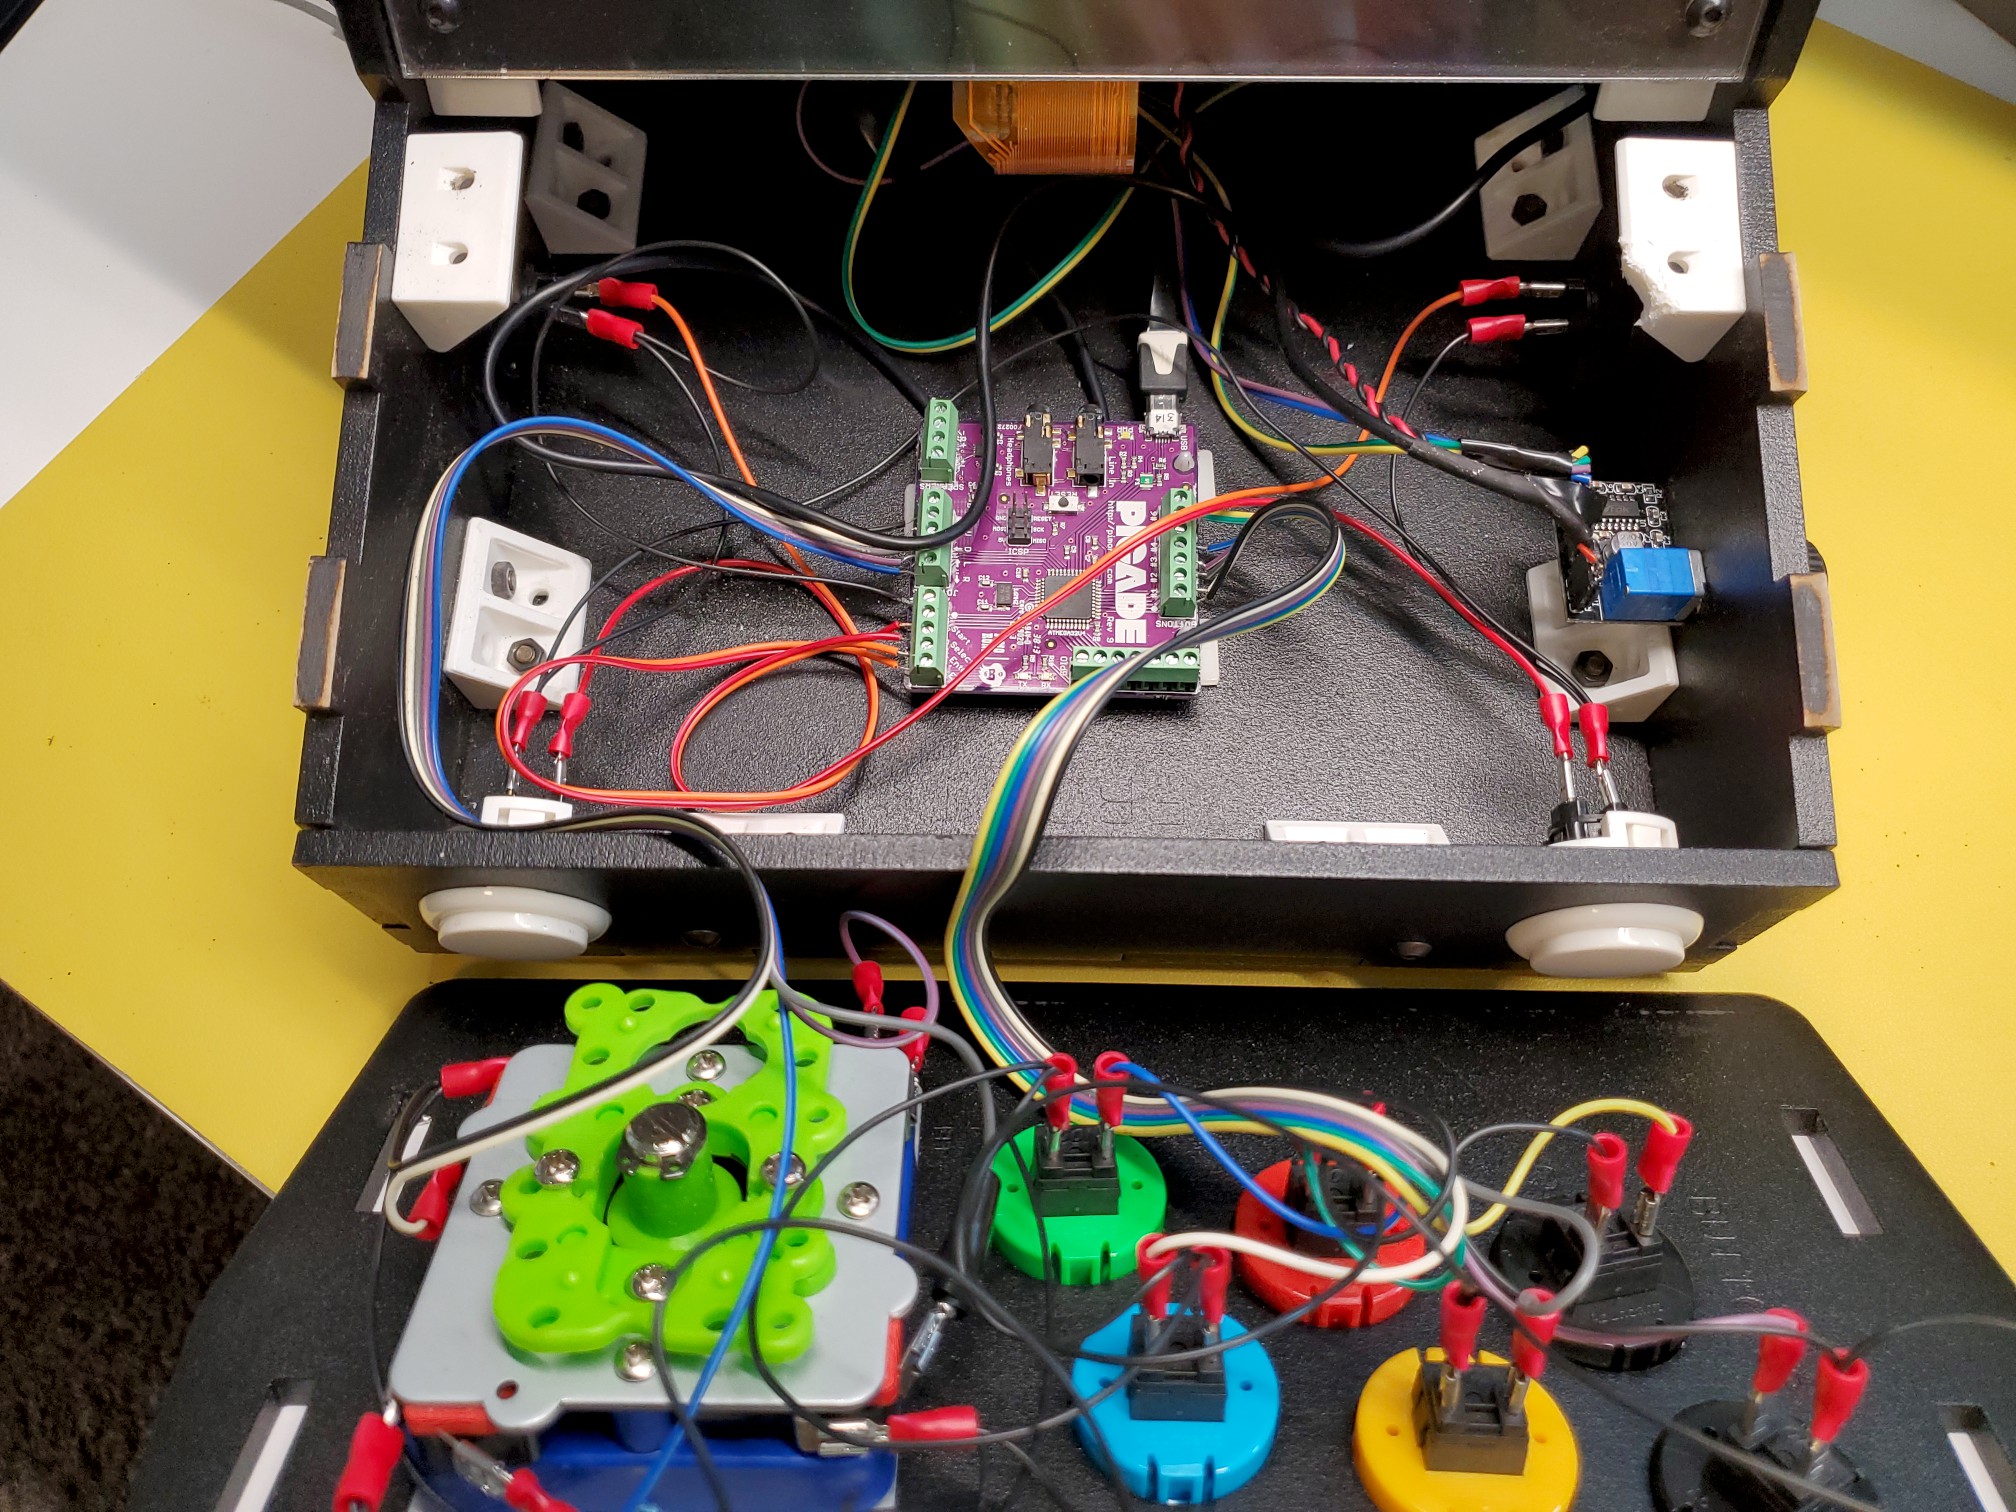
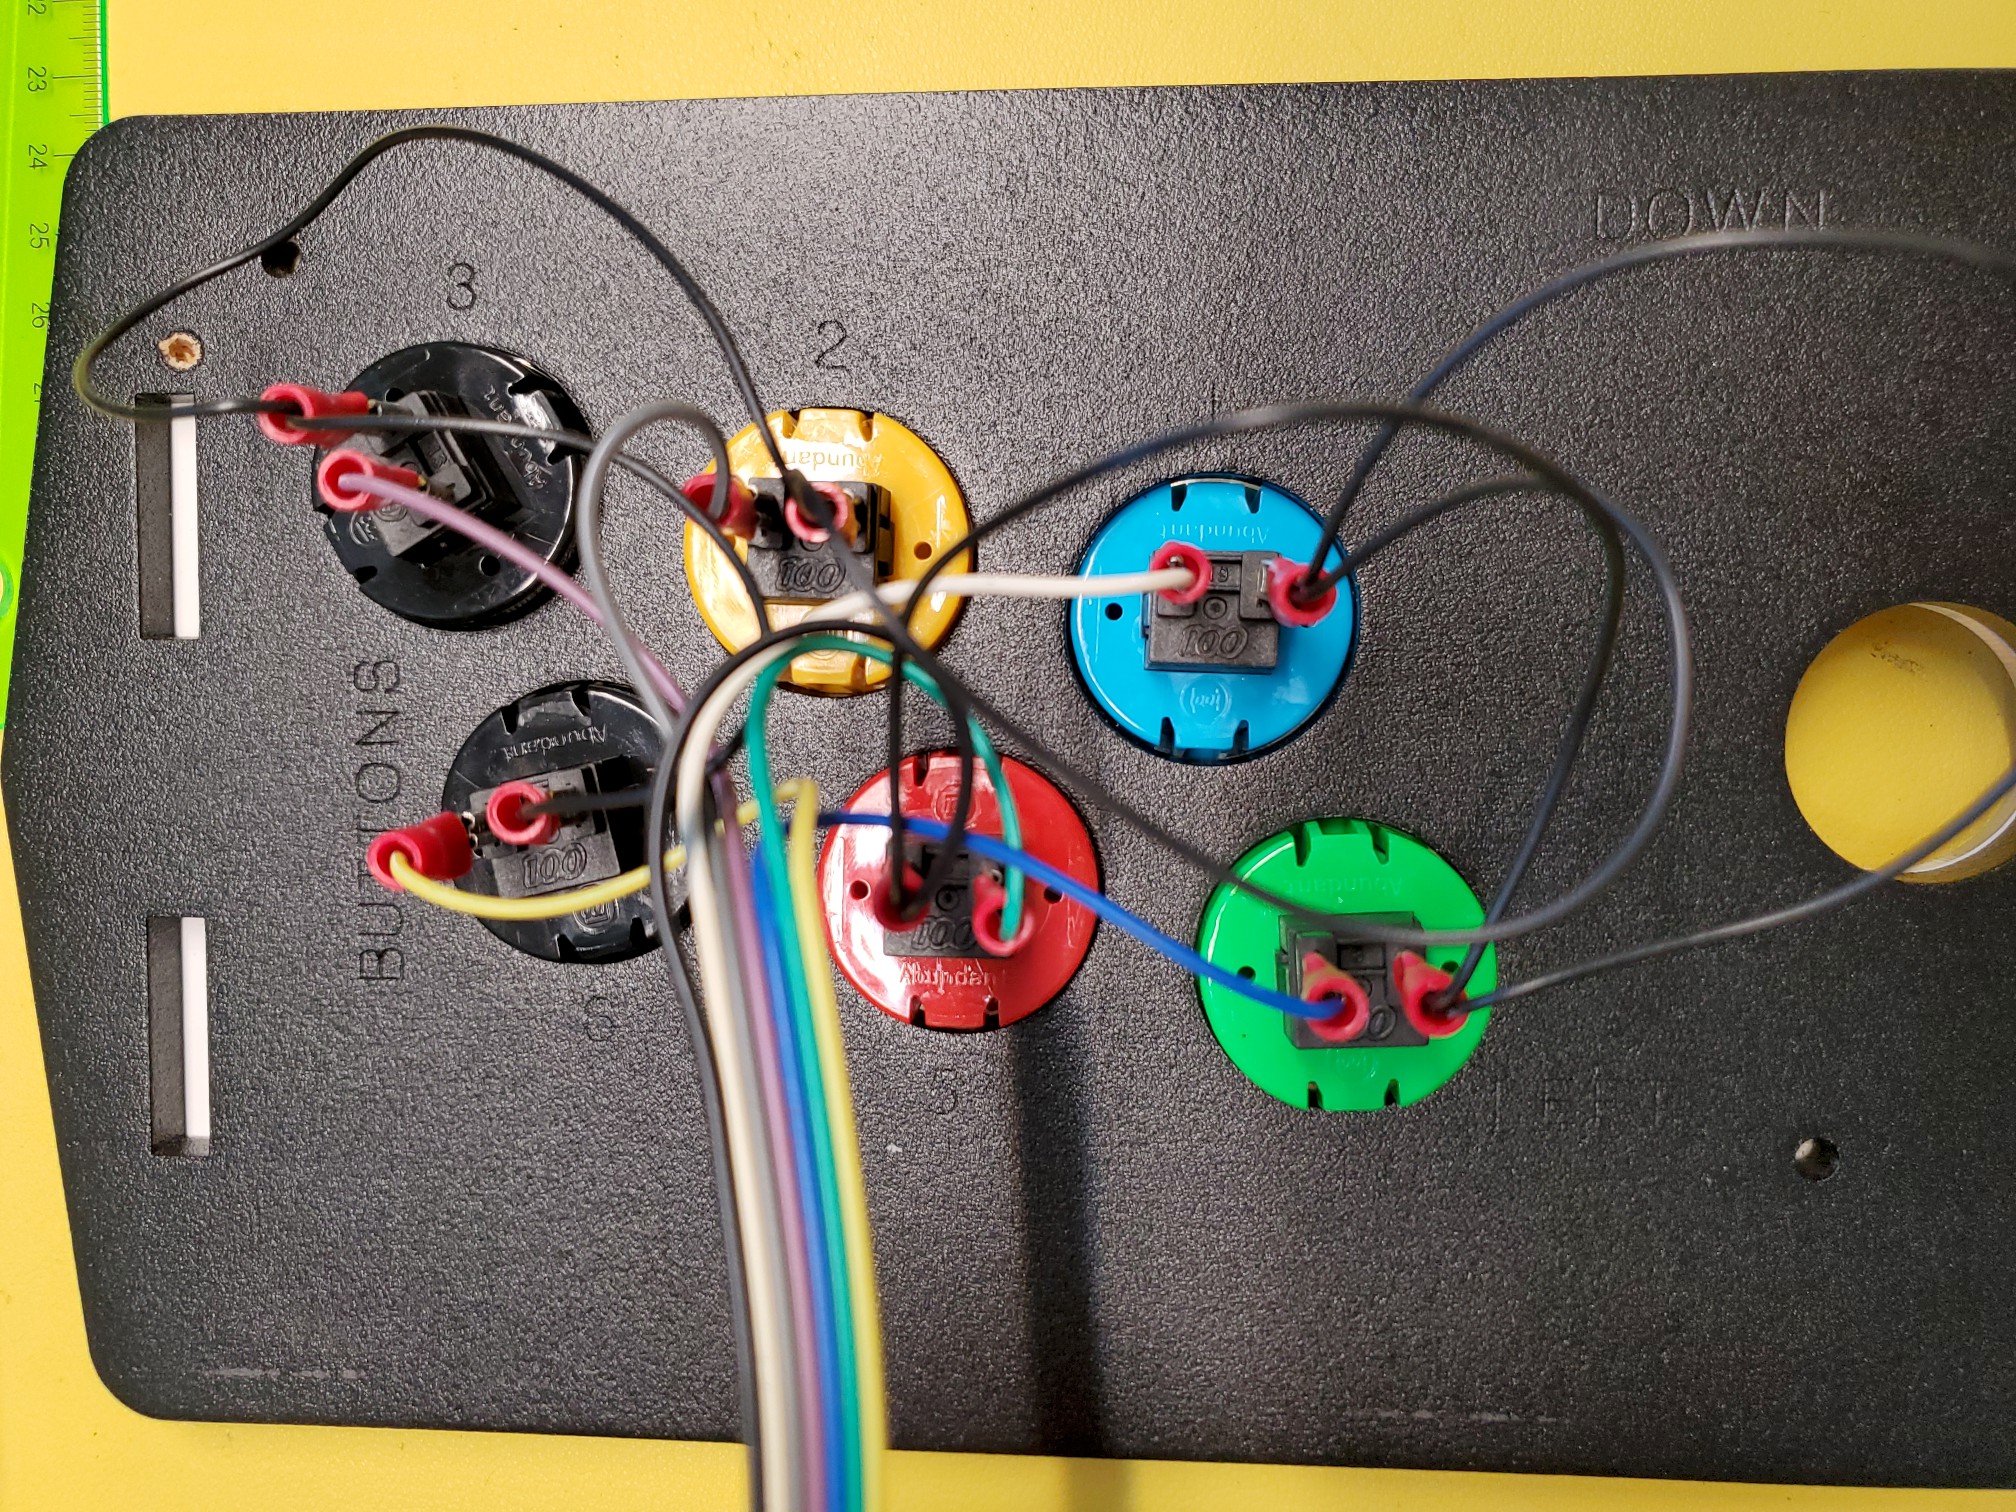
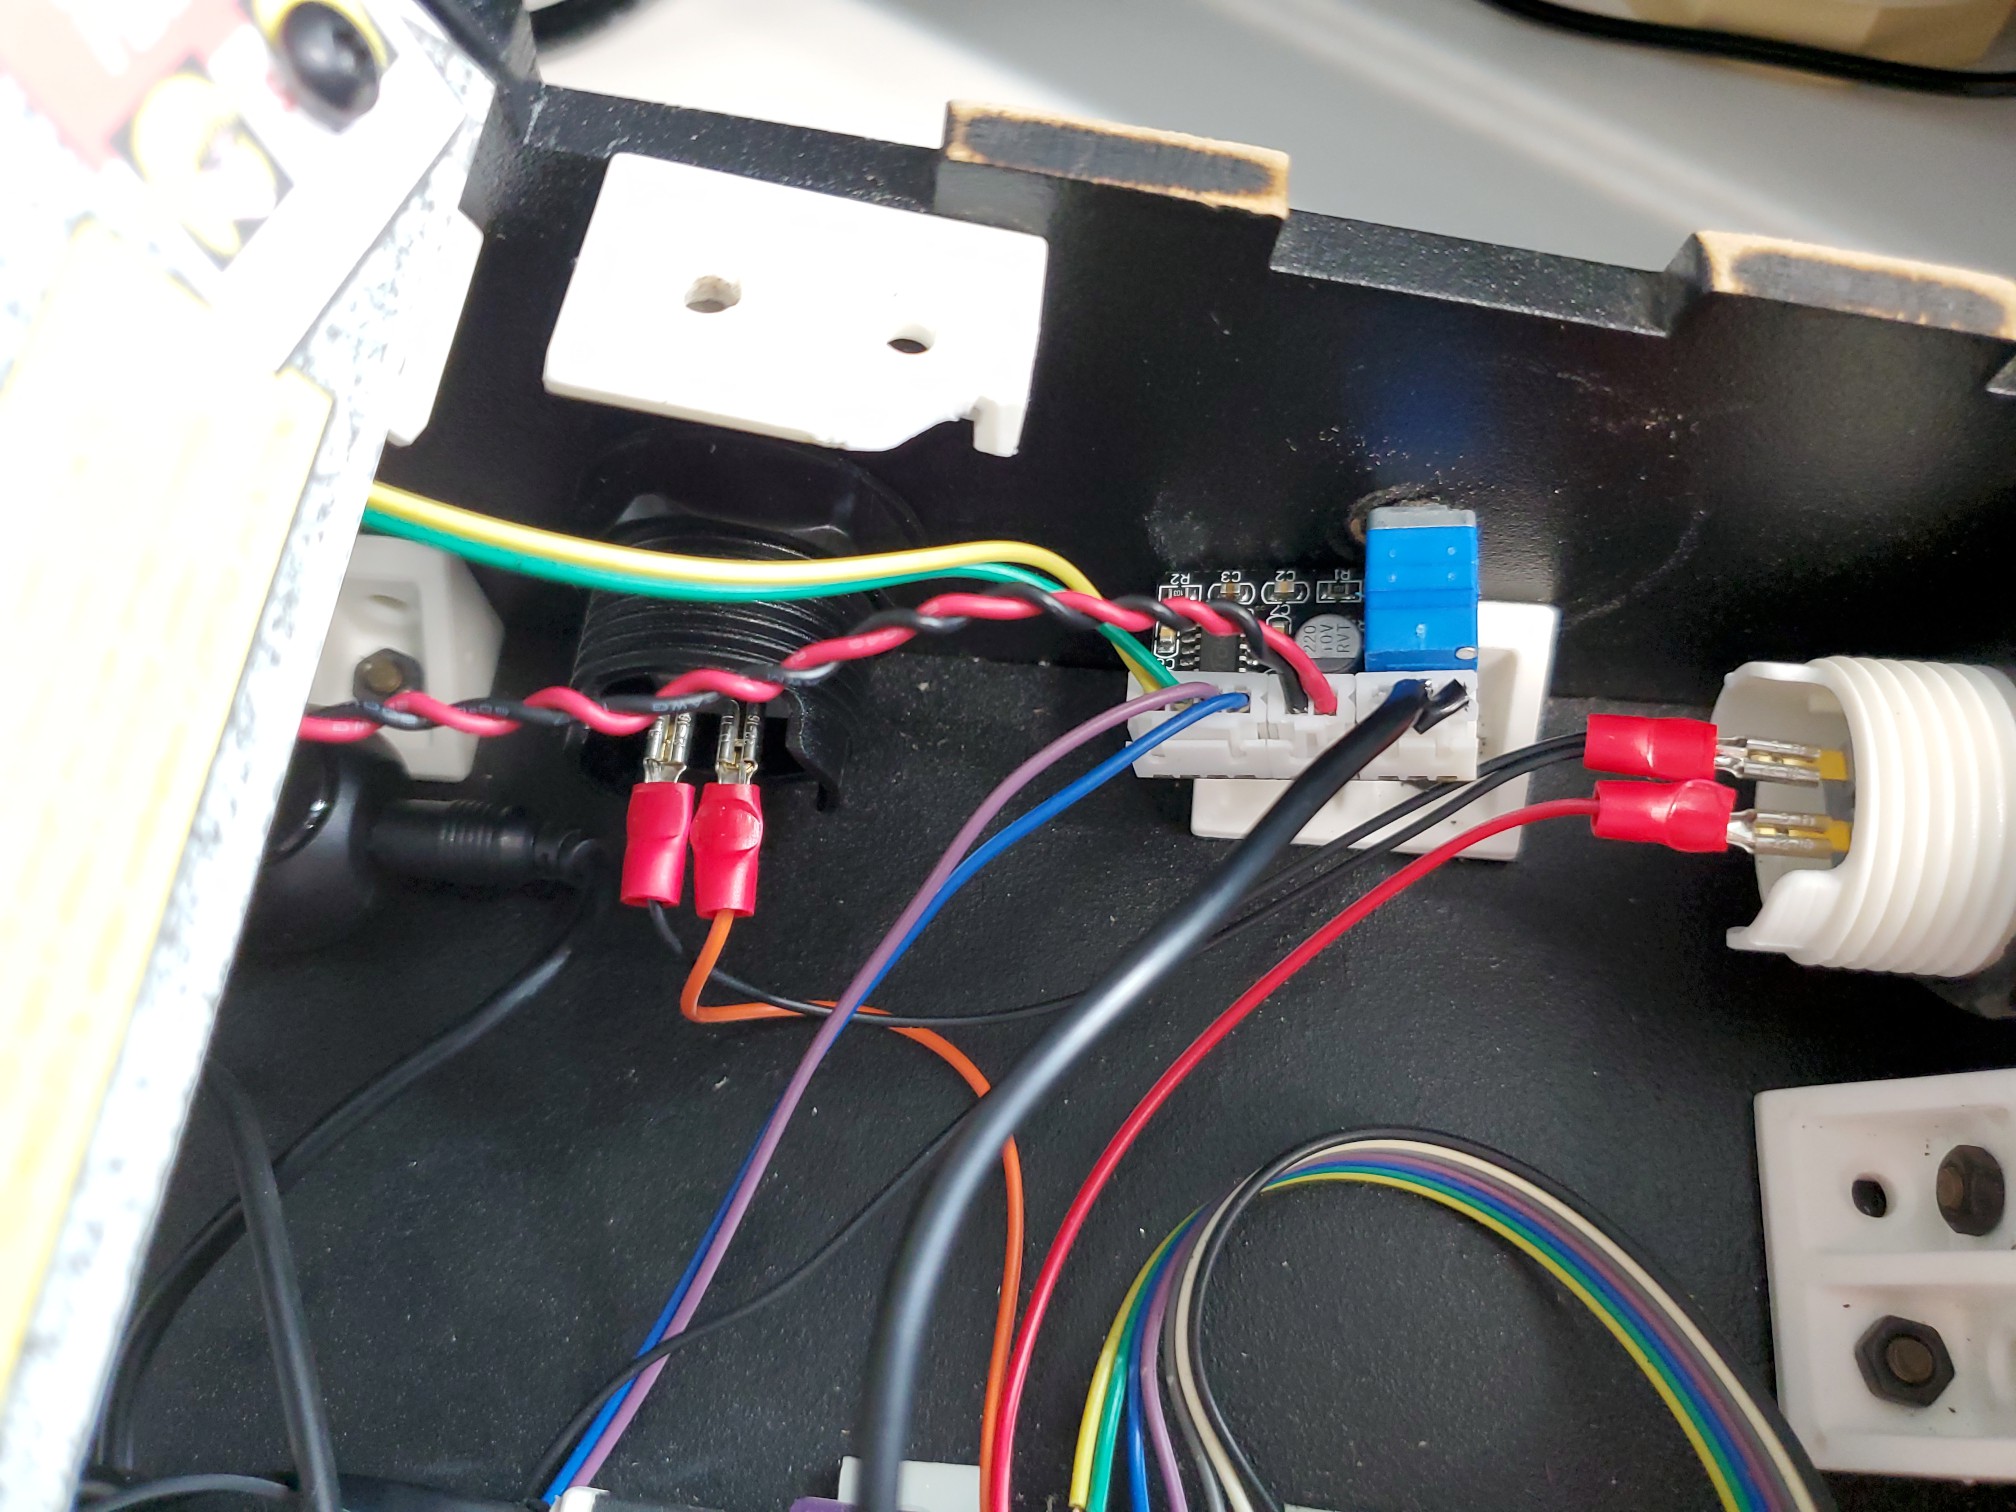
And just so I wouldn’t have to scrub through that video for clues (in case I messed something up), I also took some final photos of the inside:

Buying some new parts

Once I had that final video and the aesthetic plan in place, I started tinkering and shopping for new parts.

I picked up a Raspberry Pi 3B for the new computer, knowing it’s not the newest or most powerful board, but trying to balance budget with my stated goal of just running a small selection of arcade games. It had everything I needed for a quick swap: 4 USB ports, micro-USB input, full HDMI output, and 3.5mm output for audio. The Picade only has a 640×480 monitor anyway – it’s not like I need one of the newer 4K-capable Pis.

The only other parts I needed were new buttons. I decided that, in keeping with the Street Fighter design, to switch away from the Japanese Sanwa-style buttons to Happ-style buttons, the kind favored by US arcades, as well as a “bat” top for the joystick. Unfortunately, real (or knock-off) Happ buttons are very long, and definitely wouldn’t fit in the Picade. Thankfully, I found the Canadian-based Retro Active Arcade, which carry Concave Fusion buttons – buttons with Happ-style tops but shorter by using Sanwa-style internals. Best part, they use locking rings to lock them place (no more easily removable buttons).

Designing some new cabinet art

While waiting for my new parts to arrive, I got to work designing the new cabinet art. Thankfully the original Picade Kickstarter included to-scale PDF blueprints for all of the parts. So with a little work in Inkscape, I was able to create SVG templates that I could then fit the art to. I started with the simplest piece, creating a new marquee (my marquee SVG template):

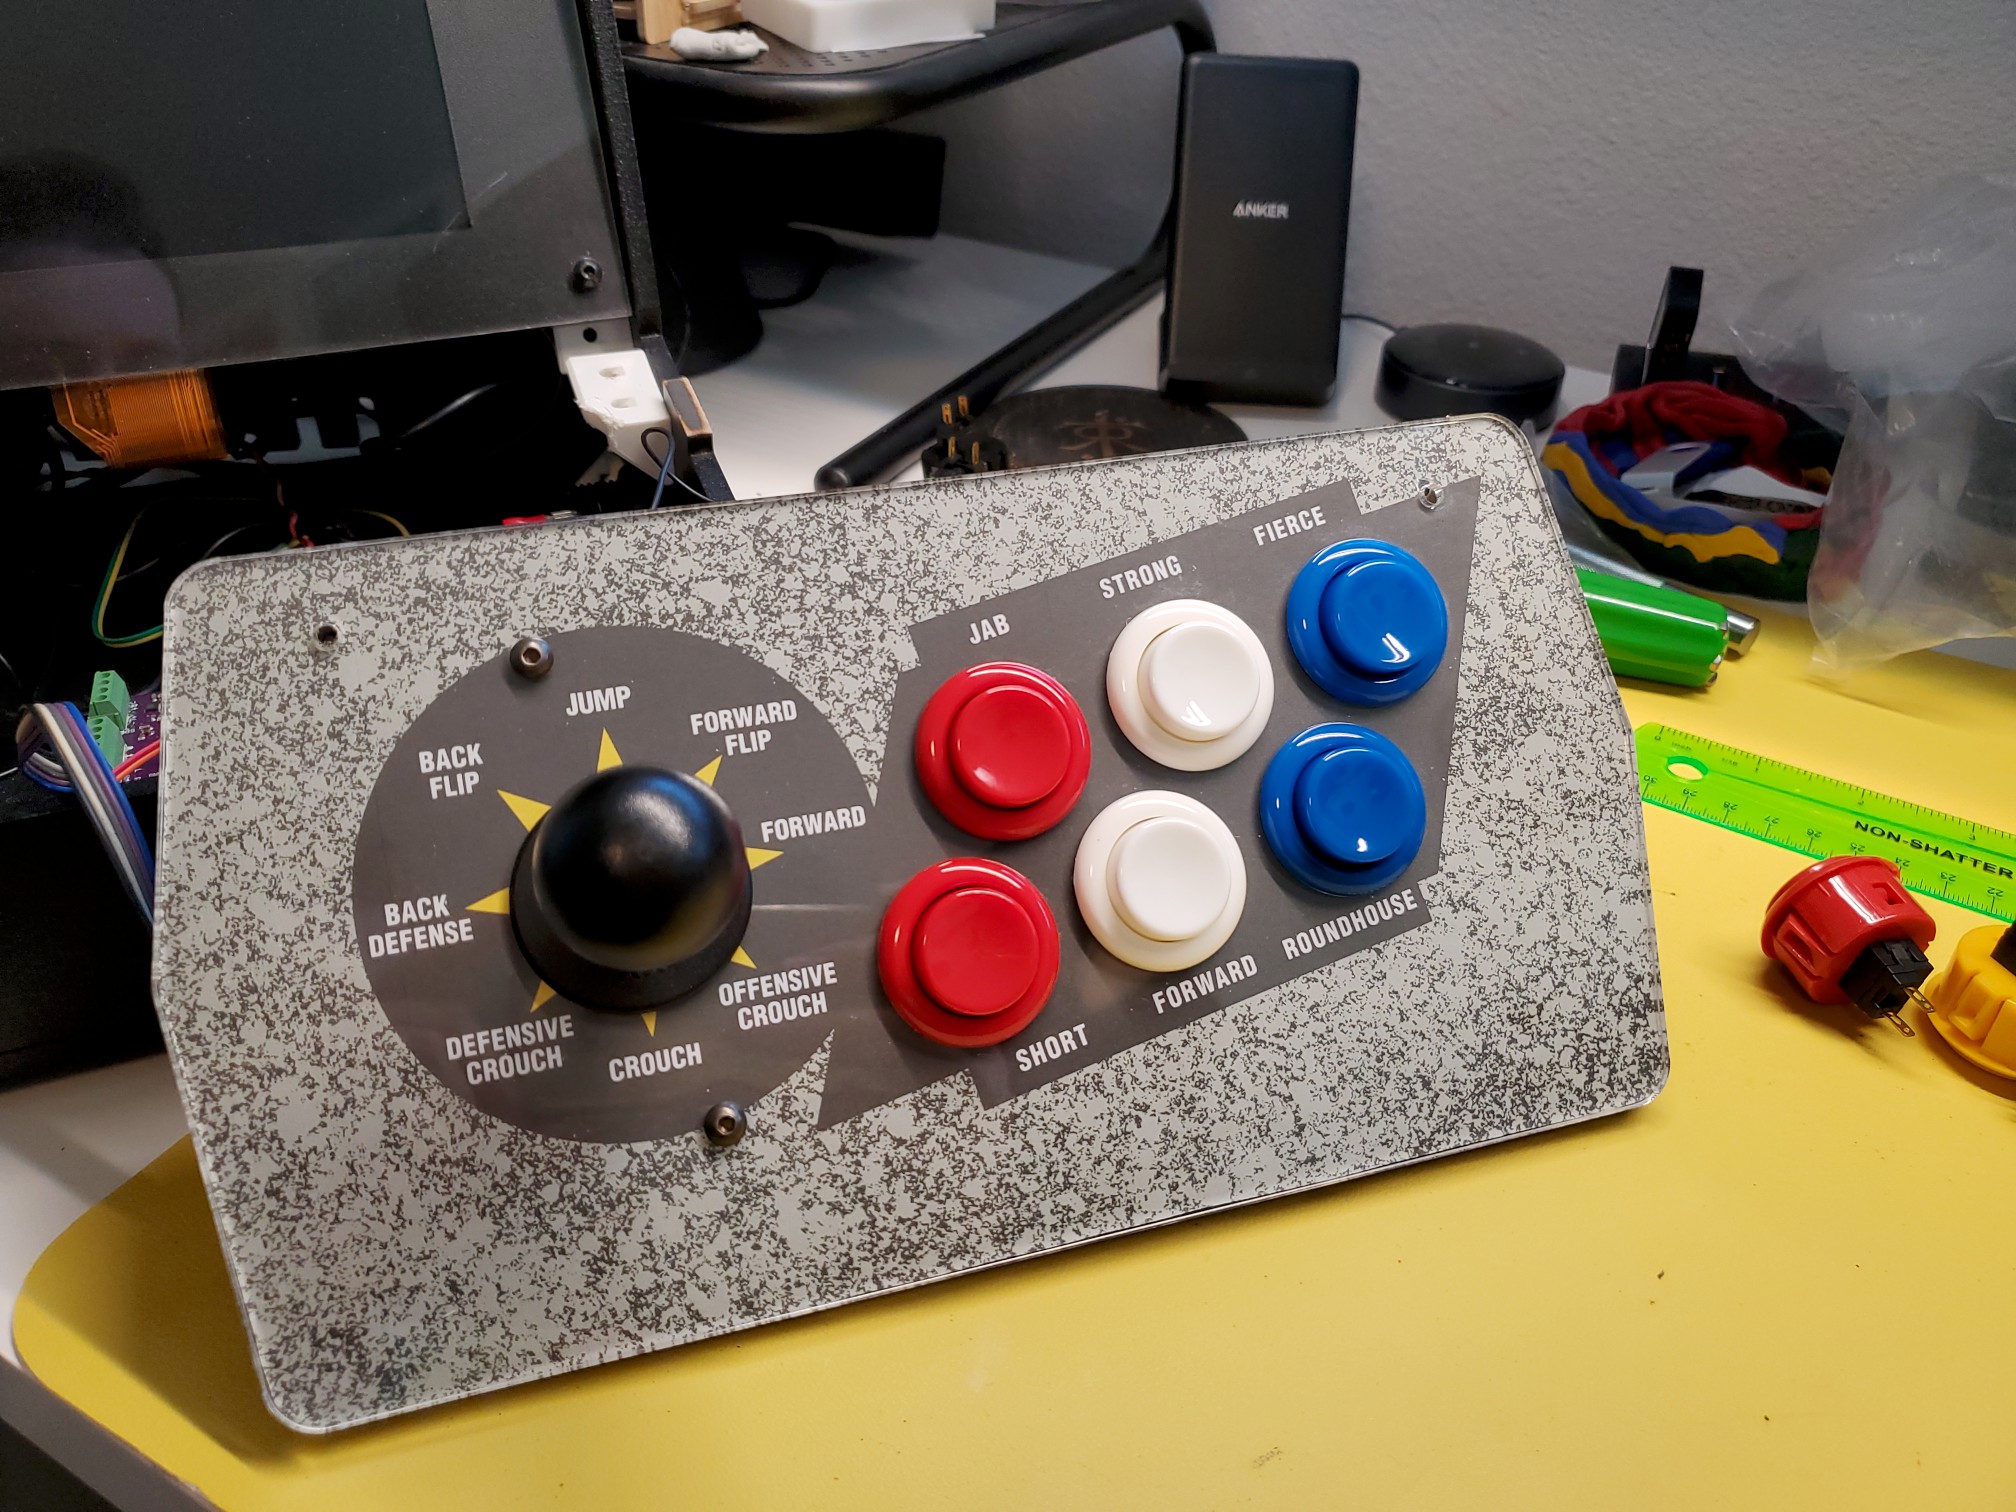
That was a pretty straight forward resize of the original art, so next I went to work on the control panel (my control panel SVG template). I started with a clean base of the black and grey pattern, then added the joystick circle in the right place. The button design took a little more work, as the original machine had six buttons arranged in a rectangle, while the Picade had a more modern, slanted parallelogram layout.

But once I was happy with my design, I printed our some mocks to check the size:

New buttons, new control panel, new marquee

With the mock-ups done (they fit perfectly), I began disassembly, starting with the control board:

I replaced the buttons in the bottom of the cabinet first:

They fit perfectly, and with the locking rings they weren’t going anywhere. But one thing I noticed (and this will come up later) was that the wires for the audio amp (on the far right) looked pretty smashed and sketchy looking. Anyway, I continued on with the control panel, replacing the buttons and the art all at once:

Finally I printed and installed the marquee:

Customizing the screen matte

It was when I’d gotten this far that I needed to make a decision about customizing the screen matte. The original black was plain and functional, but if I really wanted to capture the aesthetic of a Street Fighter II Champion Edition cabinet, I knew I’d want the official art with all of the character portraits. So I went back to the computer and started reworking the art to fit (my screen matte SVG template):

The hard part, I knew, would be installation. I’d have to remove the entire monitor assembly and break the seal on the existing screen acrylic, risking dust and debris getting inside. And I was right, it was a complete pain to do, as I not only had to re-remove the control panel and marquee, but all the monitor support mounts (and even the LCD panel itself) fell out as soon as I started to take it apart. I really had to rely on my “before” photos to get it all back together:

But with that finished, I think the final result was worth it:

A quick first test

Once I got everything back together, I decided it was time to quickly verify I hadn’t broken anything by starting it up with the original board (hence the incorrect screen resolution for the arcade game):

Upgrading the controller board

With new buttons installed and working, the next bit of work was to update the software running on the controller board (as mentioned above, basically just an Arduino Leonardo). Ten years ago, the best option was for the board to emulate a USB keyboard. Now, I’d already had experience changing that code, as I’d done so to pick my own key mapping back in 2014. But for this upgrade, I really wanted to ditch those limitations and emulate a proper USB gamepad instead.

Thankfully, someone’s already done the hard work, creating a Joystick Library for Arduino. So, using that, I quickly modified the existing controller code to send joystick inputs instead of keyboard inputs (my joystick code). It was quick and easy and worked perfectly!

Installing the Raspberry Pi 3B

With the controls and art complete, I figured it was okay to replace the original Raspberry Pi with the shiny new Raspberry Pi 3B and a fresh SD card flashed with Batocera, a very polished linux distro for optimized for playing retro games.

And that’s when a whole new host of problems reared their ugly heads.

First off, the board simply wouldn’t boot, giving an “undervoltage” error. Turns out I hadn’t accounted for the extra power the new Pi would draw – my 3A supply simply wasn’t enough to run the Pi, the screen, and the controller. So I ordered a 6A power supply and twiddled my thumbs until it arrived. With that in place, I got the machine to boot, and even load a game:
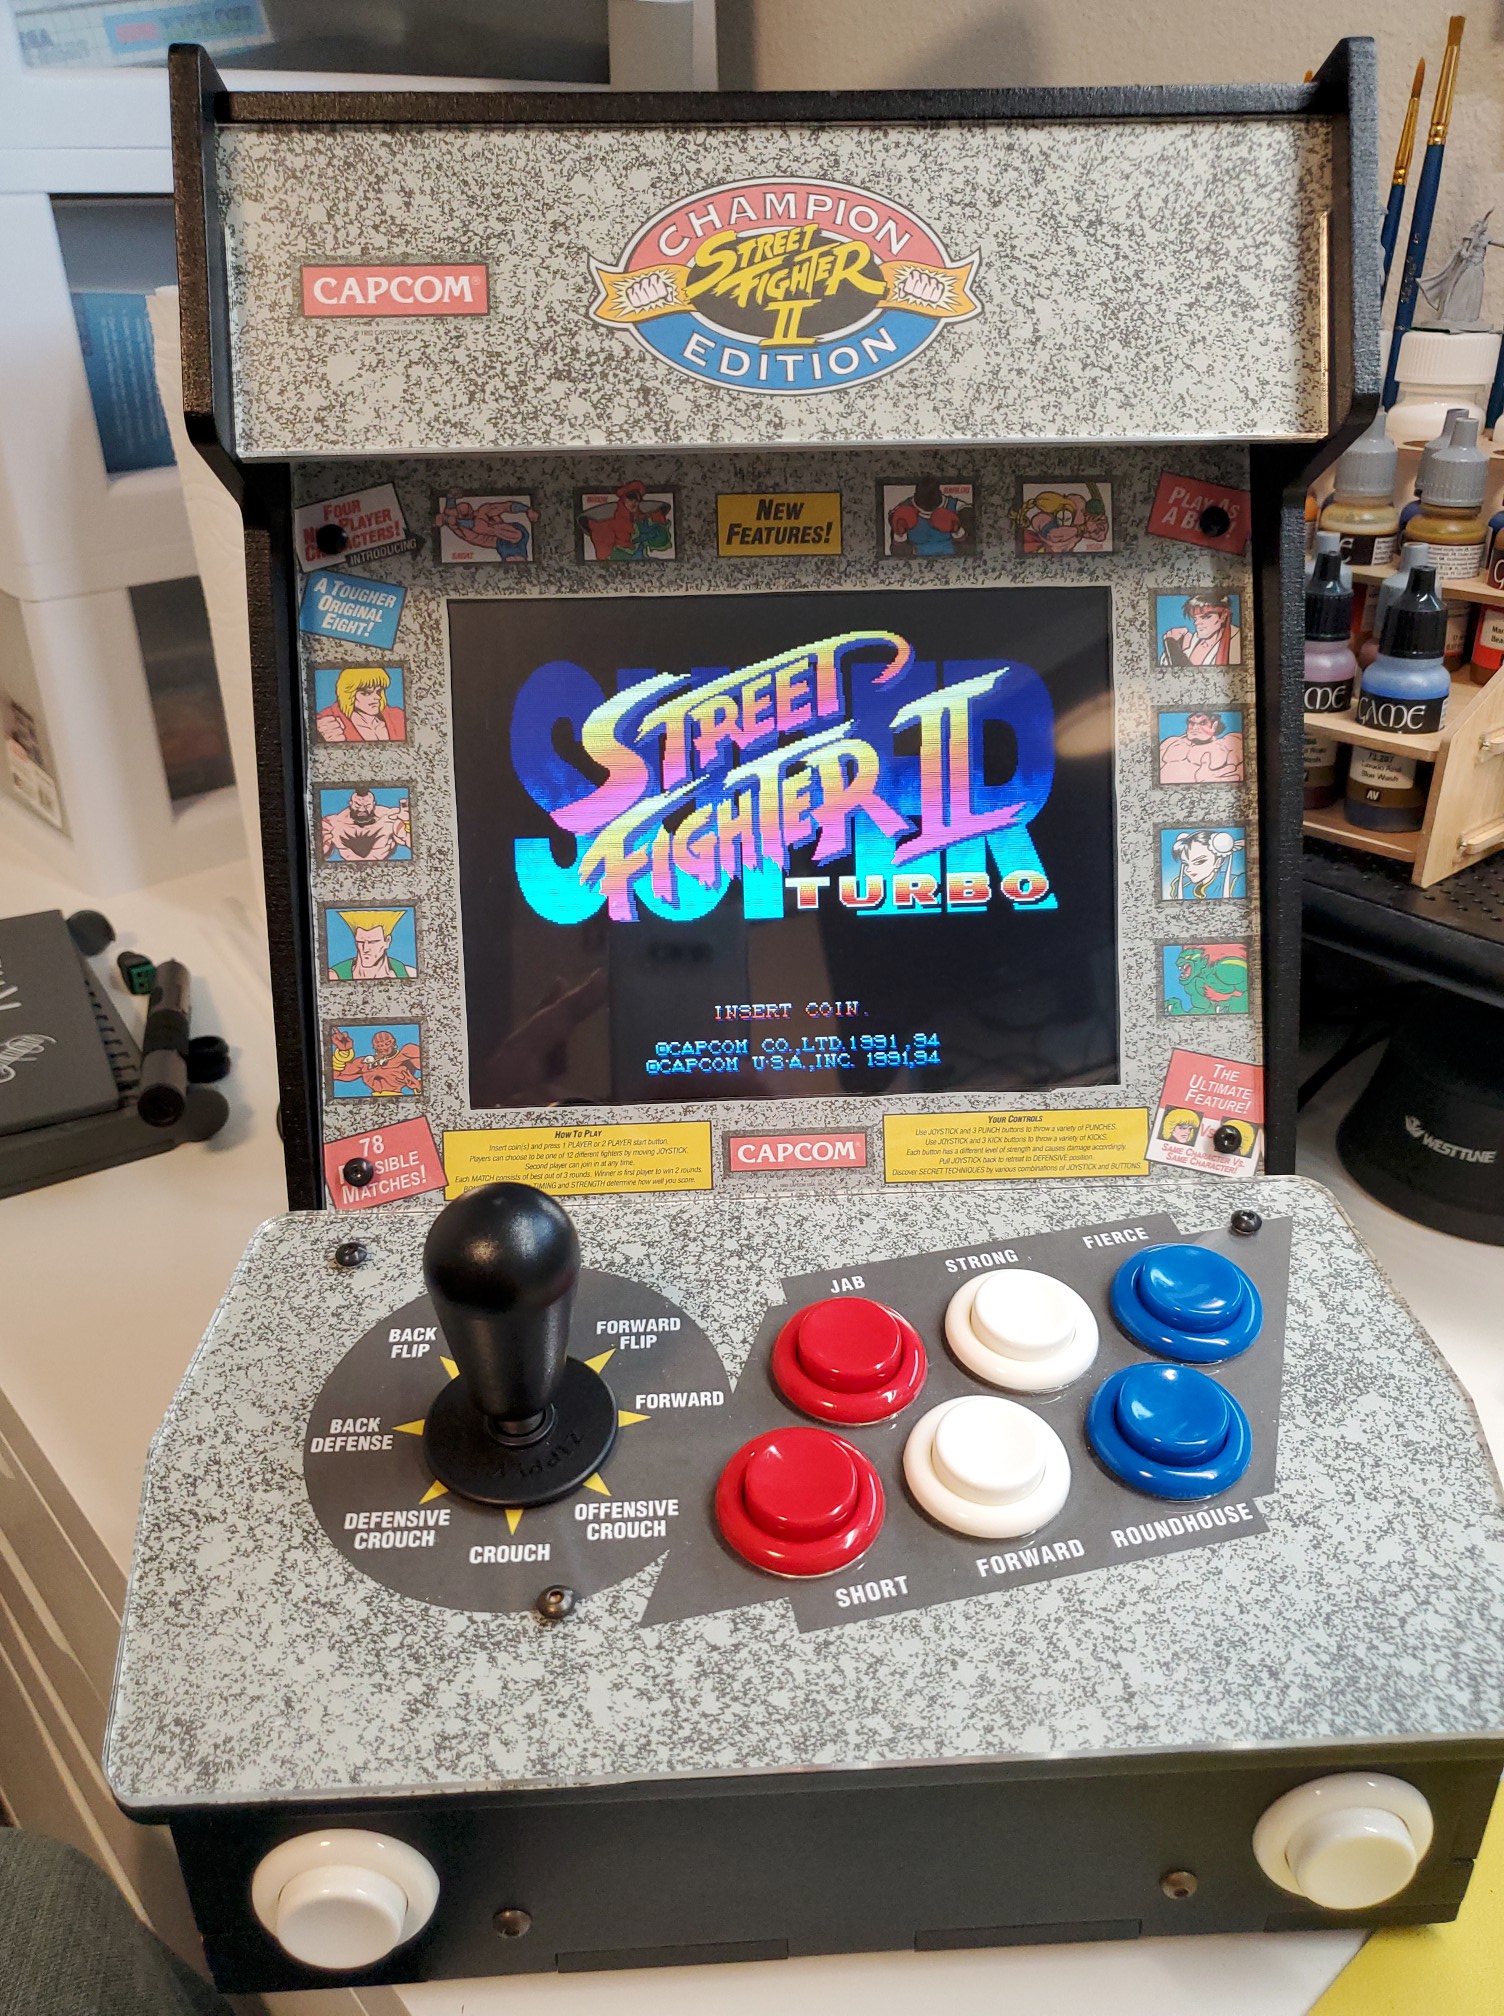
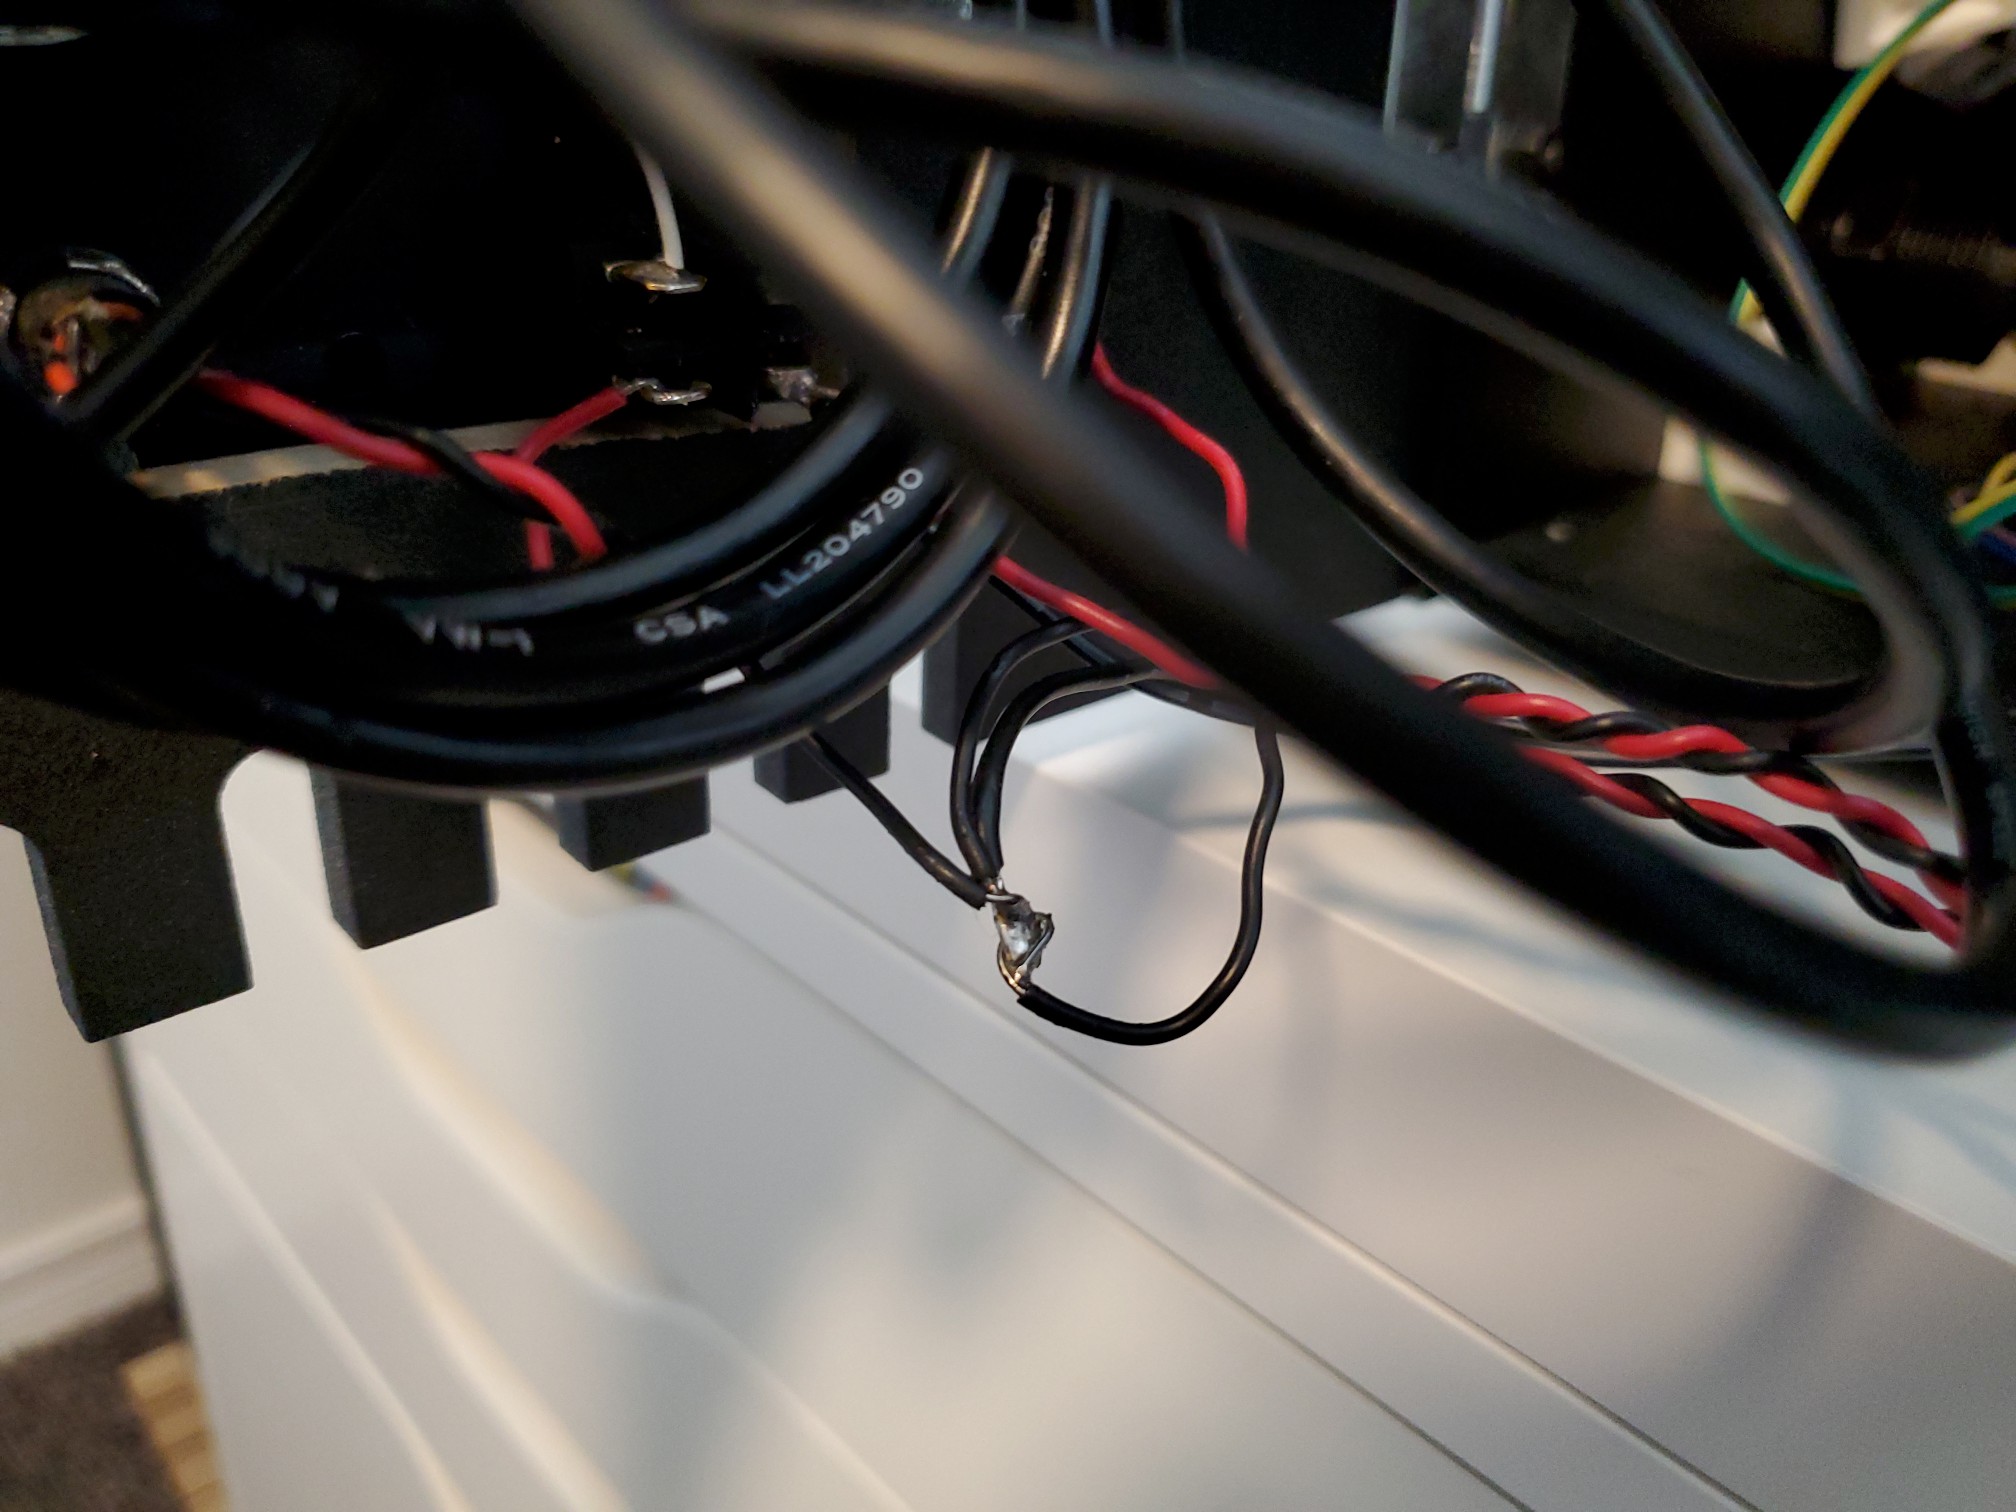
Everything was (mostly) fine, unless I touched anything inside while it was running. The machine would lock up or reboot, or there would be a healthy increase in noise coming from the speakers. I started by cleaning up some of my “early amateur soldering” for the monitor and amp power wires:

Then I decided to simplify the situation by removing my amateur “powered” USB hub as I’d already planned:

Fixing the audio problems

Even with that wiring cleaned up, there was still a problem with the audio. The noise coming from the speakers was atrocious, and worse, clicking on the amp caused some kind of power spike, causing the Pi to lose power for just a second and hard reboot.

I remembered how smashed the wires into the amp looked, and made the decision to open the control panel back up and rewire it. I removed the very ugly and amateur collection of electrical tape wrapped pins I’d soldered in place before, and installed actual JST connectors:

Unfortunately, even with those fixes, I couldn’t solve the issue with clicking on the amp causing the power spike. I’m not enough of a hardware guy to know what kind of circuit I need to protect against whatever transient condition happens when this (click on?) potentiometer makes first contact.

Regardless, I was able to finally get rid of the speaker noise. I rerouted all the wires so audio wouldn’t run parallel to power, made the power lines as short as possible, and installed a ground loop noise isolator. I also installed a proper 4 to 3 ring 3.5mm adapter, since the Pi 3B outputs both video and audio from its 3.5mm jack, and I didn’t want any noise from that.

So it wasn’t a perfect fix – if I turn on the main power with the amp clicked off, clicking it on will cause a hard reboot (and potential SD card corruption). If the amp is clicked on (even at the lowest volume), then I can turn it up and down without a problem, giving clean, noise-free sound. I can even click the amp off and back on when everything’s already running without a problem. So I’m just extra careful to never click it completely off, and that’s good enough for now.

The final bits

With the major issues addressed, the final bit of hardware was to install a couple heatsinks on the Pi. Not strictly necessary perhaps, but $4 for a little peace of mind was worth it:

With that final bit installed, I went ahead and copied over my favorite version of Street Fighter: Street Fighter II’ Hyper Fighting, and started it up for one final hardware test:

It worked perfectly, running at full speed and filling the screen, even with a video filter enabled to simulate the slightly fuzzy look of an older CRT screen. I love it.

Setting up Batocera

I won’t go through all the minutiae of setting up Batocera to my liking, but the experience was very satisfying. I changed the default boot and loading images to Street Fighter art, and set it to boot directly to my list of favorites. There’s a built-in menu to set up the Mausberry shutdown circuit, which was very nice and completely unexpected. I had to tweak some audio settings to deal with known audio issues with Raspberry Pis (which I didn’t know before), and I set up the WiFi so I could easily copy games over from my PC without having to shut it down and remove the SD card.

As for games, it’s mostly fighters and beat-em ups, but there’s some other classics on there as well. I’ve got about 100 arcade games on it already, and I’m running out of ideas for more. There’s even built-in “metadata scraping”, so instead of raw ROM lists, each entry shows the game title, the year it came out, a description and a screenshot. It’s all very slick.

The final result

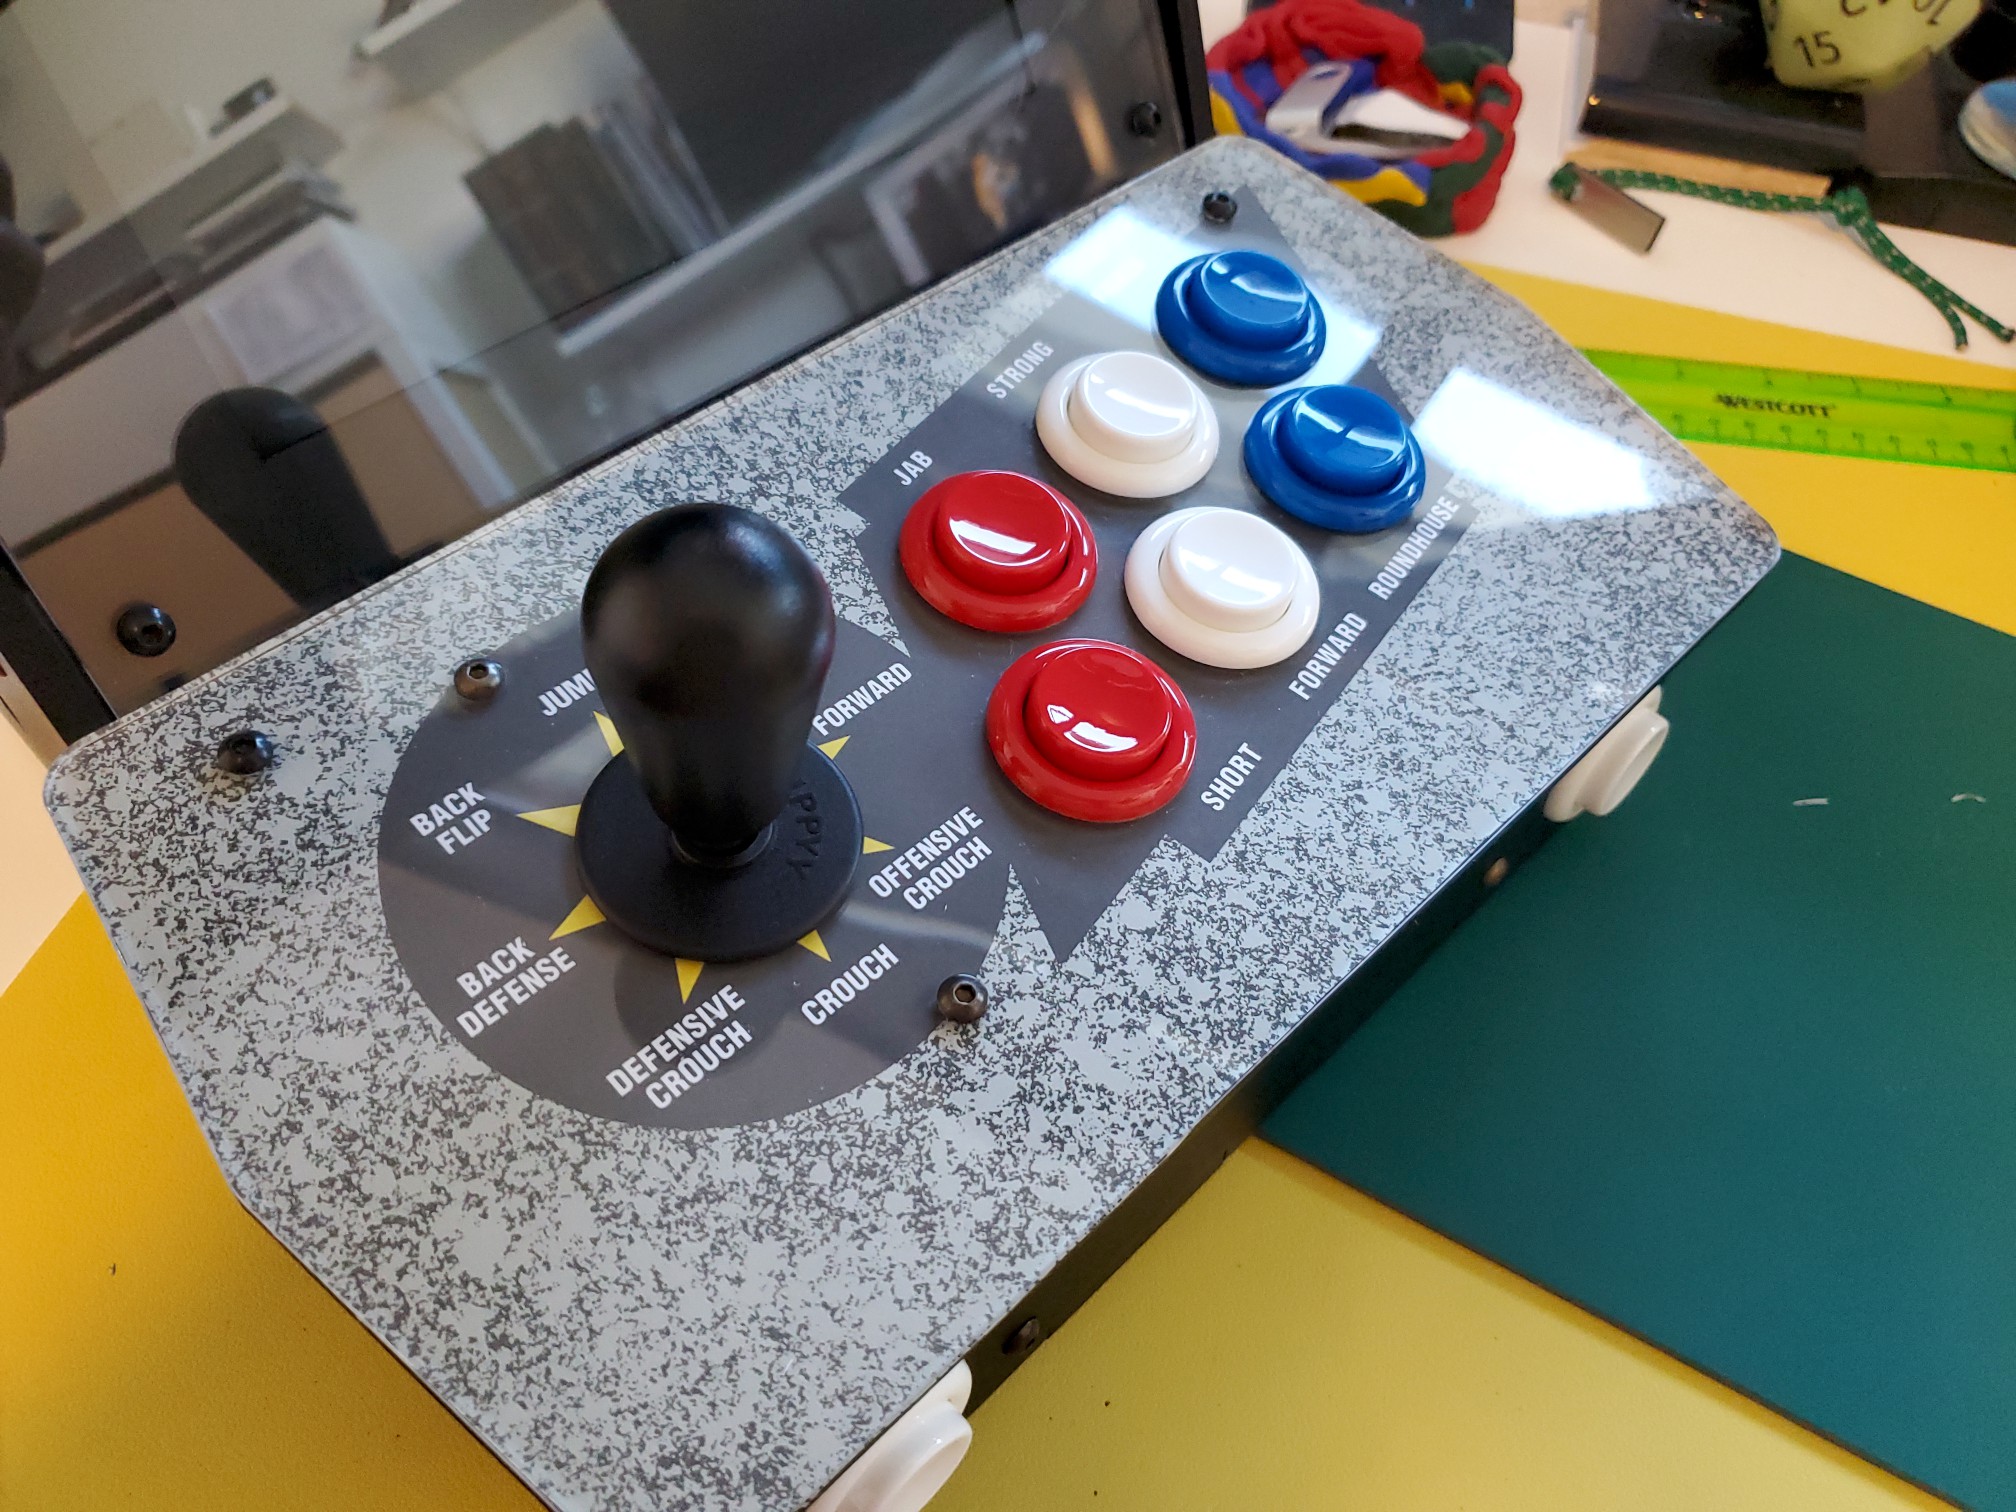
I am thoroughly pleased with how the new Picade turned out. A little more work than I expected, but it only took me a couple days, not including waiting for items to arrive. To cap the project off, I filmed a video of the new Picade in action:

/jon
Building my own Sega Genesis Mini

It’s been several years since I posted Building a own custom retro console running RetroPie. That project was a lot of fun at the time, but I haven’t built another custom system since.

I just wanna play Sega Genesis

My original intent was to build something that focused on playing Sega Genesis games. The Genesis remains my favorite childhood console, and my dream was to build an emulation machine that looked like a Sega Genesis externally, but loaded with the entire library of games.

However the Raspberry Pi was still in its infancy back then, and I couldn’t bring myself to cannibalize an actual Genesis for its shell. Instead I settled on building my custom console with a generic case and (Xbox 360) controllers featuring a similar six-button layout. But that build just didn’t hold my interest for very long and I ended up digging out my original Sega Genesis, picking up one of Krikzz’s EverDrive flashcarts, and never looking back.

Fast forward to 2019, and Sega released the Sega Genesis Mini, which I happily picked up. It was my favorite of the official mini consoles, and it earned its spot on my desk at work. Despite the quick availability of hacks to add more games (and systems), I appreciated having such a tight, curated experience, even if I didn’t agree with every game choice.

Home office plans

Now it’s 2022 and that mini has mostly sat unused while I worked from home. As our offices have reopened, I’ve decided to split my time and to finally build myself a proper home office. And while I’ve kept a spot on my desk earmarked for a small “retro hardware setup”, I also have nice large TV and couch just begging for its own game system.

My first thought was to bring the Genesis Mini home, but it’s nice to have a self-contained setup at work for the days I go in. My second thought was to just pick up a Xbox Series S, giving me access to my modern digital library instead.

Then the Genesis Mini 2 was announced, so that became a contender. I looked at the game list, but unfortunately it doesn’t really excite me. However, in the process of watching various YouTubers’ opinions on the system, I stumbled upon some other projects that I’d completely missed before.

Blast 16 and the RetroFlag MEGAPi case

Blast 16 is a Raspberry Pi image designed to help you build your own Genesis mini console. Rather than just another RetroArch and Emulation Station setup, designed to host the full library of every retro console ever, Blast 16 is very Sega-oriented, and only supports the Genesis, Sega CD, 32X, Master System, and Game Gear. More than that, the beautiful, box-art-focused UI can’t handle more than a couple hundred entries without slowing down. So it’s meant to make you curate your experience, and only put on games you really want to play.

On top of that, and the real icing on the cake for me, is it’s easy to pair the Blast 16 software with the RetroFlag MEGAPi Case, which looks just like an actual Model 1 Sega Genesis. Seeing the two together in this video, my original dream was rekindled, and building my own Genesis Mini jumped to the top of my to-do list.

Getting the parts

My first concern was the age of these projects – they’d all come to market years ago, in response to the official Genesis Mini release. And if there’s one problem with these kinds of niche retro products, is that they’re often impossible to get if you didn’t buy them on day one.

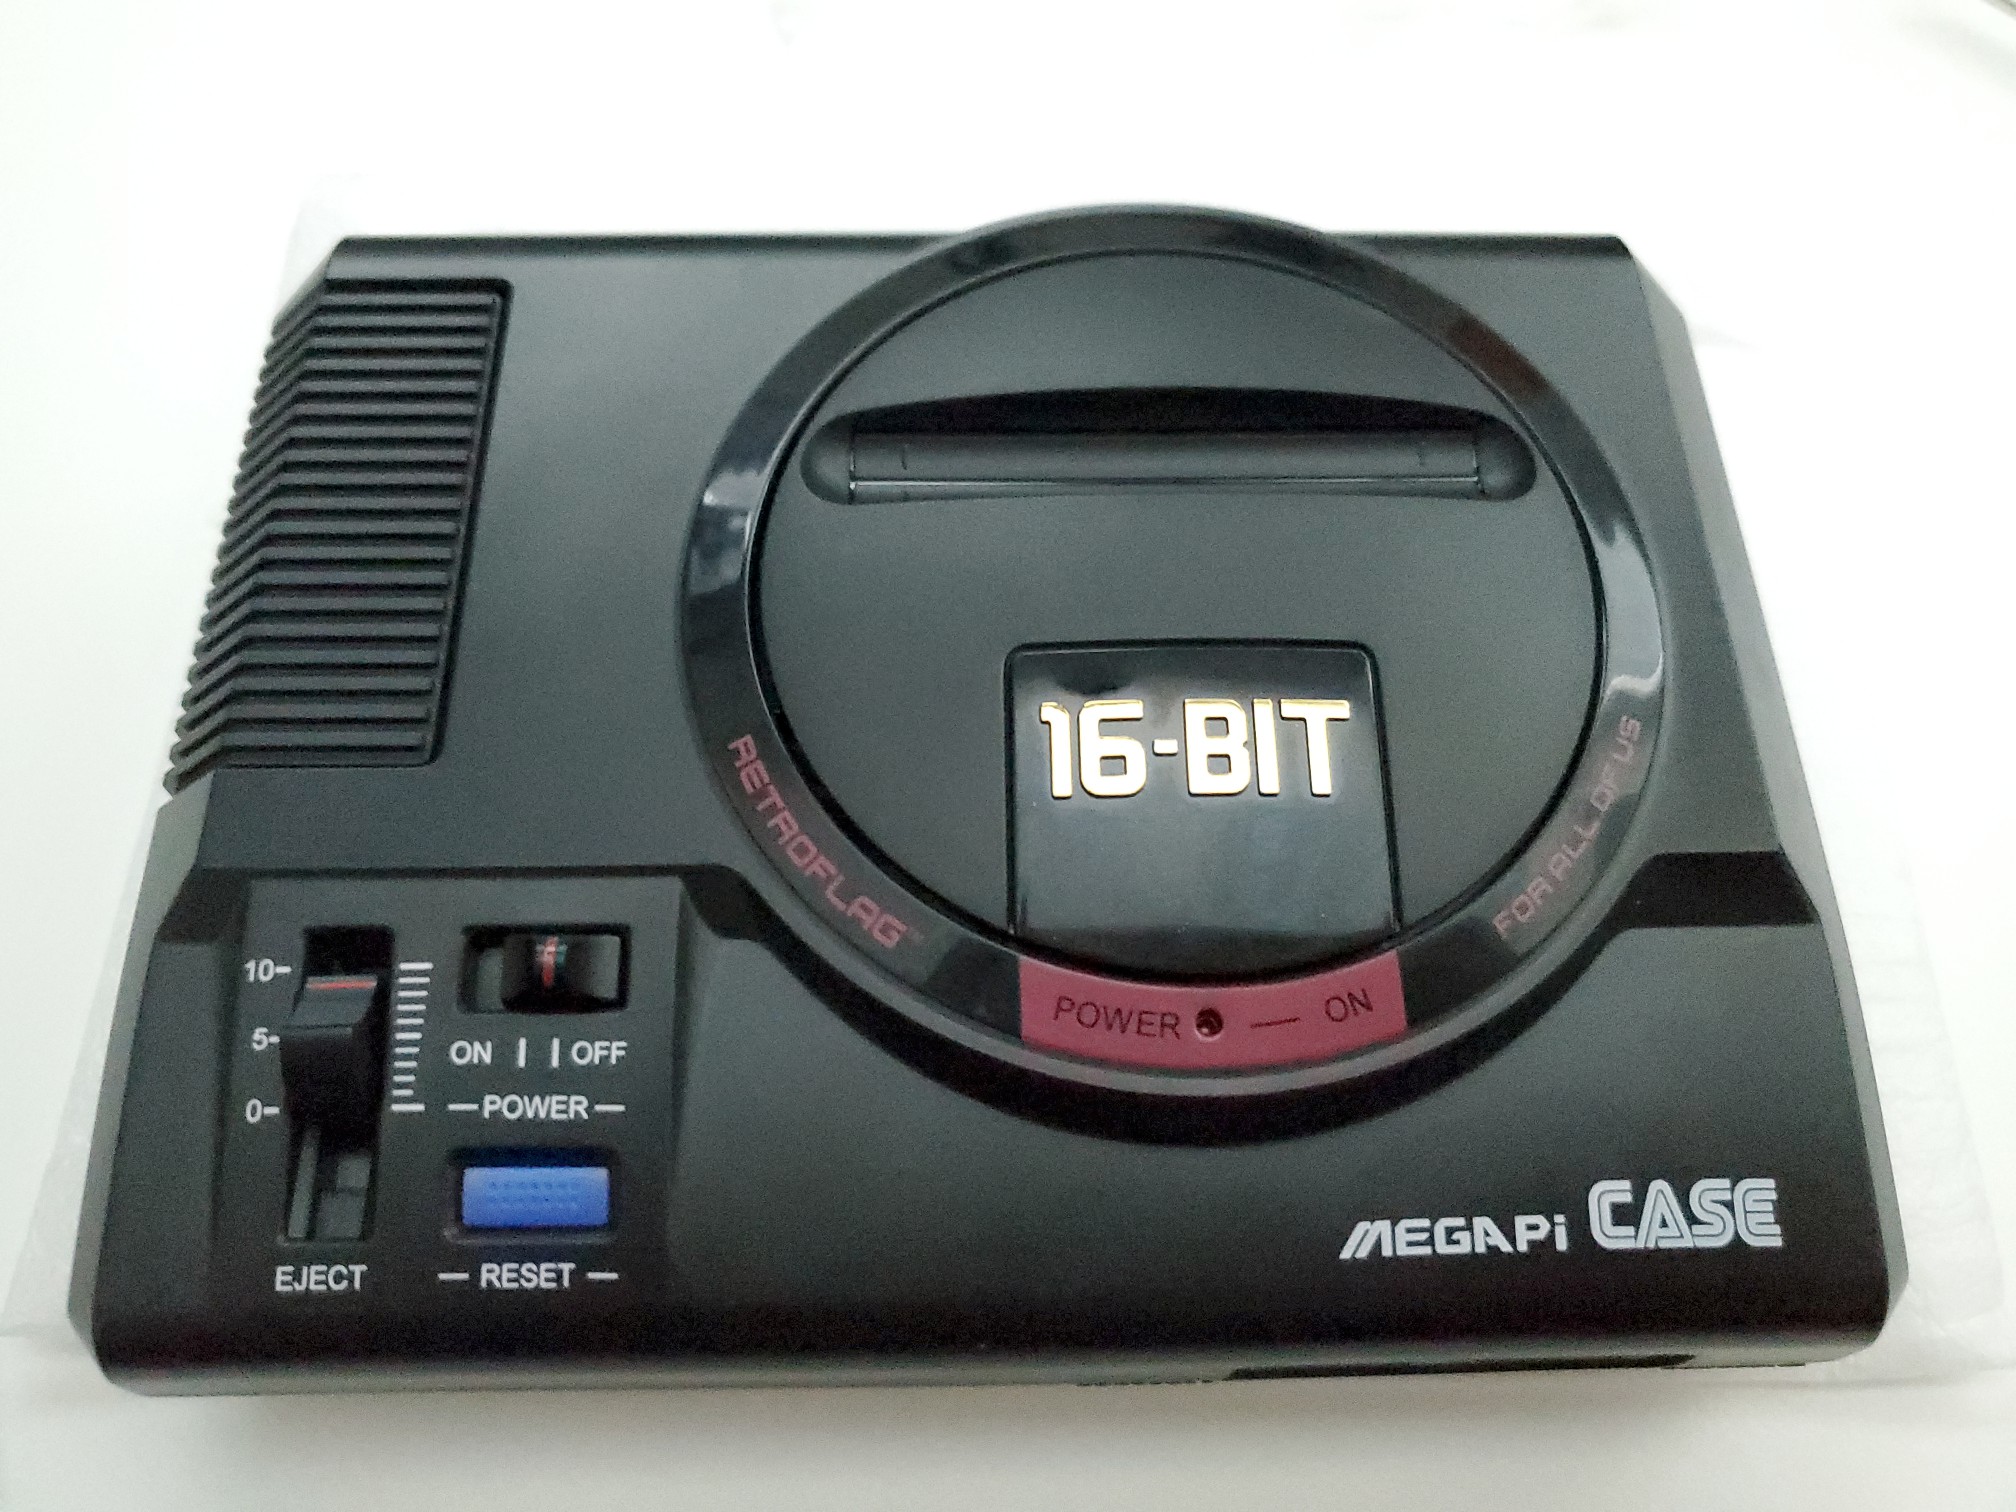
Thankfully the Blast 16 website was still up and running, and I was happy to find that the MEGAPi case is still available on Amazon. I put in my order, and it’s quite lovely:

Next I gathered up two 8Bitdo M30 Bluetooth controllers (which I already had). The only thing missing was a Raspberry Pi.

I almost had a heart-attack seeing my (lack of) options. The MEGAPi case supports the Raspberry Pi 2B, 3B, or 3B+, but almost no one carries them anymore. I’d have to shell out $120 just for the low-end 2B, which is three times its original retail price of $40, and doesn’t even have Bluetooth.

Thankfully, past me had me covered. Checking my Amazon order history, I saw I’d picked up a 3B back in 2017 (who knows for what), and sure enough I there it was in my parts bin, still in the box. Bingo!

Building the hardware

Installing the Raspberry Pi into the MEGAPi case was simple and straight-forward – just plug in the two USB plugs, the single plug for the GPIO, and screw the board down:

Finally I flipped on the switch labeled “Smart Shutdown” (more on that later), closed the case and screwed it shut:

Initial software setup

With the hardware done, the next part was setting up a Micro SD card with Blast 16. I used a 16 GB card (no reason to waste anything bigger), and following the excellent instructions on the Blast 16 website, got the card imaged.

After that, I installed the card through the little lift door on the side of the MEGAPi:

After running the device once for the initial setup, and pairing the M30 controllers, it was time to install some games!

Installing games

Doing so was super easy. All you have to do is copy your ROMs (with matching box-art) onto a USB flash drive in a particular folder structure. Then if you boot the system with flash drive plugged in, Blast 16 will automatically install them onto the system. Note: if you want to remove games later, you can do so from within the Blast 16 menus.

I installed a little over a hundred games, mostly Genesis favorites, but also select few 32X, Sega CD, and Master System titles. It may not be the forever list, but it’s a great start.

Installing the safe shutdown scripts

One of the biggest gotchas with building a Pi-based anything is that the board doesn’t have a power switch. Out of the box, you’re expected to plug in the power to turn it on, and make sure to safely shutdown from within the running software to turn it off. If you don’t, and just pull the power, you risk corrupting the SD card and breaking your system.

Thankfully, the MEGAPi case wires its power switch and reset button to the Pi’s GIPO pins, and RetroFlag provides scripts you can install on your system to trigger a safe shutdown or restart when they’re used.

Update: Whoops! Apparently the base Blast 16 image already includes a working safe shutdown script that I completely missed. My version is unnecessary and installing it may give you some random error messages.

Unfortunately, RetroFlag hasn’t touched their code in a while, so the scripts have bugs and the install instructions didn’t work for me with Blast 16. I ended up forking their code and fixing the scripts myself for the Blast 16 / MEGAPi combo. I’ve written up revised instructions here, but long story short, if you want to copy my work, once you’ve gotten your Pi’s network configured, you just need to run the following from a terminal:

wget --no-check-certificate -O - "https://raw.githubusercontent.com/jonthysell/retroflag-picase-blast16/main/blast16_install.sh" | sudo bash

After it reboots the power switch and reset button will work as expected.

Final thoughts

I really love how well this project turned out. It looks so nice under my TV:

The UI is beautiful, and while I normally like the clean, pixel-perfect look when emulating, I’ve found I really like simulating an old CRT on this setup by setting the scaling to 4:3, turning on scan lines, and enabling the NTSC composite filter. Note: that last option meant going into RetroArch’s menus, so while that isn’t strictly necessary, I like that it’s still available.

In fact, having access to RetroArch’s menus meant I was also able to enable RetroAchievements, which was listed in Blast 16’s FAQ as unsupported. It works great, and I find adds a whole new level of fun when playing these old games.

Overall I’m thrilled to finally fulfill this old dream of mine, and while it doesn’t have literally every single game, I expect to spend plenty of hours playing my custom Sega Genesis Mini.

/jon

Building a custom retro console running RetroPie

Ever since I first heard about Raspberry Pi and the RetroPie project, I’ve wanted to build a retro console. Something with all my favorite old game systems emulated in a compact classy box, with nice controllers and fully customizable.

Back in the day I used to have a soft-modded Xbox original to play retro games, but it was loud, bulky, and the controllers weren’t great. When I got my first Raspberry Pi, I tried to make my custom console, but I ran into several problems:

  1. Power issues: A non-clean shutdown meant corrupting the SD card, which isn’t user-friendly, and no power switch
  2. Weak ports: Connecting straight to the light-weight Pi meant it was often left hovering in the air, which would strain the HDMI and USB connections
  3. Available cases: Raspberry Pi cases all seem to fall into the category of tight as possible, giving no internal room to address 1 and 2 above

My first successful attempt was of course building the Picade, but it has two major limitations:

  1. One player only
  2. Kind of heavy to play on a couch

Since then I’ve been planning a new machine. The goal has been a small, two-player console that connects to modern TVs. Then after I discovered this lovely Polycase ZN-40 electronics enclosure, I new it was time to get to work. Yesterday was Pi Day, and I’d just cloned my Picade SD card, so I decided to finally try putting a console together.

It went together way faster than I anticipated! Now I can’t wait to make a couple more: one for home, one for work, one for the game room… the opportunities are endless.

Okay, enough typing, time to play!

/jon

P.S. Here’s a quick video and some development pics:


retroconsole01 retroconsole02 retroconsole03 retroconsole04 retroconsole05 retroconsole06 retroconsole07 retroconsole08 retroconsole09 retroconsole10 retroconsole11

Building the Picade Mini Part V, final touches

In Part I I put together the cabinet, in Part II I got the main electronics installed, in Part III I created a custom rear jack panel, and in Part IV I got everything up and running 95% how I wanted.

After that last post, I took the machine to work to show off. Got lots of people to try it out, and the biggest bit of feedback was people wanted their MAME games. I also really wanted to play six-button Sega Genesis games. So I spent some time updating my secondary RetroPie build to the latest version, which gave me a much more functional Genesis emulator, including save state support and six-button controls. Then I switched to mame4all-pi, and put the correct MAME roms on the box, which finally gave me working MAME games.

Once I was sure the update would improve things without breaking my Picade, I went ahead and switched back to that build. I updated the Picade, and when that was done, it turns out I was using the wrong resolution before. The Picade Mini has a 4:3 screen, and I was outputting widescreen before. Once I fixed that, I changed the splashscreen to use the official Picade art from the Kickstarter.

The last bit of work was getting MAME working. It involved making all of the requisite folders mame4all-pi needs to save configs and high scores. Once that was done, I spent the time to go into MAME and reconfigure all of the controls to use what I have on my joystick. Everything I’ve done is in the updated configs file I’ve attached at the bottom of this post.

Here’s an updated video of the build in action:

And the original video if you missed it:

Enjoy!

/jon

My Picade Configs [184k ZIP] Updated 02-JUL-2014

I’ve configured my build to use as much screen real estate as possible without compromising on aspect ratios. The buttons are set up such 1-6 on the top map to playing buttons (Y X L B A R), the front are for Start and Select, and the side buttons are Escape and Control. Holding the right side button while I hit another button performs various emulator commands:
  • Left side – exit the emulator and return to the menu
  • B (bottom row, first button) – lower volume
  • A (bottom row, 2nd button) – raise volume
  • R (bottom row, last button) – hits Ctrl+C to forcefully exit any game
  • Y (top row, first button) – load state
  • X (top row, 2nd button) – save state
  • Select – bring up emulator menu

Includes configs for all of the RetroArch emulators, and for mame4all-pi. Feel free to change the configs to support your own needs.

Building the Picade Mini Part IV, let’s finish this up!

In Part I of this build, I put together the main parts of the cabinet. In Part II I got the main kit’s electronics installed and tested. In Part III I created a custom rear jack panel.

Next step was to finally install the rear door. The included hinges and latch worked perfectly.

Rear panel attached Rear panel open

With the rear door in place, it was time to install the Raspberry Pi and put into effect my grand wiring scheme.

The goal has always been a single power supply with a single power switch to get me into a ready to play system. With that in mind I installed a single throw, double pole switch.

The first pole is responsible for powering the monitor and customized USB hub directly. For the monitor I used the cut off the barrel-end of the included power supply. For the USB hub I severed the power leads for the host plug (so that it would never draw power from the Raspberry PI itself) and ran new power lines straight out the side. Simple enough, and both devices power up as soon as I hit the switch.

Rear panel wired 2Now for the Raspberry Pi itself, I need something else. If I run power straight from the switch to the Pi, then killing the power threatens corrupting the Pi’s SD card and killing the machine.

Since it’s a common enough problem, and since I didn’t want to reinvent the wheel, I simply used a Mausberry shutdown circuit. In concert with a small script that runs on the Pi itself, what the shutdown circuit does is uses a pair of GPIO pins on the Pi to monitor when the Pi is running. When the switch is thrown, the circuit tells the script to tell the Pi to perform a clean shutdown. After the shutdown occurs (killing the script), the circuit finally cuts power to the Pi.

So essentially I wire power straight from my jack to the shutdown circuit, and attach the second pole of my switch to the designated spots on the shutdown circuit. (There’s also room for an emergency swtich to reset the Mausberry circuit itself, but I didn’t bother).

Rear panel wired 1Sum total is that when the power switch is turned on, everything is powered on. When the switch is turned off, power is cut immediately to the monitor and USB hub, and a signal is sent to the Pi to shutdown cleanly. About 2-3 seconds later, the Pi shuts down and power is cut to the Pi.

So as long as I don’t physically pull out the jack, I can safely hit the power switch to power off the machine, even in the middle of a game, as long as I wait for a few seconds before pulling the actual plug. The speakers pop when the Pi loses power, so I know I’m safe to unplug.

The last bit of hardware setup was to connect the Pi in to everything. I connected the shutdown circuit and Ethernet jack to the Pi and both the rear USB jacks and the Picade controller to the USB hub (I’ll explain why later). I connected the HDMI from the monitor to the PI and the audio out from the Pi to the Picade board.

Finally, time to start playing with the software!

My first attempt at building an emulator rig with Raspberry Pi used the wonderful RetroPie Project. Since I had already gotten that up and running on another build, (with lots of games working) I decided to take a shortcut and clone that SD card as my starting point for my Picade.

First I tweaked the config.txt to optimize the display for the Mini’s screen (I’ll attach my config at the end of the post). Then I configured the Picade joystick as the new (and only) device. Again, I ended up needing to reprogram the Picade controller, as the default key selections, while great for MAME, actually caused all kinds of problems with RetroArch, which is the framework a lot of my emulators were using. (Again, I’ll add my configs to the end of the post).

The last real configuration (and it still needs some work) was for audio. By default, if you have HDMI connected, the Pi won’t output audio from the 3.5mm jack. I fixed that with the Raspberry Pi sound troubleshooting guide. (Hint, it’s amixer -c 0 cset numid=3 1).

The only audio hiccup I still have is that by default the sound is at max volume at boot. And it is LOUD. Even worse, it seems like potentially something is shorting on the Picade board- such that if the Picade board is wired directly to the Pi, and a loud sound plays, the controls straight up die. The solution I found for the controls was to connect the Picade controller board to the USB hub instead. As for the loud sound, my current workaround is to go in and out of the settings for Emulation Station (the front-end UI for the emulators) after boot. For some reason this resets the audio to regular ranges until I reset or power down.

After figuring that out, the box pretty much runs the way I want it to. I can play NES, SNES, GB, GBC, and GBA without any problems. Master System doesn’t work too well. Genesis works but the emulator (Picodrive) for some reason is locked to 3 button mode only. I haven’t gotten MAME to work yet- none of my roms are the right version it seems.

At this point the project is basically done. I might add a headphones jack, but the joystick itself is super loud anyway. The whole thing fits comfortably on my lap to play, but the front edge is sharp on the wrists so I might grind that down a bit.

Anyway, hope you enjoyed following my build!

/jon

My Picade Configs [184k ZIP] Updated 02-JUL-2014

I’ve configured my build to use as much screen real estate as possible without compromising on aspect ratios. The buttons are set up such 1-6 on the top map to playing buttons (Y X L B A R), the front are for Start and Select, and the side buttons are Escape and Control. Holding the right side button while I hit another button performs various emulator commands:

  • Left side – exit the emulator and return to the menu
  • B (bottom row, first button) – lower volume
  • A (bottom row, 2nd button) – raise volume
  • R (bottom row, last button) – hits Ctrl+C to forcefully exit any game
  • Y (top row, first button) – load state
  • X (top row, 2nd button) – save state
  • Select – bring up emulator menu

Feel free to change the configs to support your own needs.

Update: See the video: Picade Mini build running RetroPie.

Update: Part V is up.