In Part II, I described my first purchase: a Power Macintosh 8600/200 in pretty good shape. But I left the most important question unanswered – does it work?
Replacing the PRAM battery
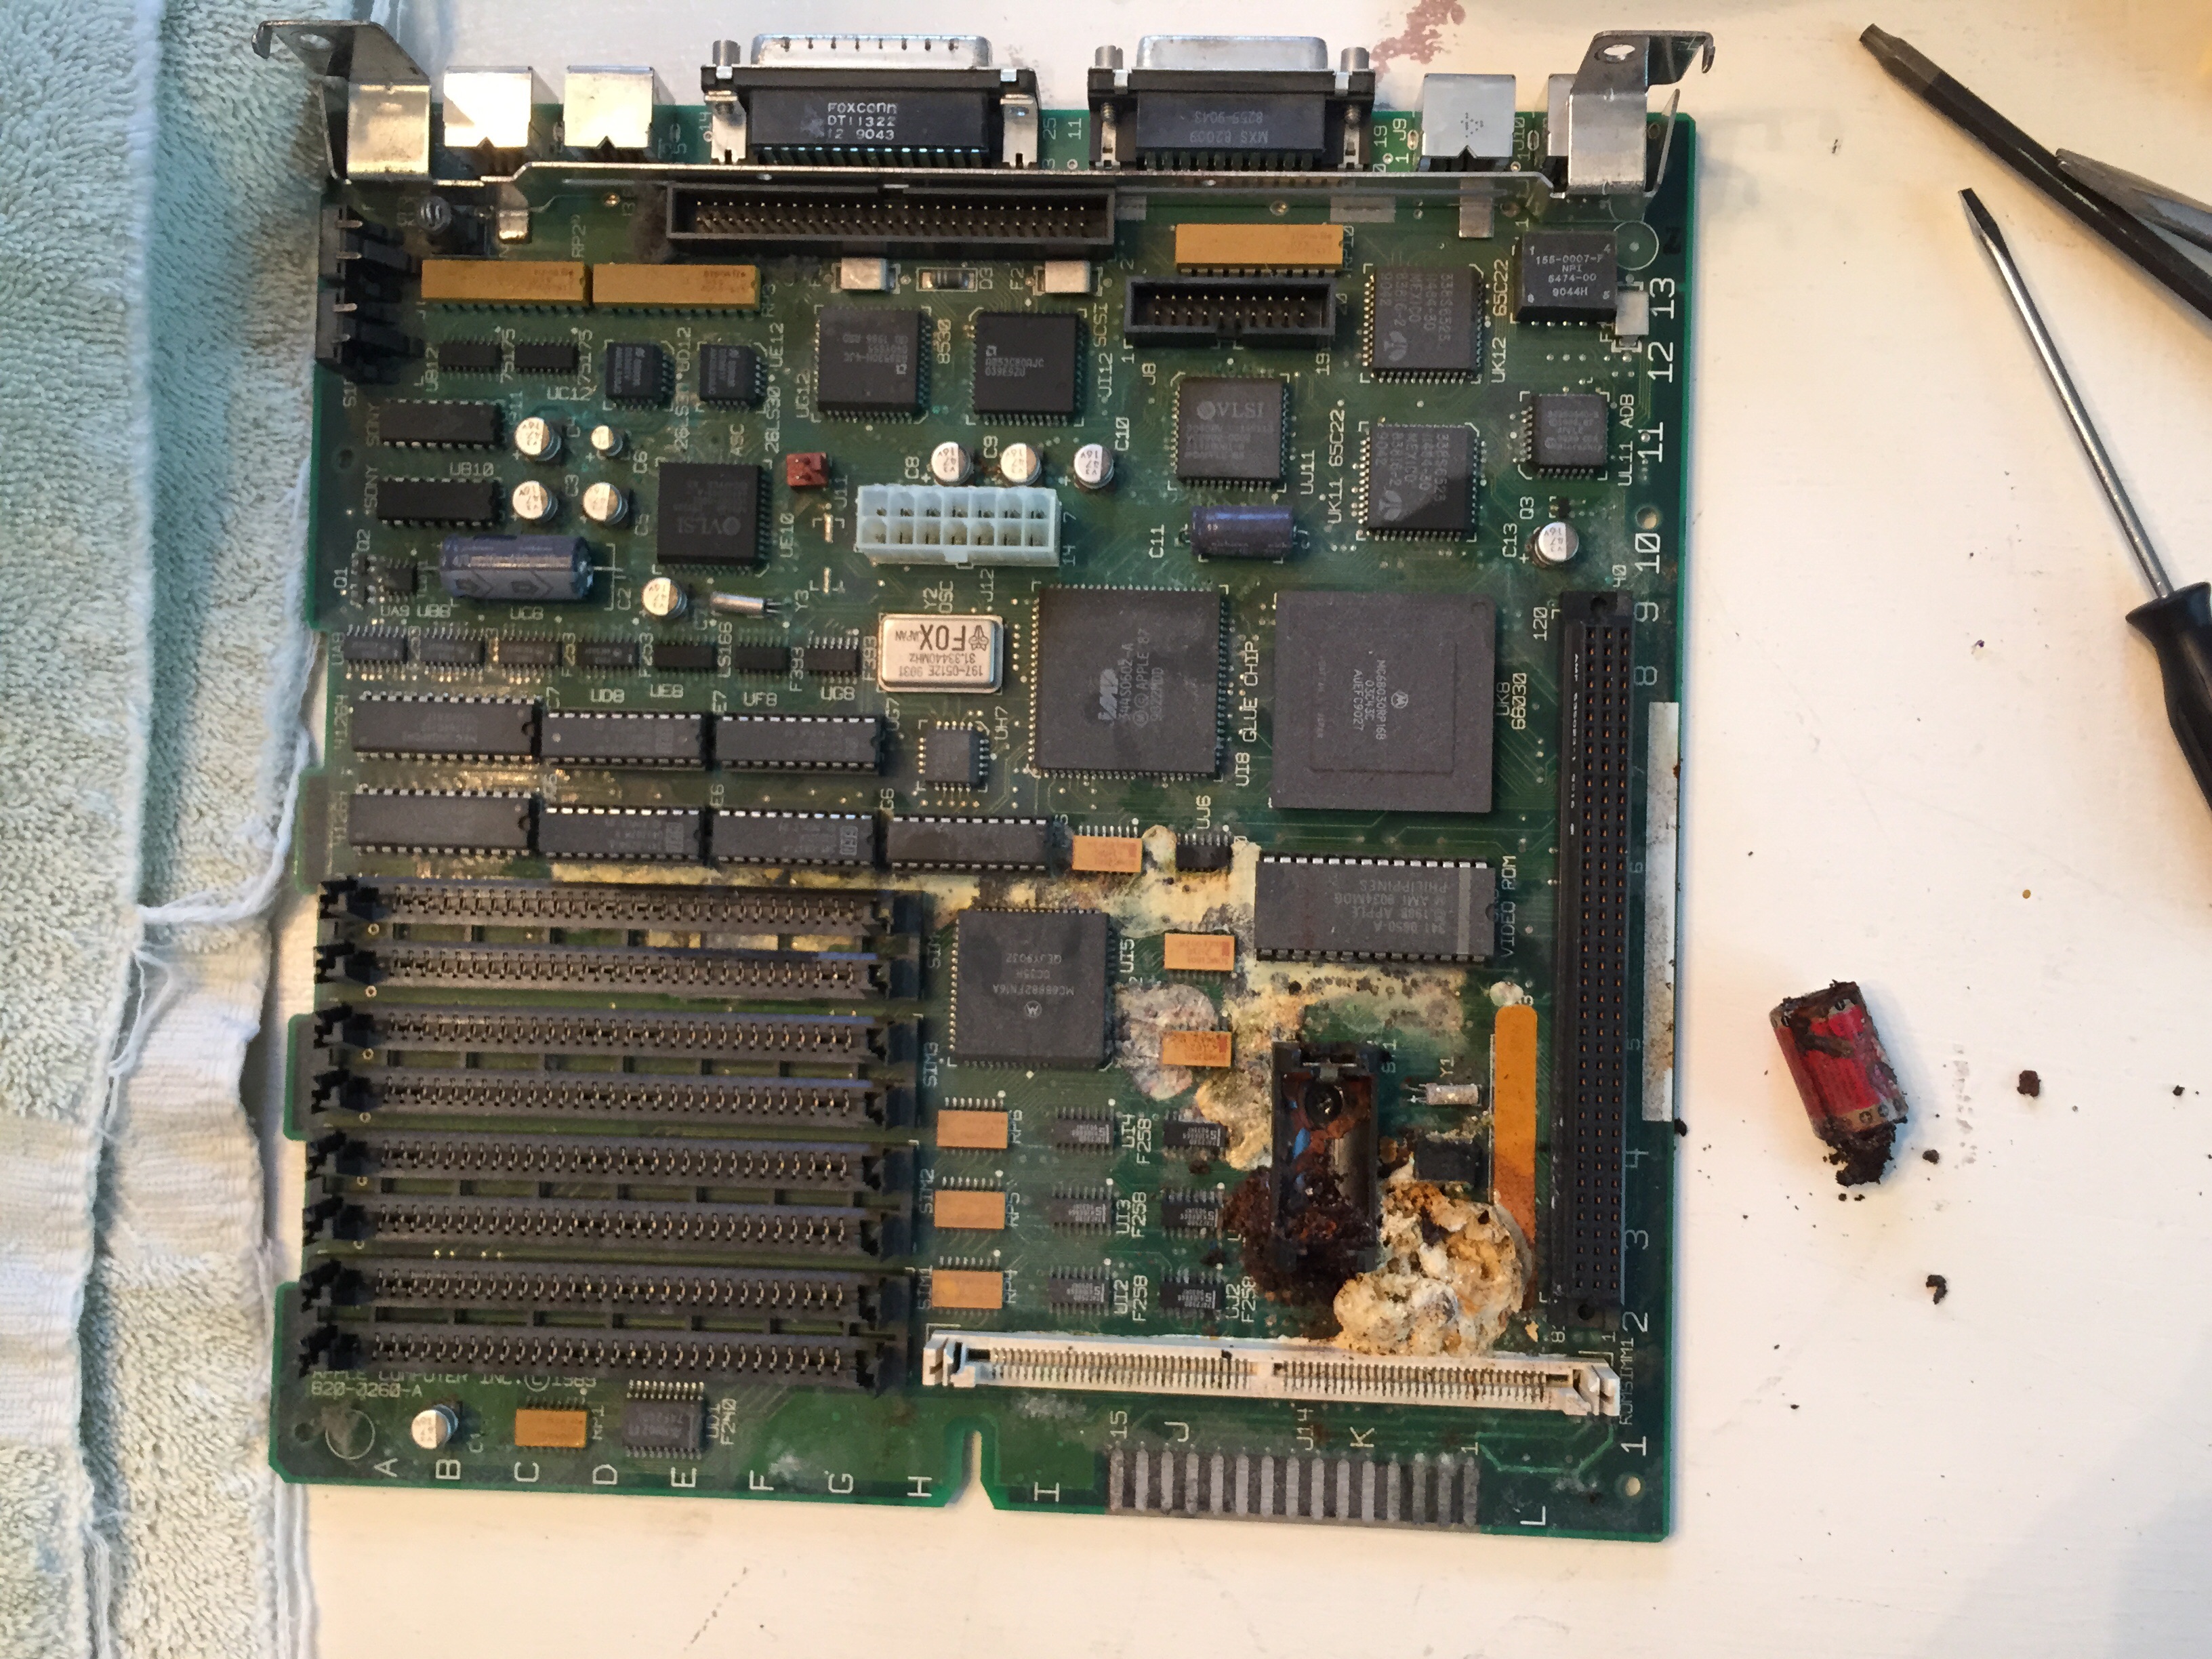
First step was to replace the PRAM battery – the little cell that keeps the clock in-time when the system is unplugged, and maintains a small list of basic settings like the screen resolution, which drive to boot, etc.
You’ll notice in the previous post’s photos that I’d already removed the original battery – in fact it was the very first thing I did when I opened the machine up.

December 1996. Seeing as this model was on the market in 1997, that’s probably the battery’s manufacture date, making it almost 24 years old!
I tested it with a multi-meter and it registered zero volts, confirming it was dead, well past its expected life of ~10 years. Thankfully, and most importantly, it failed gracefully – no leaks and no explosion. It’s a real risk too.
Thankfully, replacing the battery was smooth and simple.
Connecting a modern display
After replacing the battery, the next step was to get the machine set up and connected to a monitor. The only loose monitor I had available was a cheap LCD I’d bought a few years ago.
While many vintage macs could output VGA-compatible signals, Apple had their own unique video connectors. I had to pick up a cheap configurable VGA monitor adapter (FYI, the correct setting was 2, 3, 6, 7).
With that connected, it was time to start up the machine!
First proof of life
The machine started up with a satisfying startup sound:
")
It lives! The blinking “missing disk” icon is the exact behavior one expects without a boot disk present. Which means, the next step is to prepare a boot disk.
Breaking out the Floppy Emu
Without an already set-up hard drive, the two standard options I have for this machine are a boot floppy or a boot CD-ROM. I’d ordered the original system install CD, but it hasn’t arrived yet. (Side note, I’m behind in blogging all of this, but I ordered the CD August 17th, it wasn’t even shipped until September 4th, and it still hasn’t arrived as of this post).
Could I have burned a CD? It turns out yes, but I didn’t know that, or whether the CD-ROM drive even worked.
Could I use a floppy? Not right away – I do have blank floppy disks, but as far as I knew, no way to make a mac floppy on my PC, even if I had a floppy drive (which I didn’t). And again, no guarantee that the floppy drive in the mac works either.
So, time to bust out my first “modern” toy in this adventure: a Floppy Emu. I mentioned back in Part I that there are modern devices that emulate the older drive hardware and use SD cards, and the Floppy Emu is just that. It’s a little device that plugs into the internal floppy cable (or external floppy drive port) of these vintage machines, and lets you read from (and write to) floppy drive images on the SD card.
I put several boot floppy images onto an SD card, disconnected the real floppy drive, ran its cable out the front of the machine, and connected the Floppy Emu.
")

It took a few tries with different images (some threw up errors saying they wouldn’t work on this particular machine) but eventually the Mac OS 8 Disk Tools 8.1 PPC worked. Success!
Booting from floppy was slow, and this particular floppy image is really just to help you set up / troubleshoot your hard drives, but I was finally able to prove the machine wasn’t a lost cause.
About this computer
")
When getting a vintage mac up and running, it seems it’s tradition to take a photo of this screen, showing off how much RAM you have and that you’ve gotten this far. I myself was pleasantly surprised – I had counted the four RAM DIMMs and after a little research had concluded that they were 16MB each, for a total of 64MB RAM. Not amazing by today’s standards, but twice the standard 32MB this machine came with.
Turns out one of sticks was actually 32MB, so 80MB for me! Considering the price and availability of RAM for this machine (we’ll get into that in a later post) every little bit helps.
I think that’s enough for this time, stay tuned for Part IV!
/jon
Want to read from the beginning? Start at Part I.

5 thoughts on “Adventures in Macintosh restoration Part III: The Power Mac lives!”