My Mac SE/30 Part V: New ROM, New RAM

In Part IV of this series I laid out some of my plans for upgrading the vintage Macintosh SE/30 I’ve been restoring.

I’d ordered a new GGLABS MACSIMM ROM replacement, to raise the system’s max RAM from 8MB to potentially 128MB. I’d also ordered 64MB of RAM, because as far as I knew only half the slots in my machine were functional, and I didn’t want to waste the money until I’d tested it out.

Installing the MACSIMM

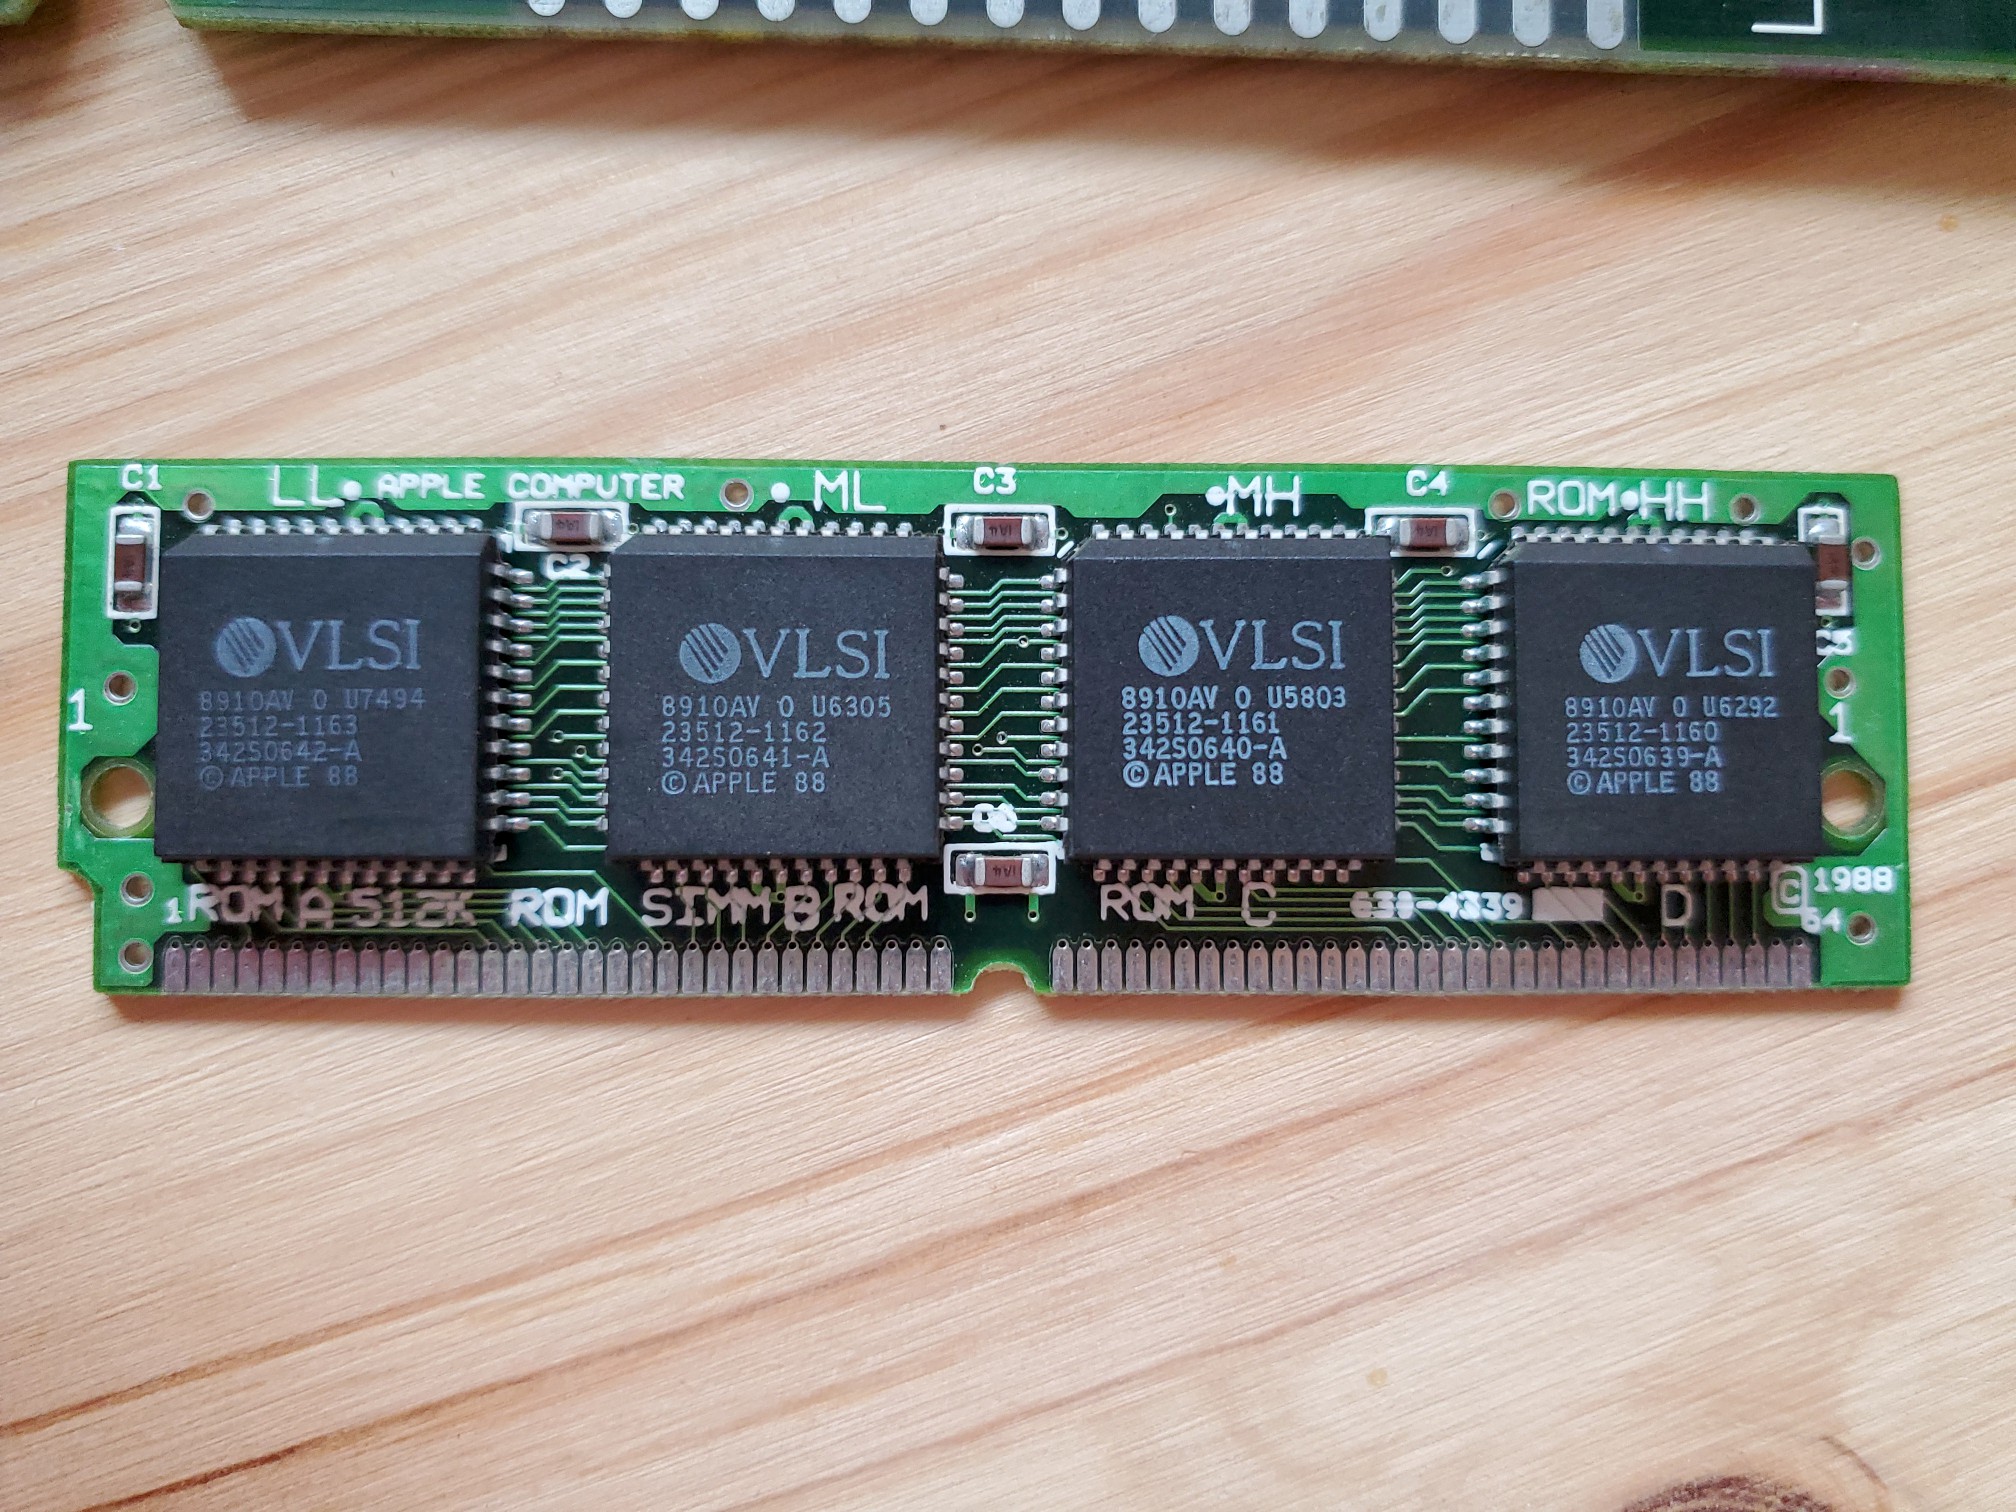
Installing the MACSIMM is as easy as swapping RAM: gently unlock the clips that hold the original ROM SIMM in place to pop it out, then pop in the replacement. Here’s the original ROM SIMM:

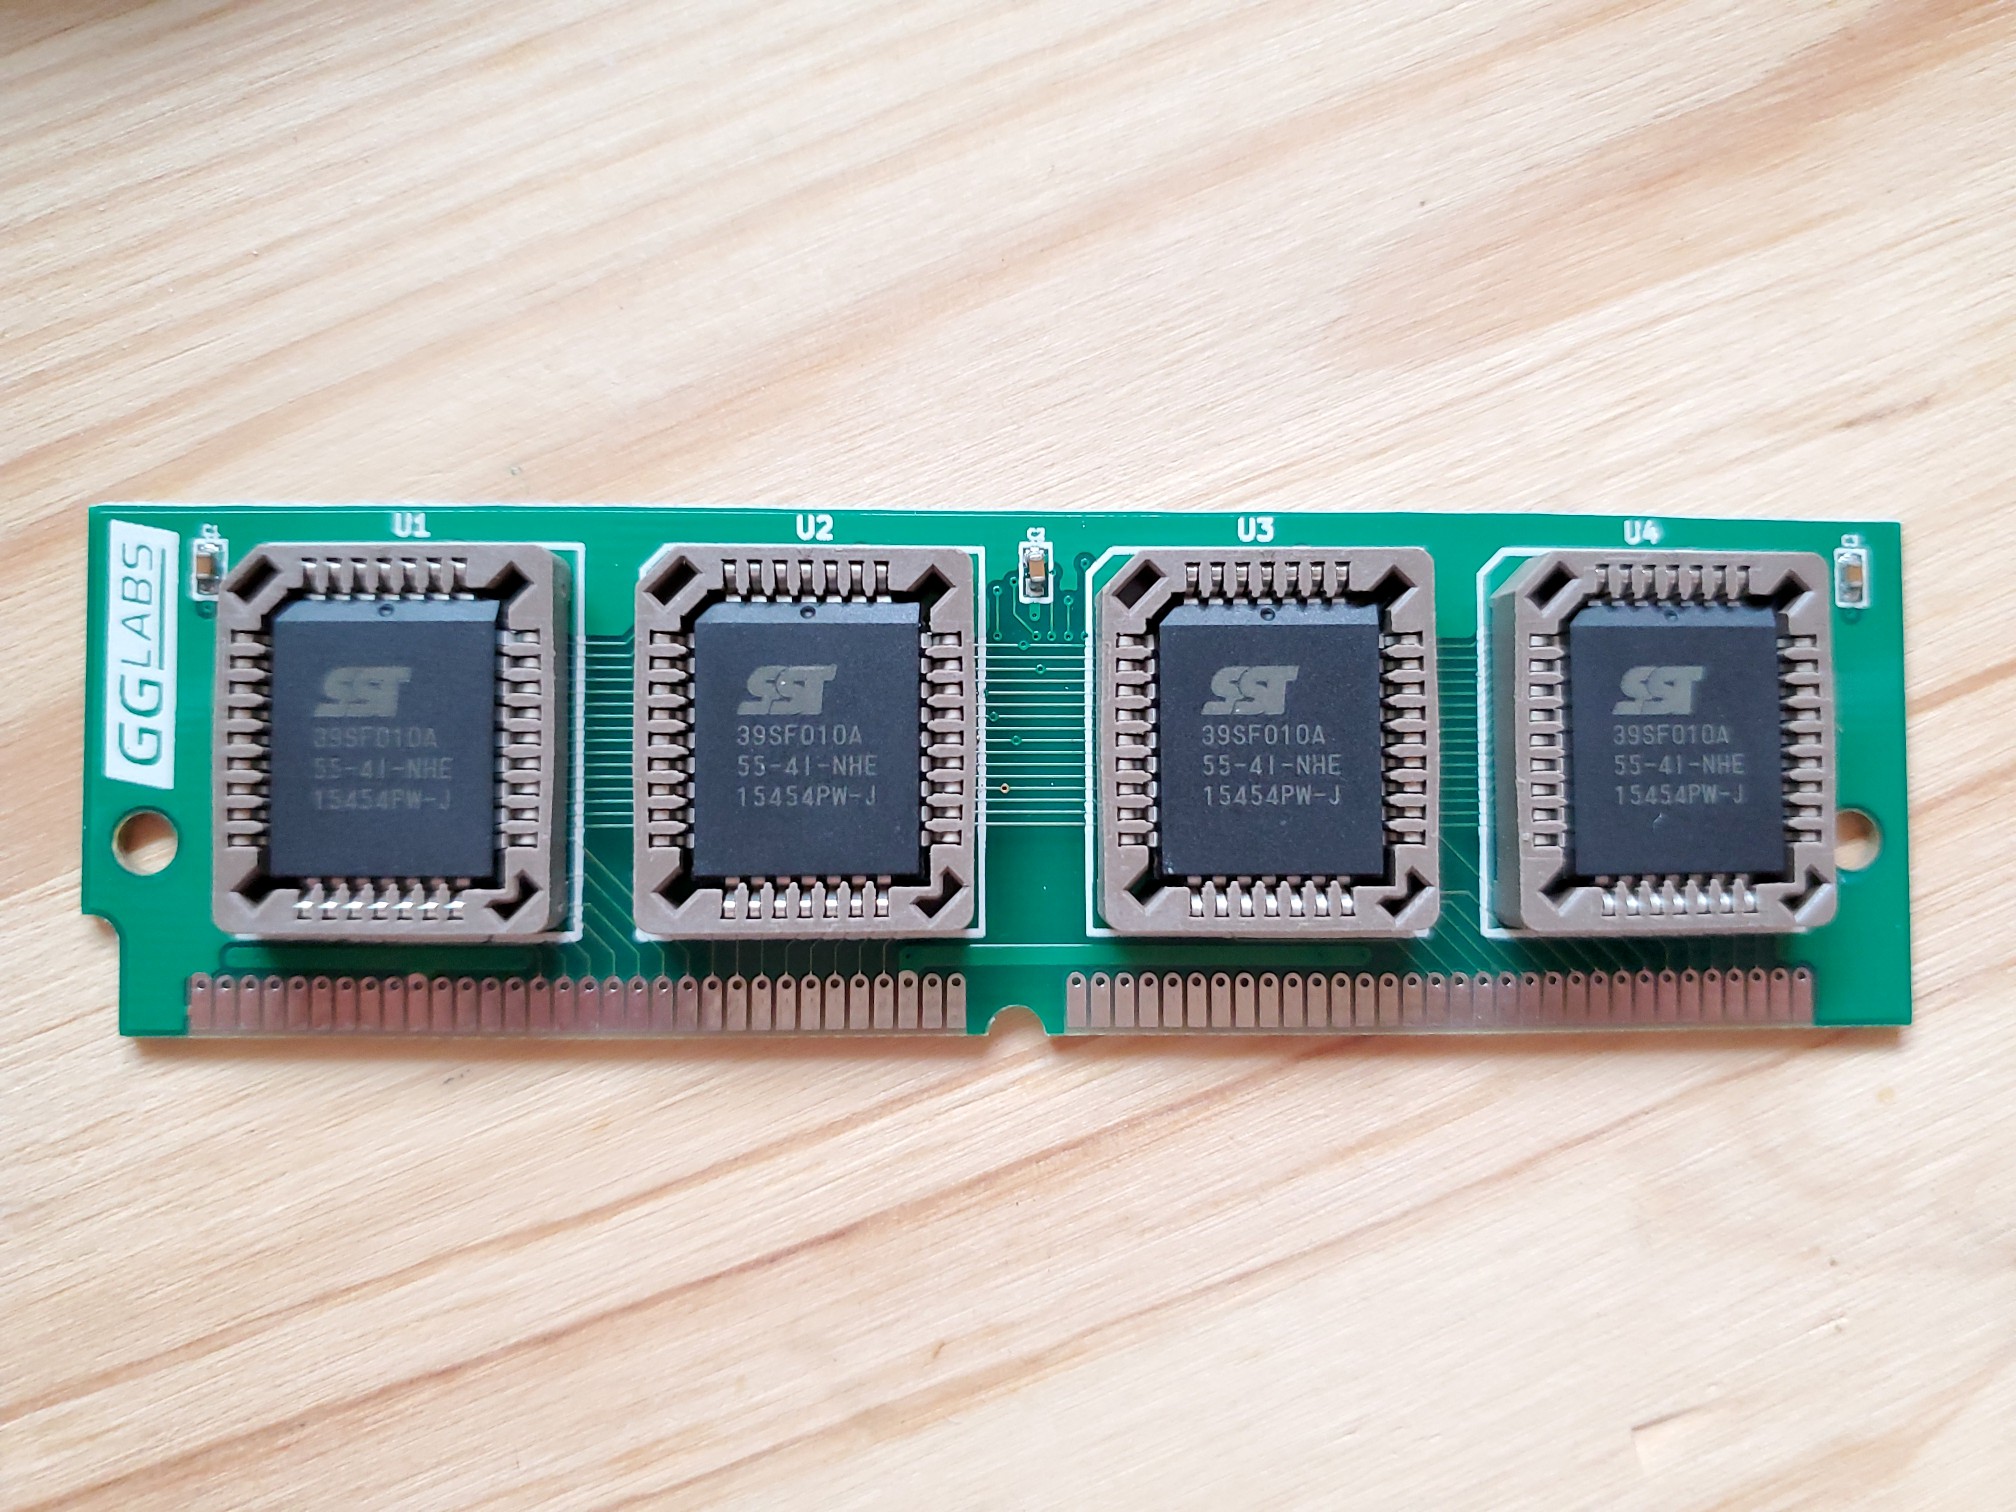
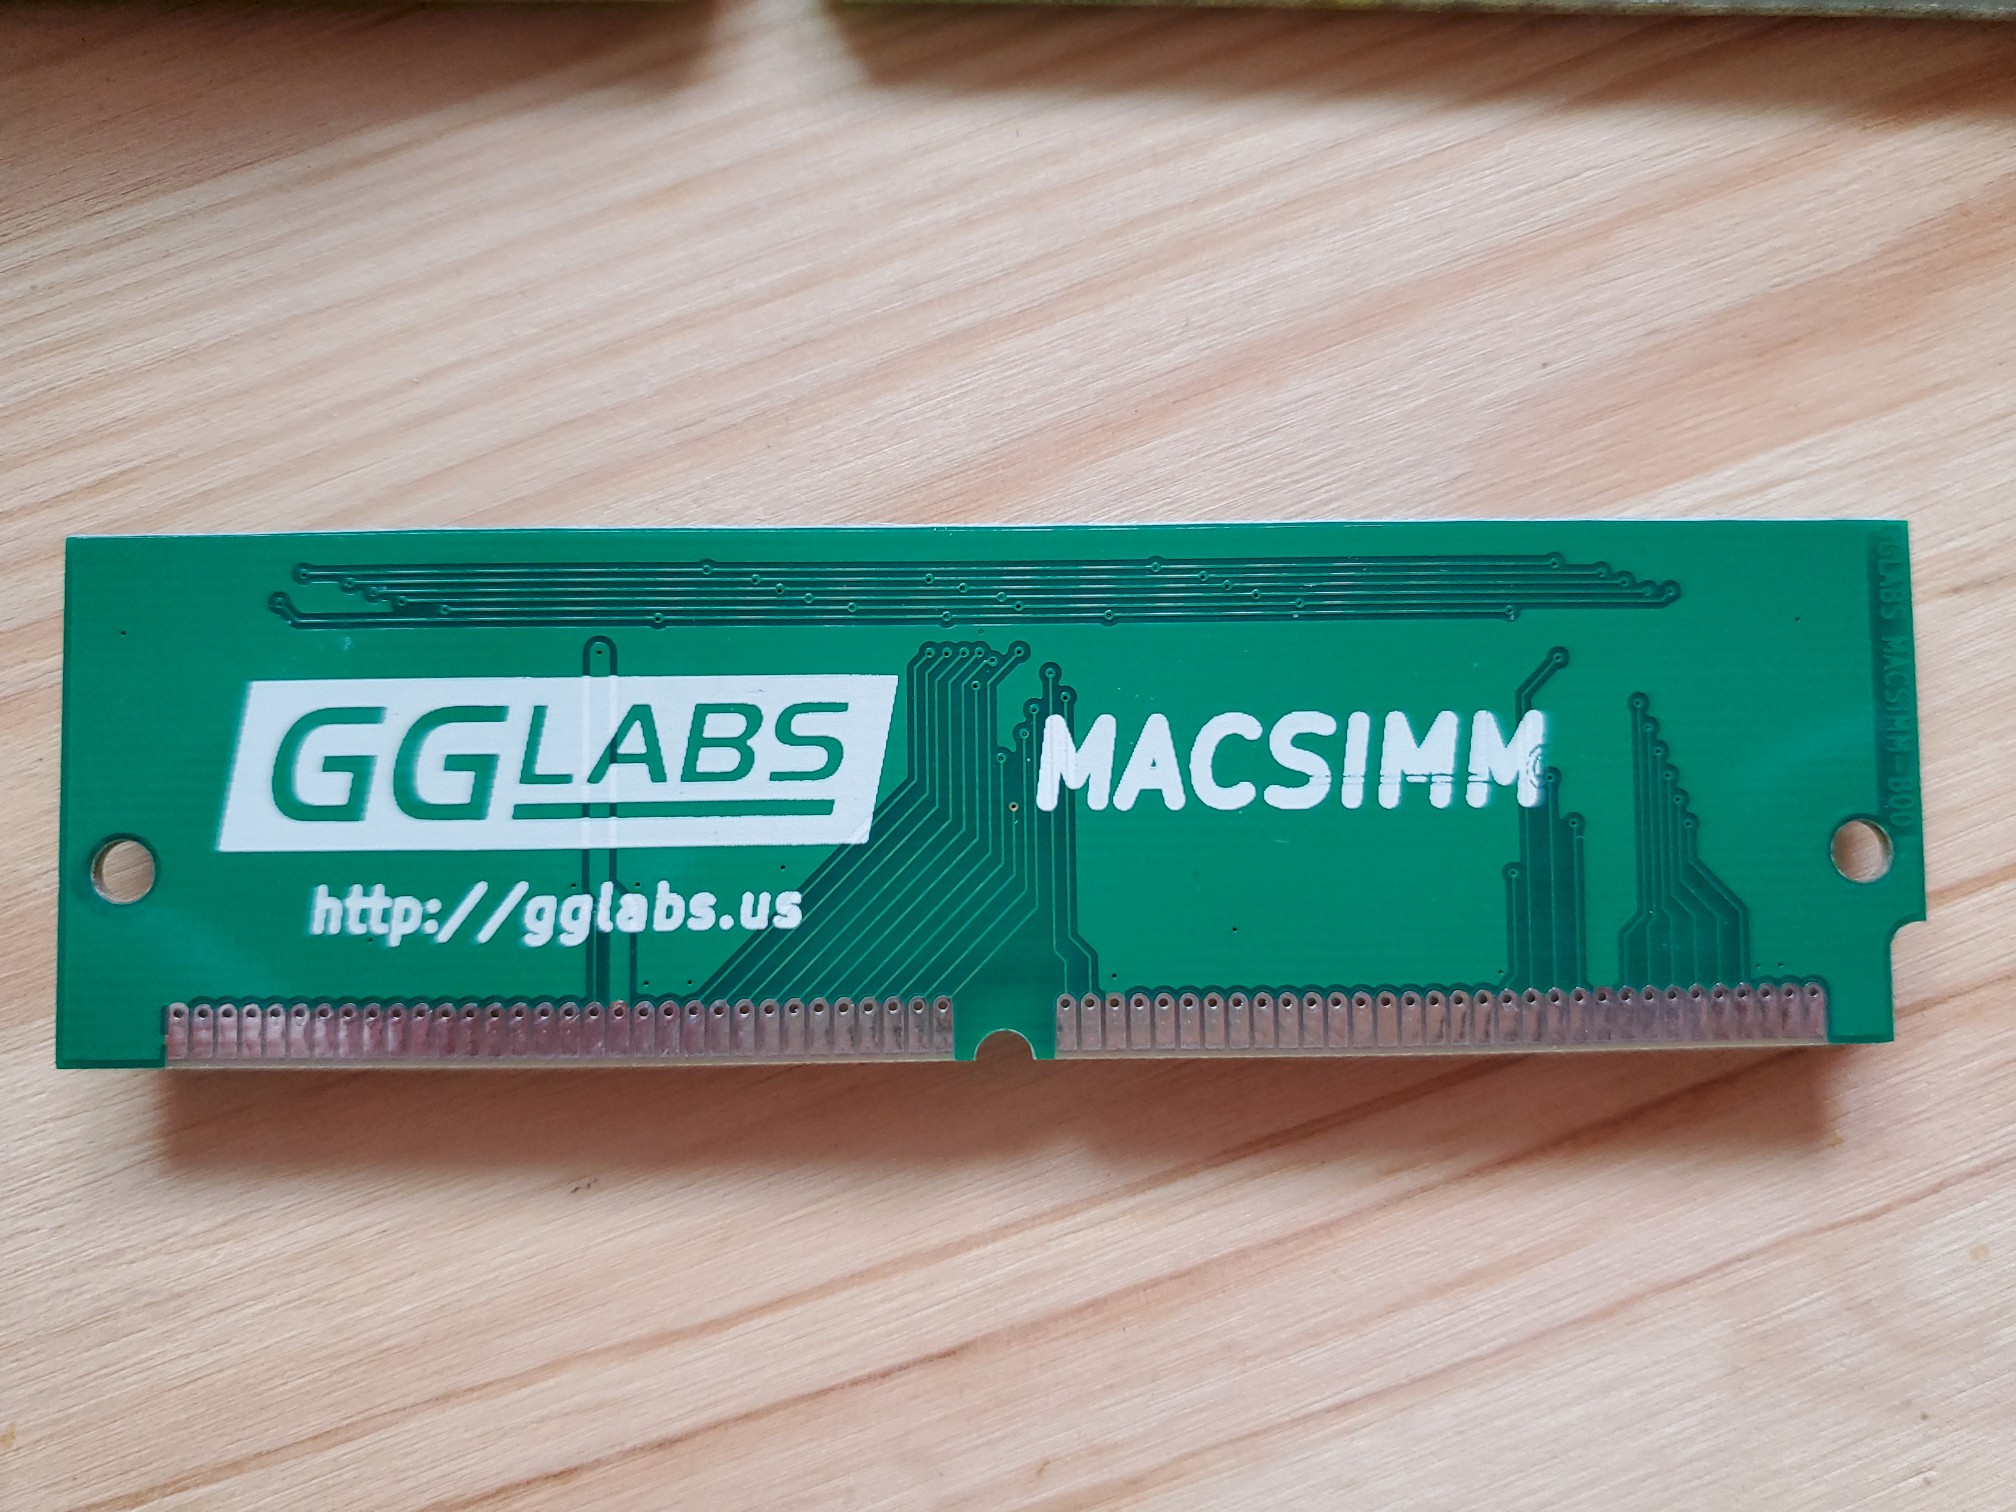
Here’s the new MACSIMM:

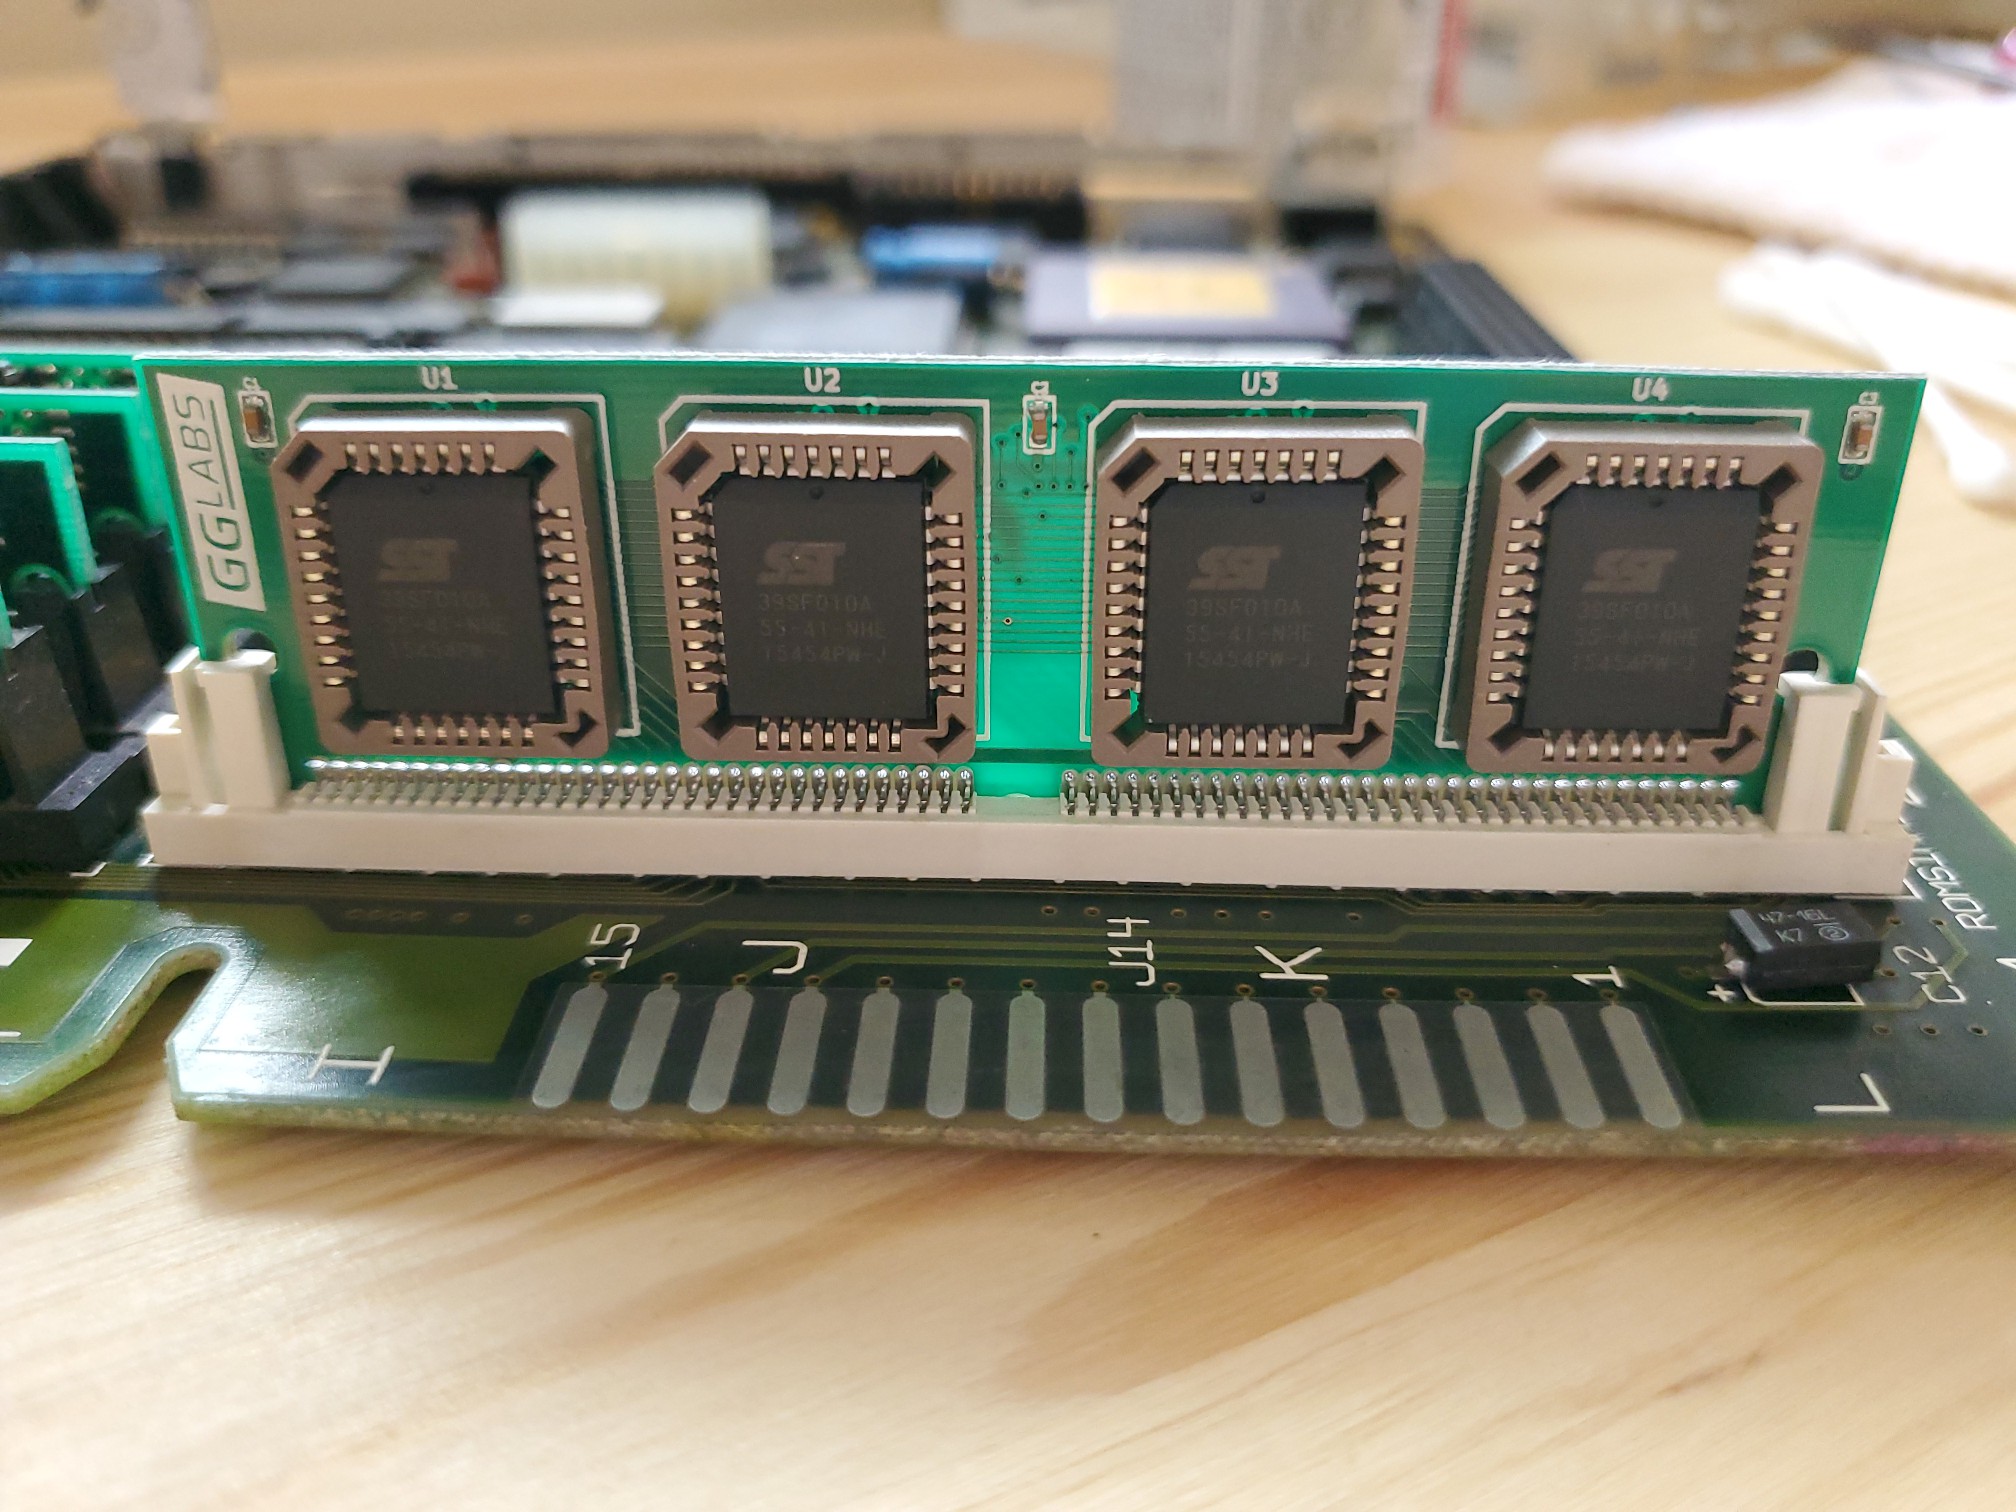
And here’s it is installed in the SE/30’s motherboard:

The next order of business was to verify that the new SIMM worked. So I put everything back together and tried booting up the machine.

It didn’t work.

Instead of a pleasant chime and a Happy Mac, the machine made an awful sound and the display was staticky, snowy mess, commonly referred to as a “simasimac”. In my complete panic I didn’t think to take photos, but here’s some examples. This was the first time I’d started the machine since taking it apart and cleaning it, so it while it could have been a problem the MACSIMM, I couldn’t be sure.

I took everything back apart, reinstalled the original ROM, put it all back together, and was ecstatic that the machine came right back to life. So it was a problem with the MACSIMM, but what? I redid the whole process, and again, simasimac.

After some more research, I discovered in the installation guide for the Mac ROM-inator II (the competitor ROM that I didn’t buy) that there’s an extra hiccup when replacing the ROM on a SE/30. While the SIMMs are electrically compatible across a variety of classic mac models, the SE/30’s ROM board just happens to be physically thicker than normal. So the thinner replacement board doesn’t always make good electrical contact with the slot on the motherboard.

The solution, it turns out, is to ensure good contact by applying pressure to the back of the SIMM (the side without the chips). Since the SIMM is on the edge of the motherboard it’s still accessible even when installed, so I reached in, pressed as specified, then powered up.

It worked! Rather than the standard compact mac monotone startup sound, I was greeted by the II-era chime of my childhood.

Now, obviously leaving the case off and holding the ROM SIMM in place isn’t a long term solution, so time to find some other way to make sure it stays in place. Some users have 3D-printed special brackets to hold the SIMM, but I went with the simpler rubber-band approach:

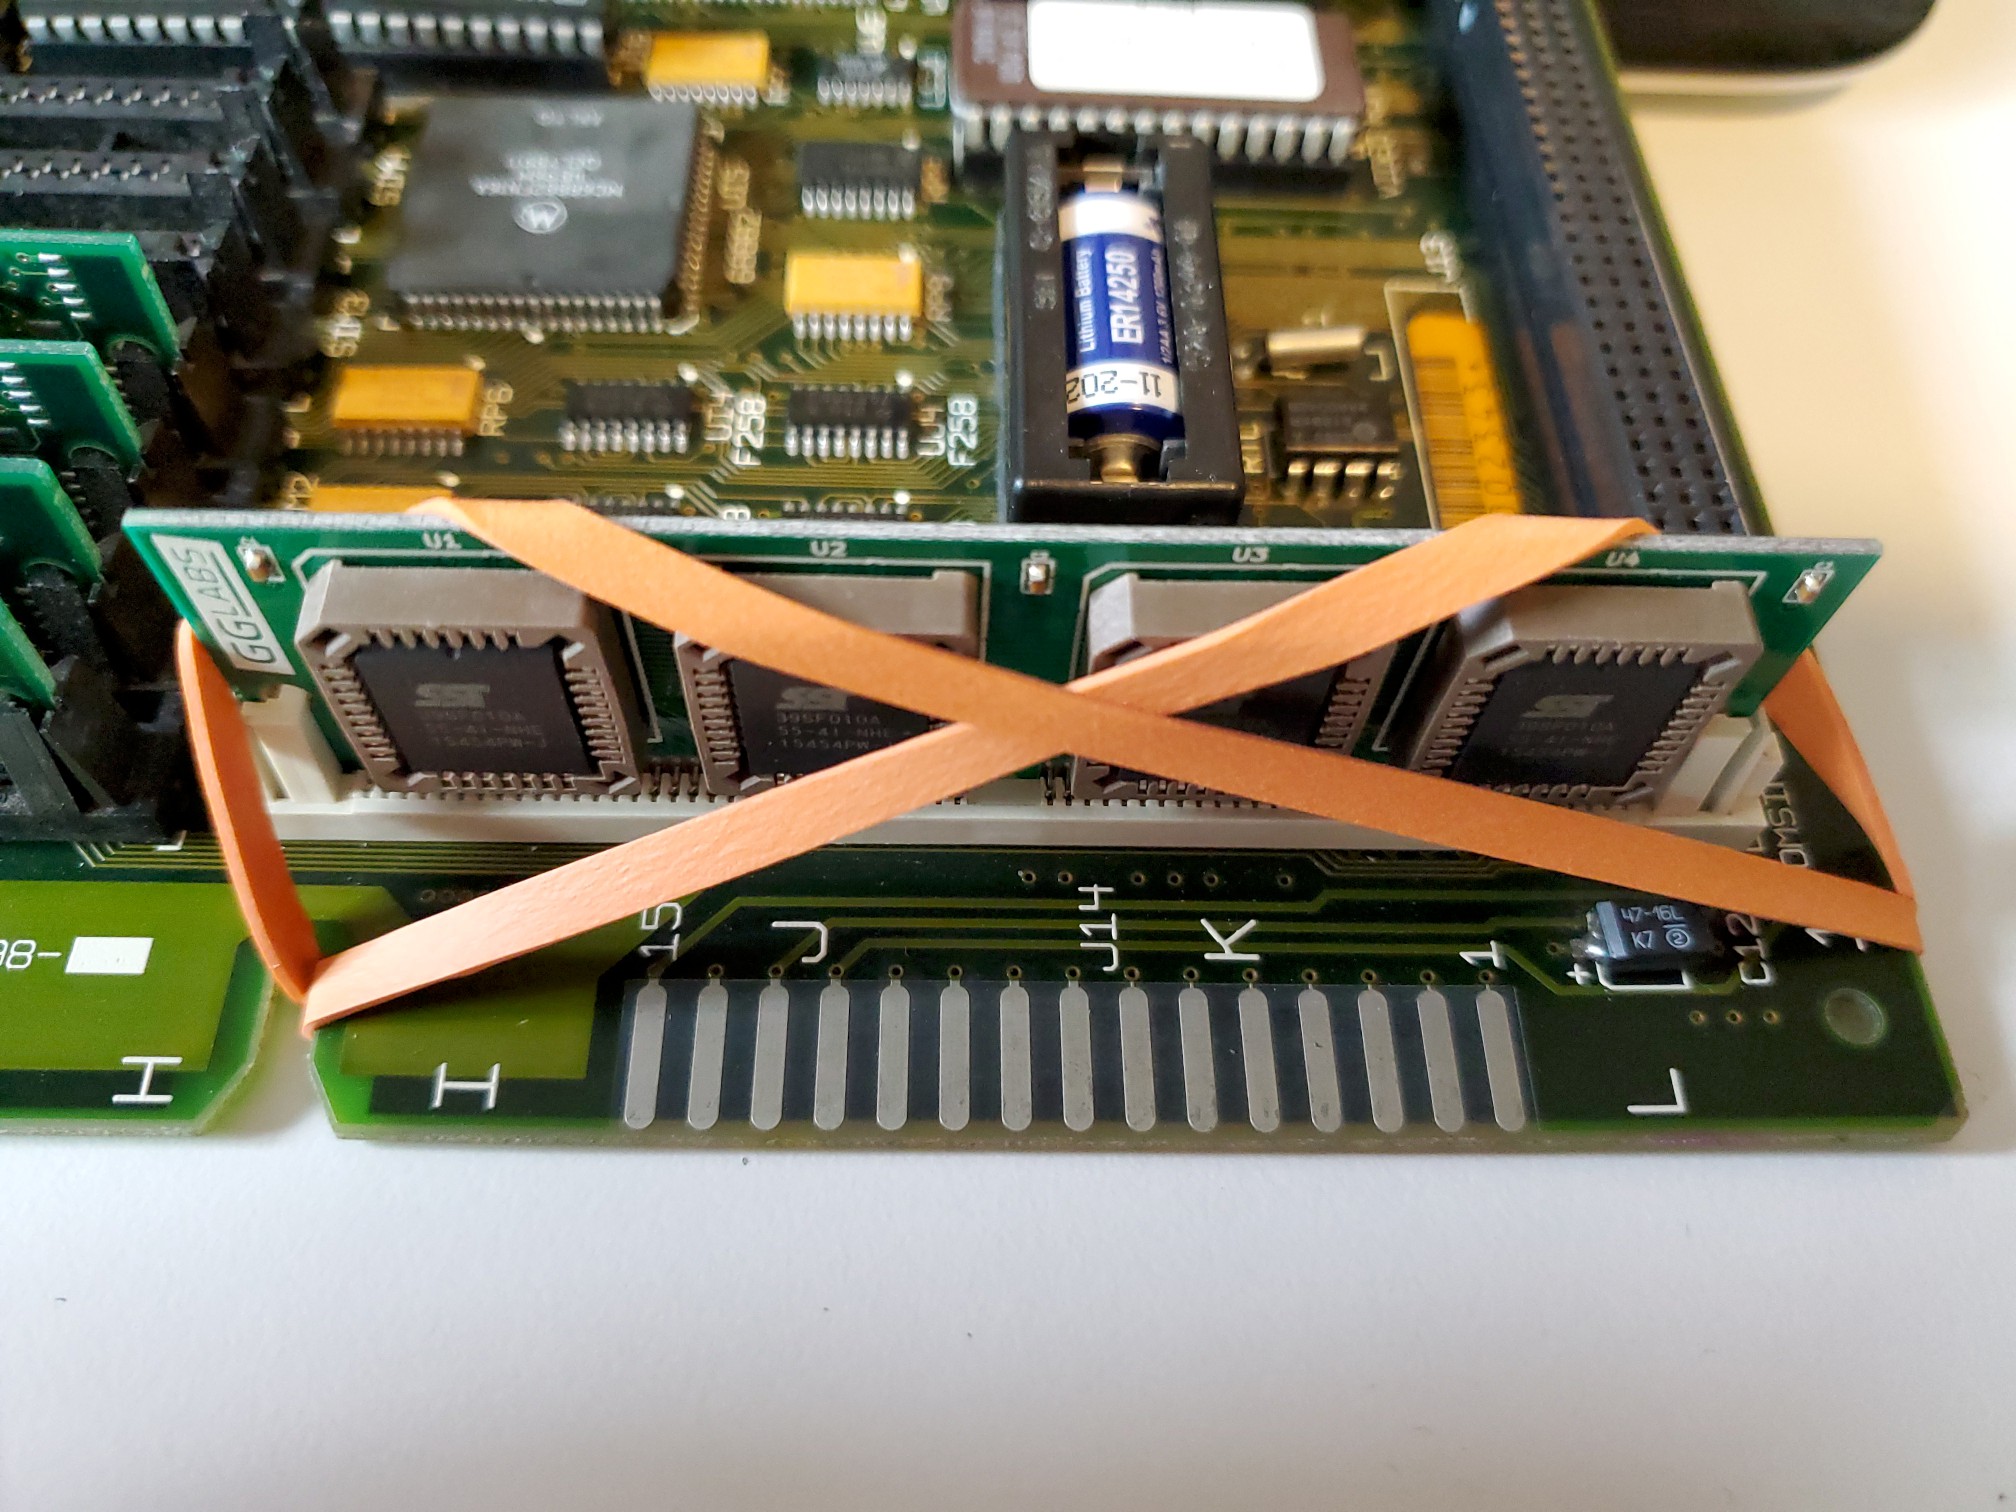
It looks silly, but having rubber bands pull the SIMM in place is a common fix for this problem, and it works perfectly.

Upgrading the RAM

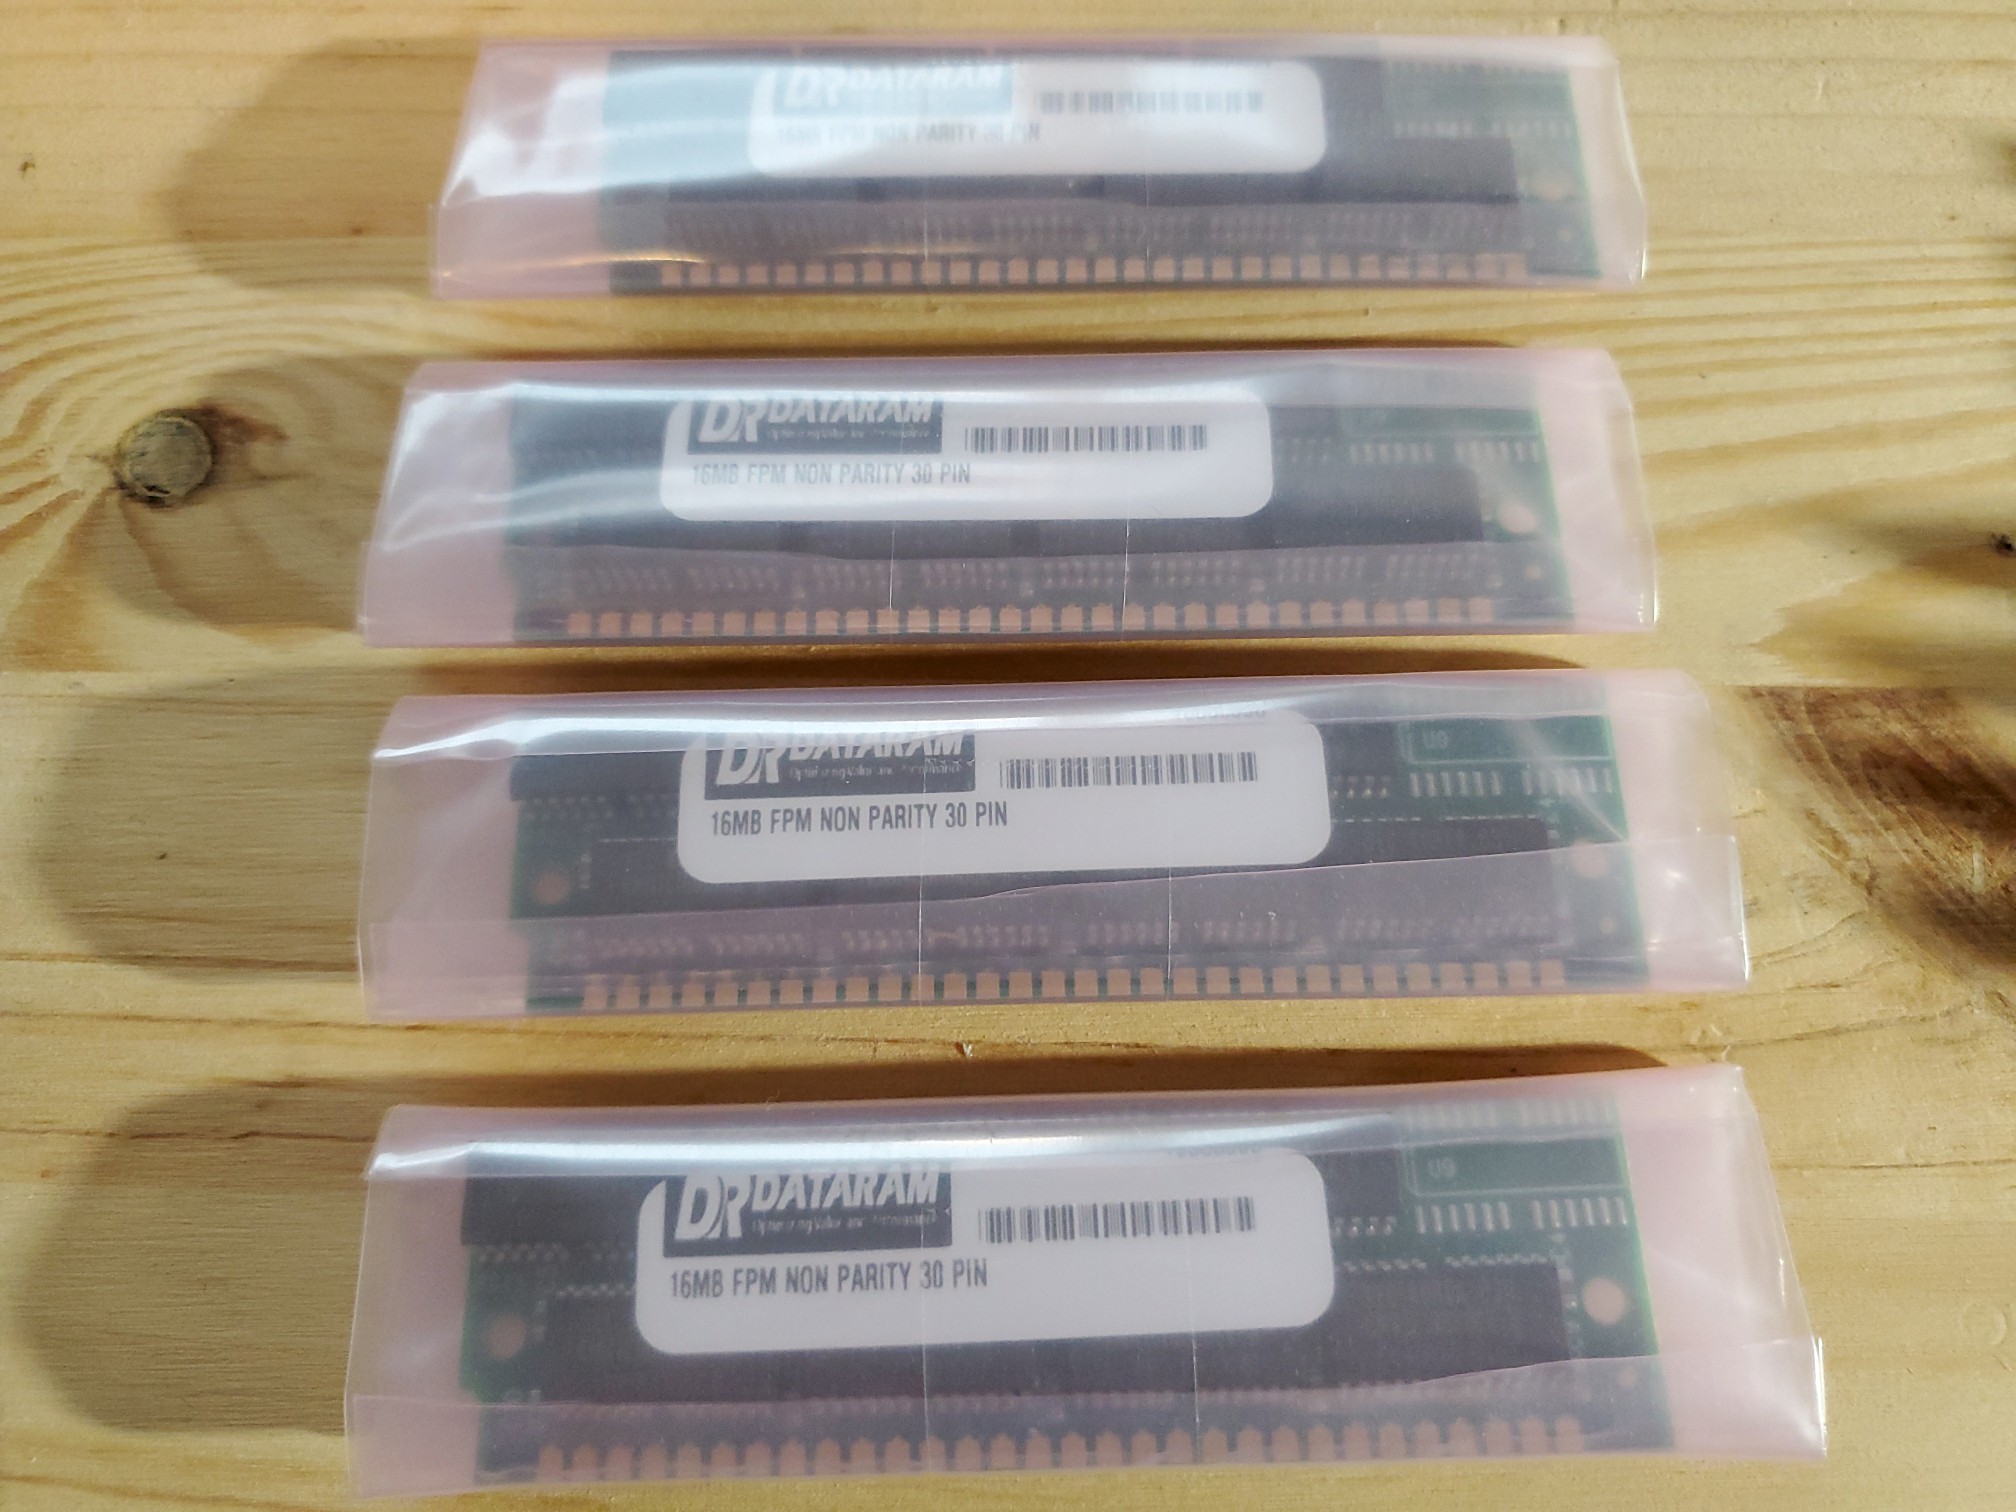
With the new ROM installed and tested, the next step was to upgrade the RAM. As I said before, I’d been lucky enough to find a good deal on four 16MB sticks, allowing me to bump this machine from its current 4MB to 64MB of RAM. Now in theory, if all of the RAM slots are actually working on this machine, I should be able to put in all the RAM I have and end up with 68MB.

Since older machines (especially the SE/30) can be picky about the order that RAM is installed, I decided my first test would be to install all 68MB of RAM with the new larger sticks in the known good slots and the old smaller sticks in the potentially bad slots.

First I popped out the old 4MB of RAM:

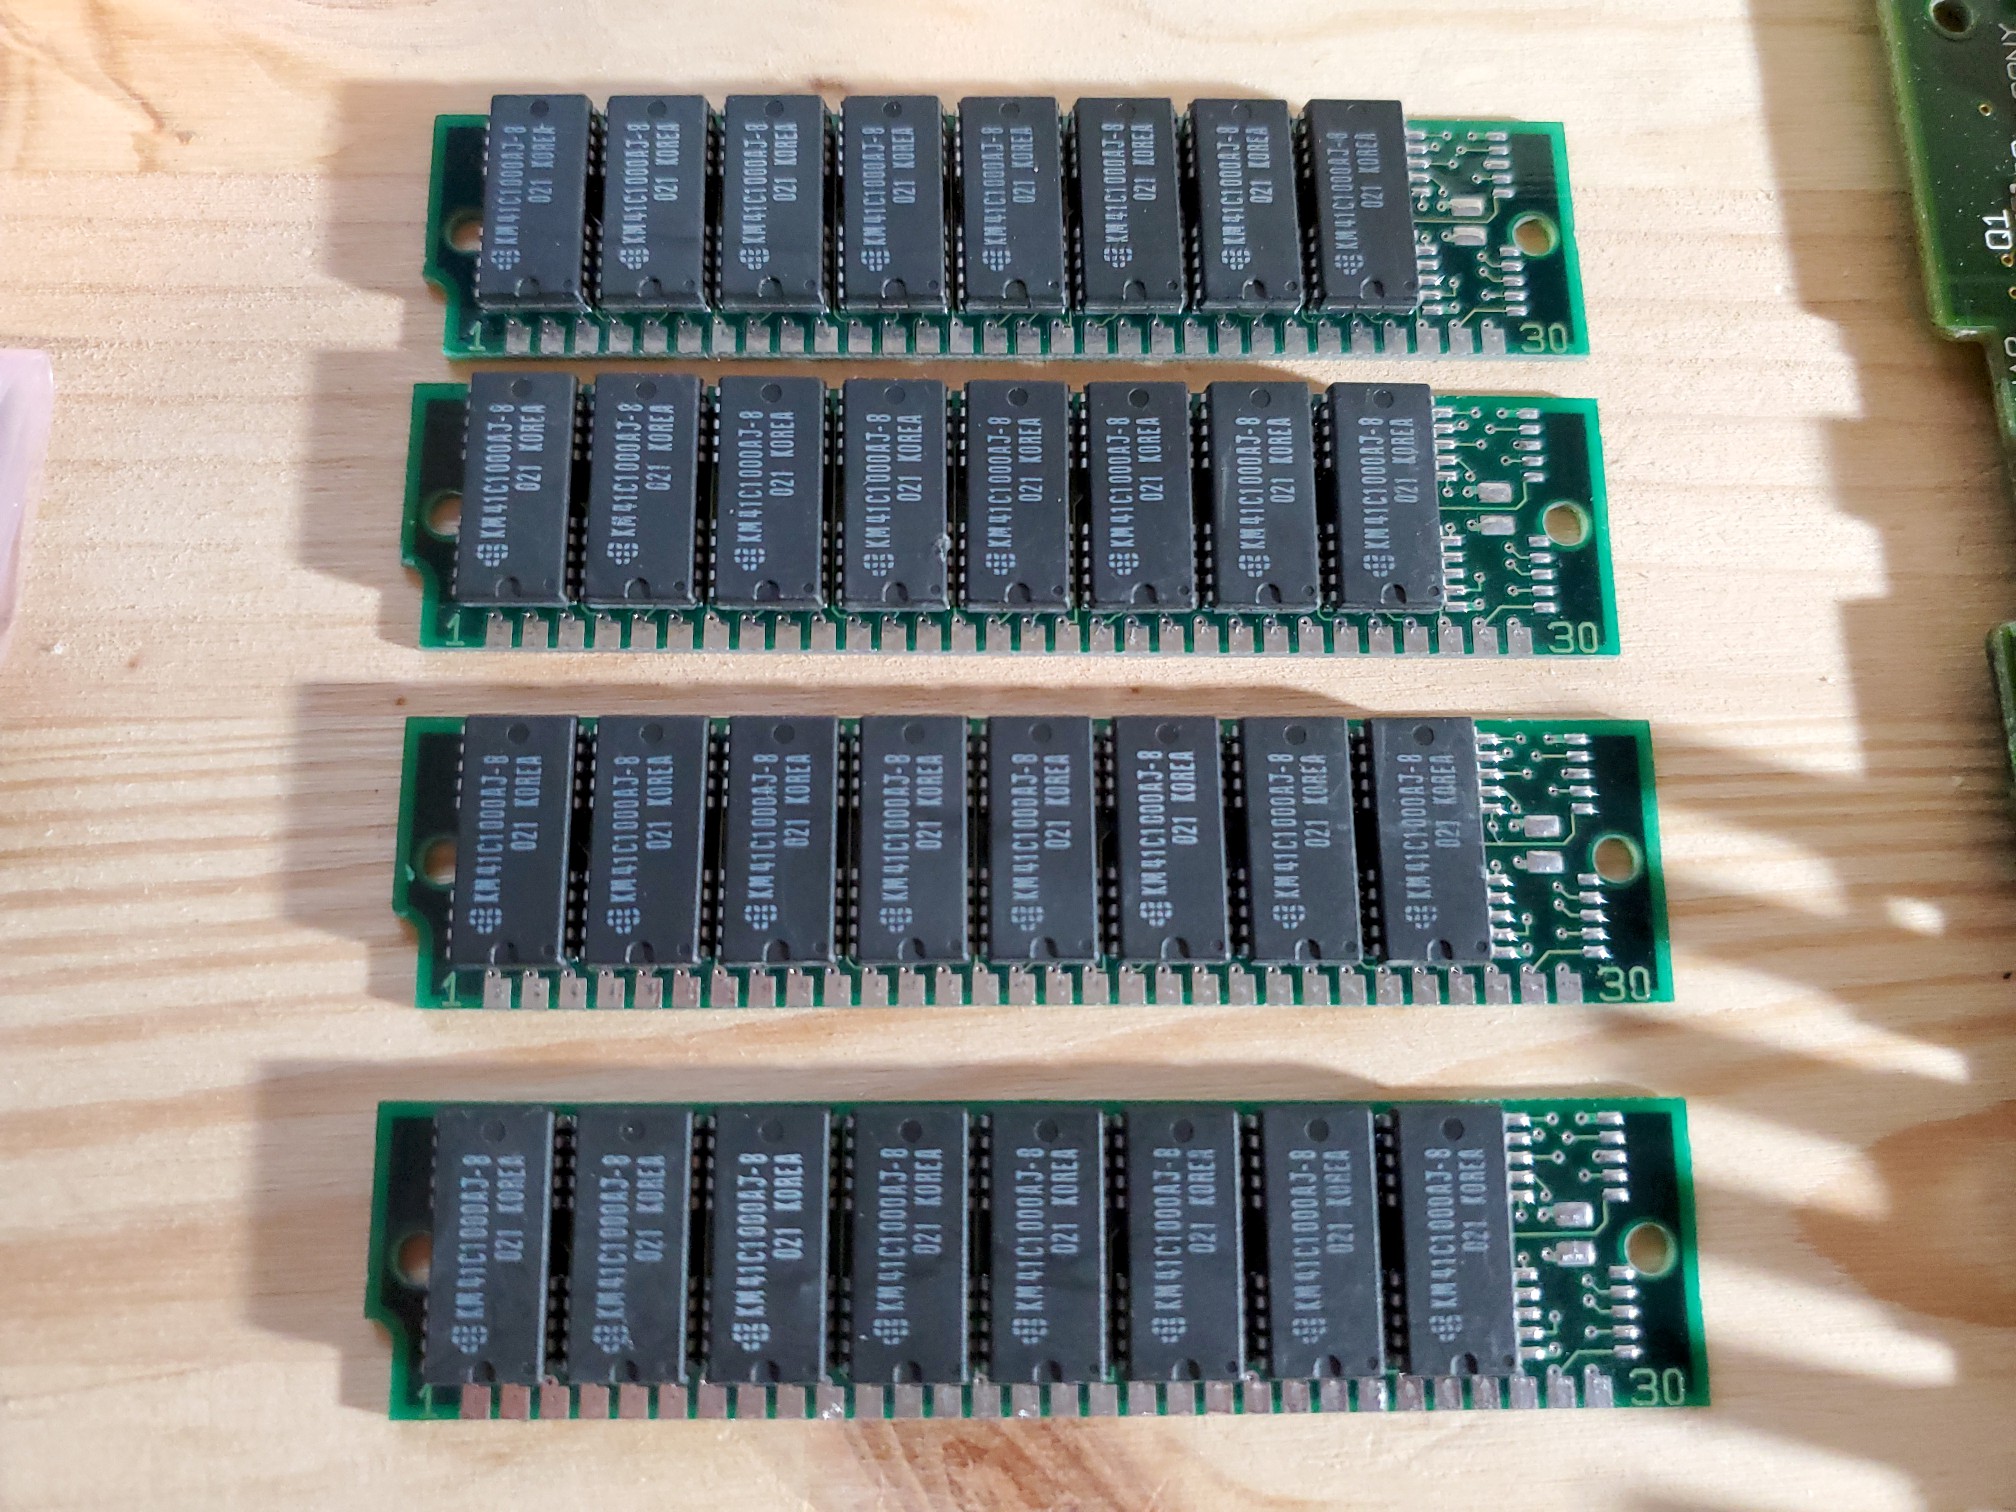
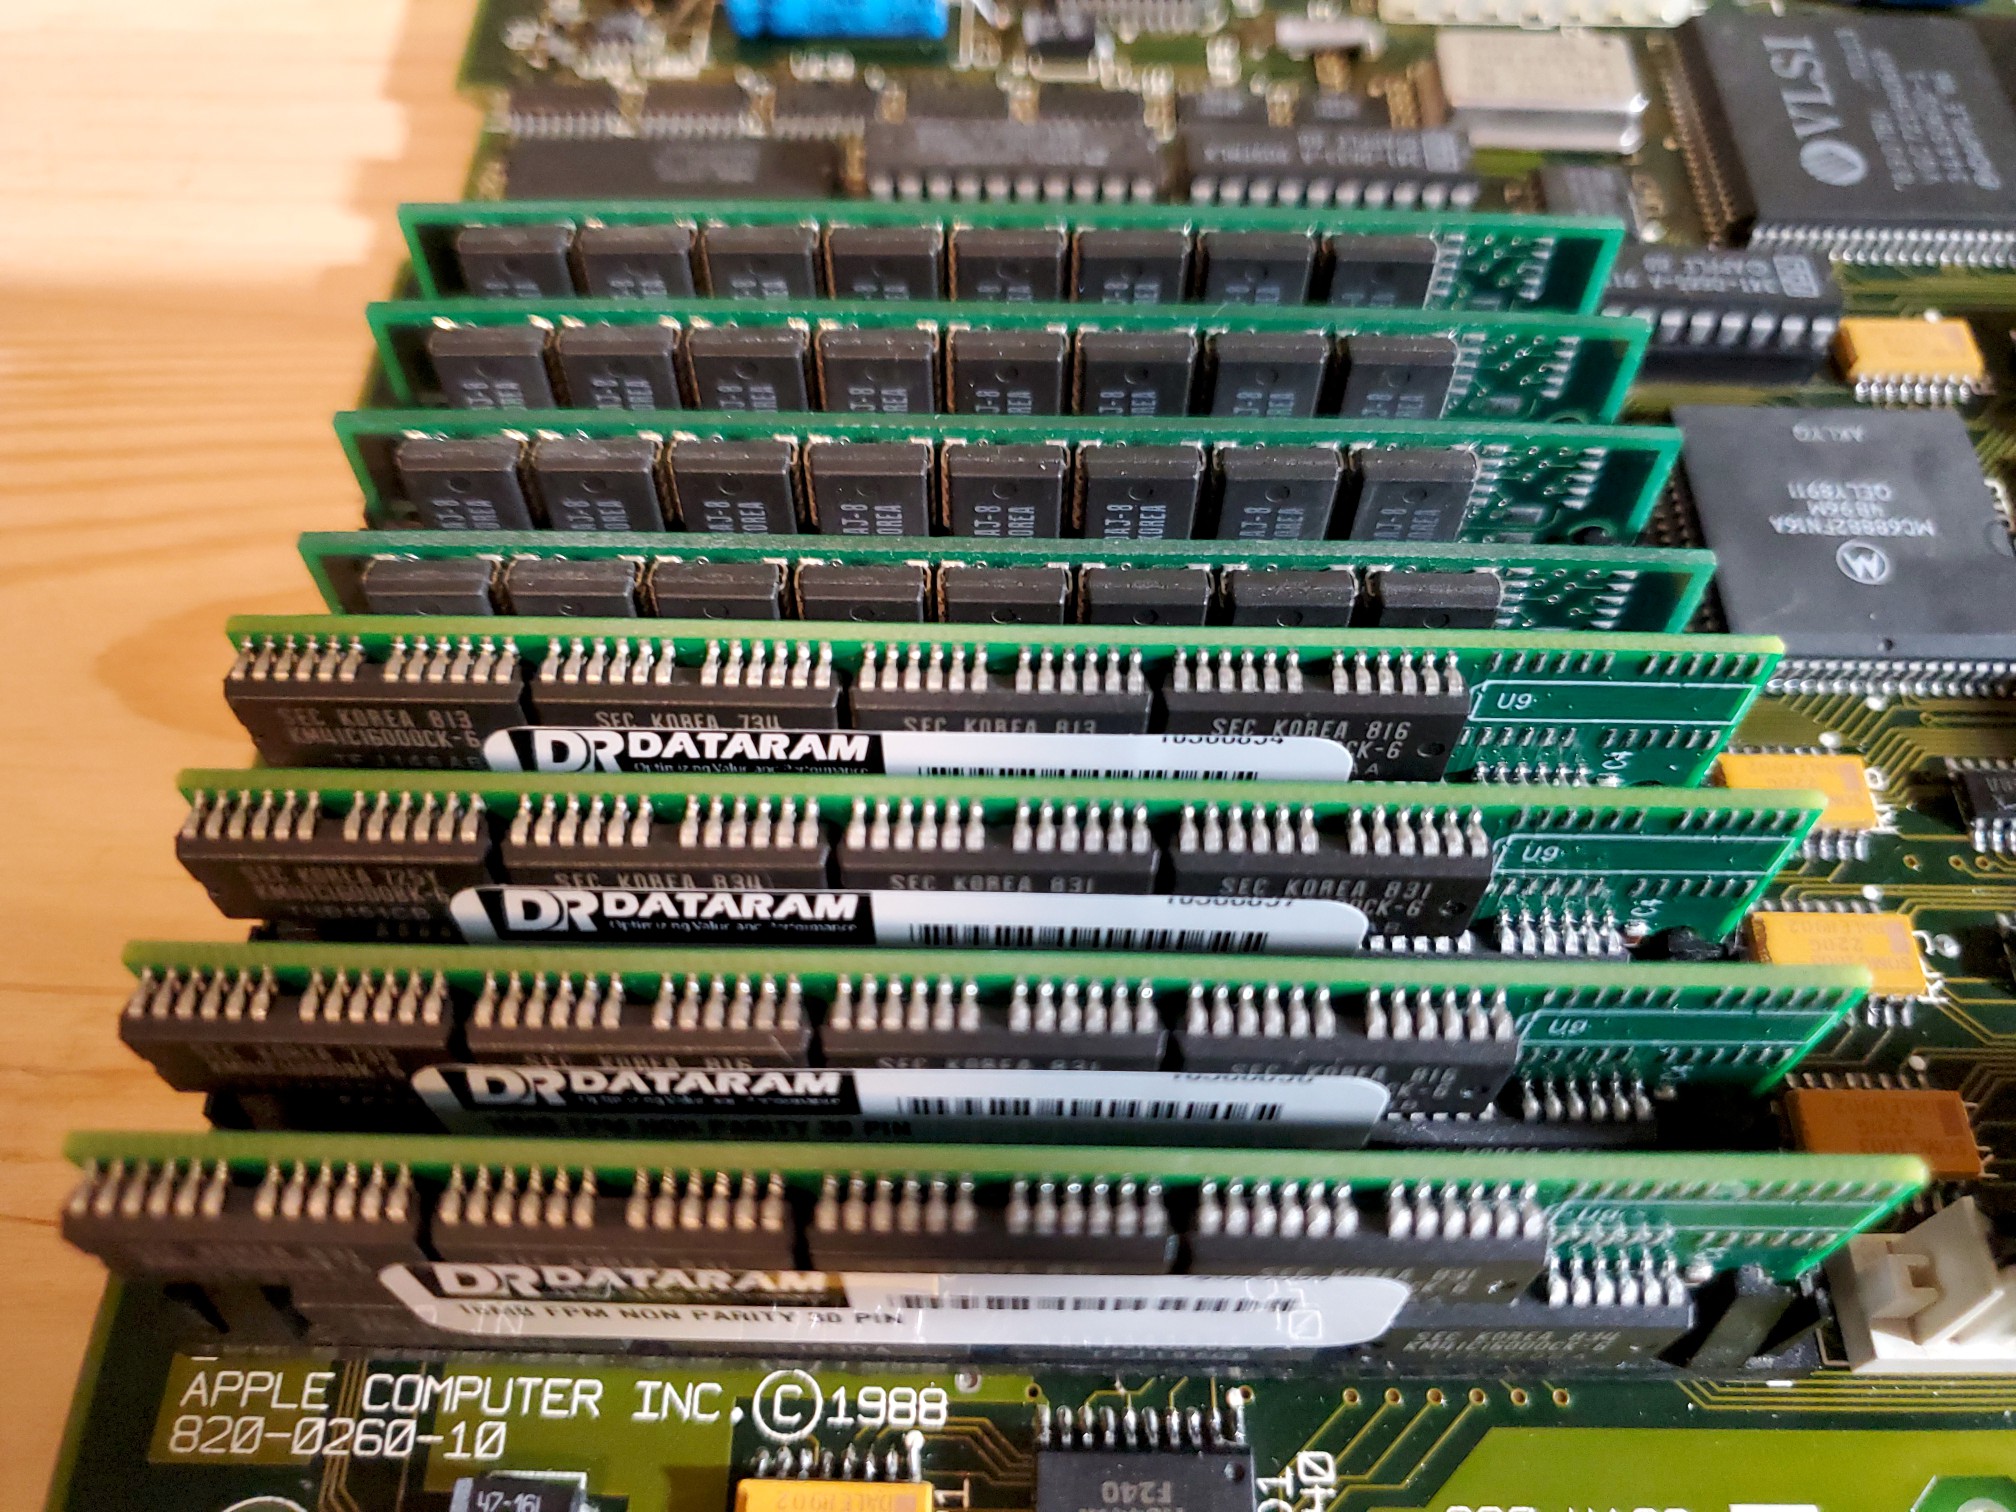
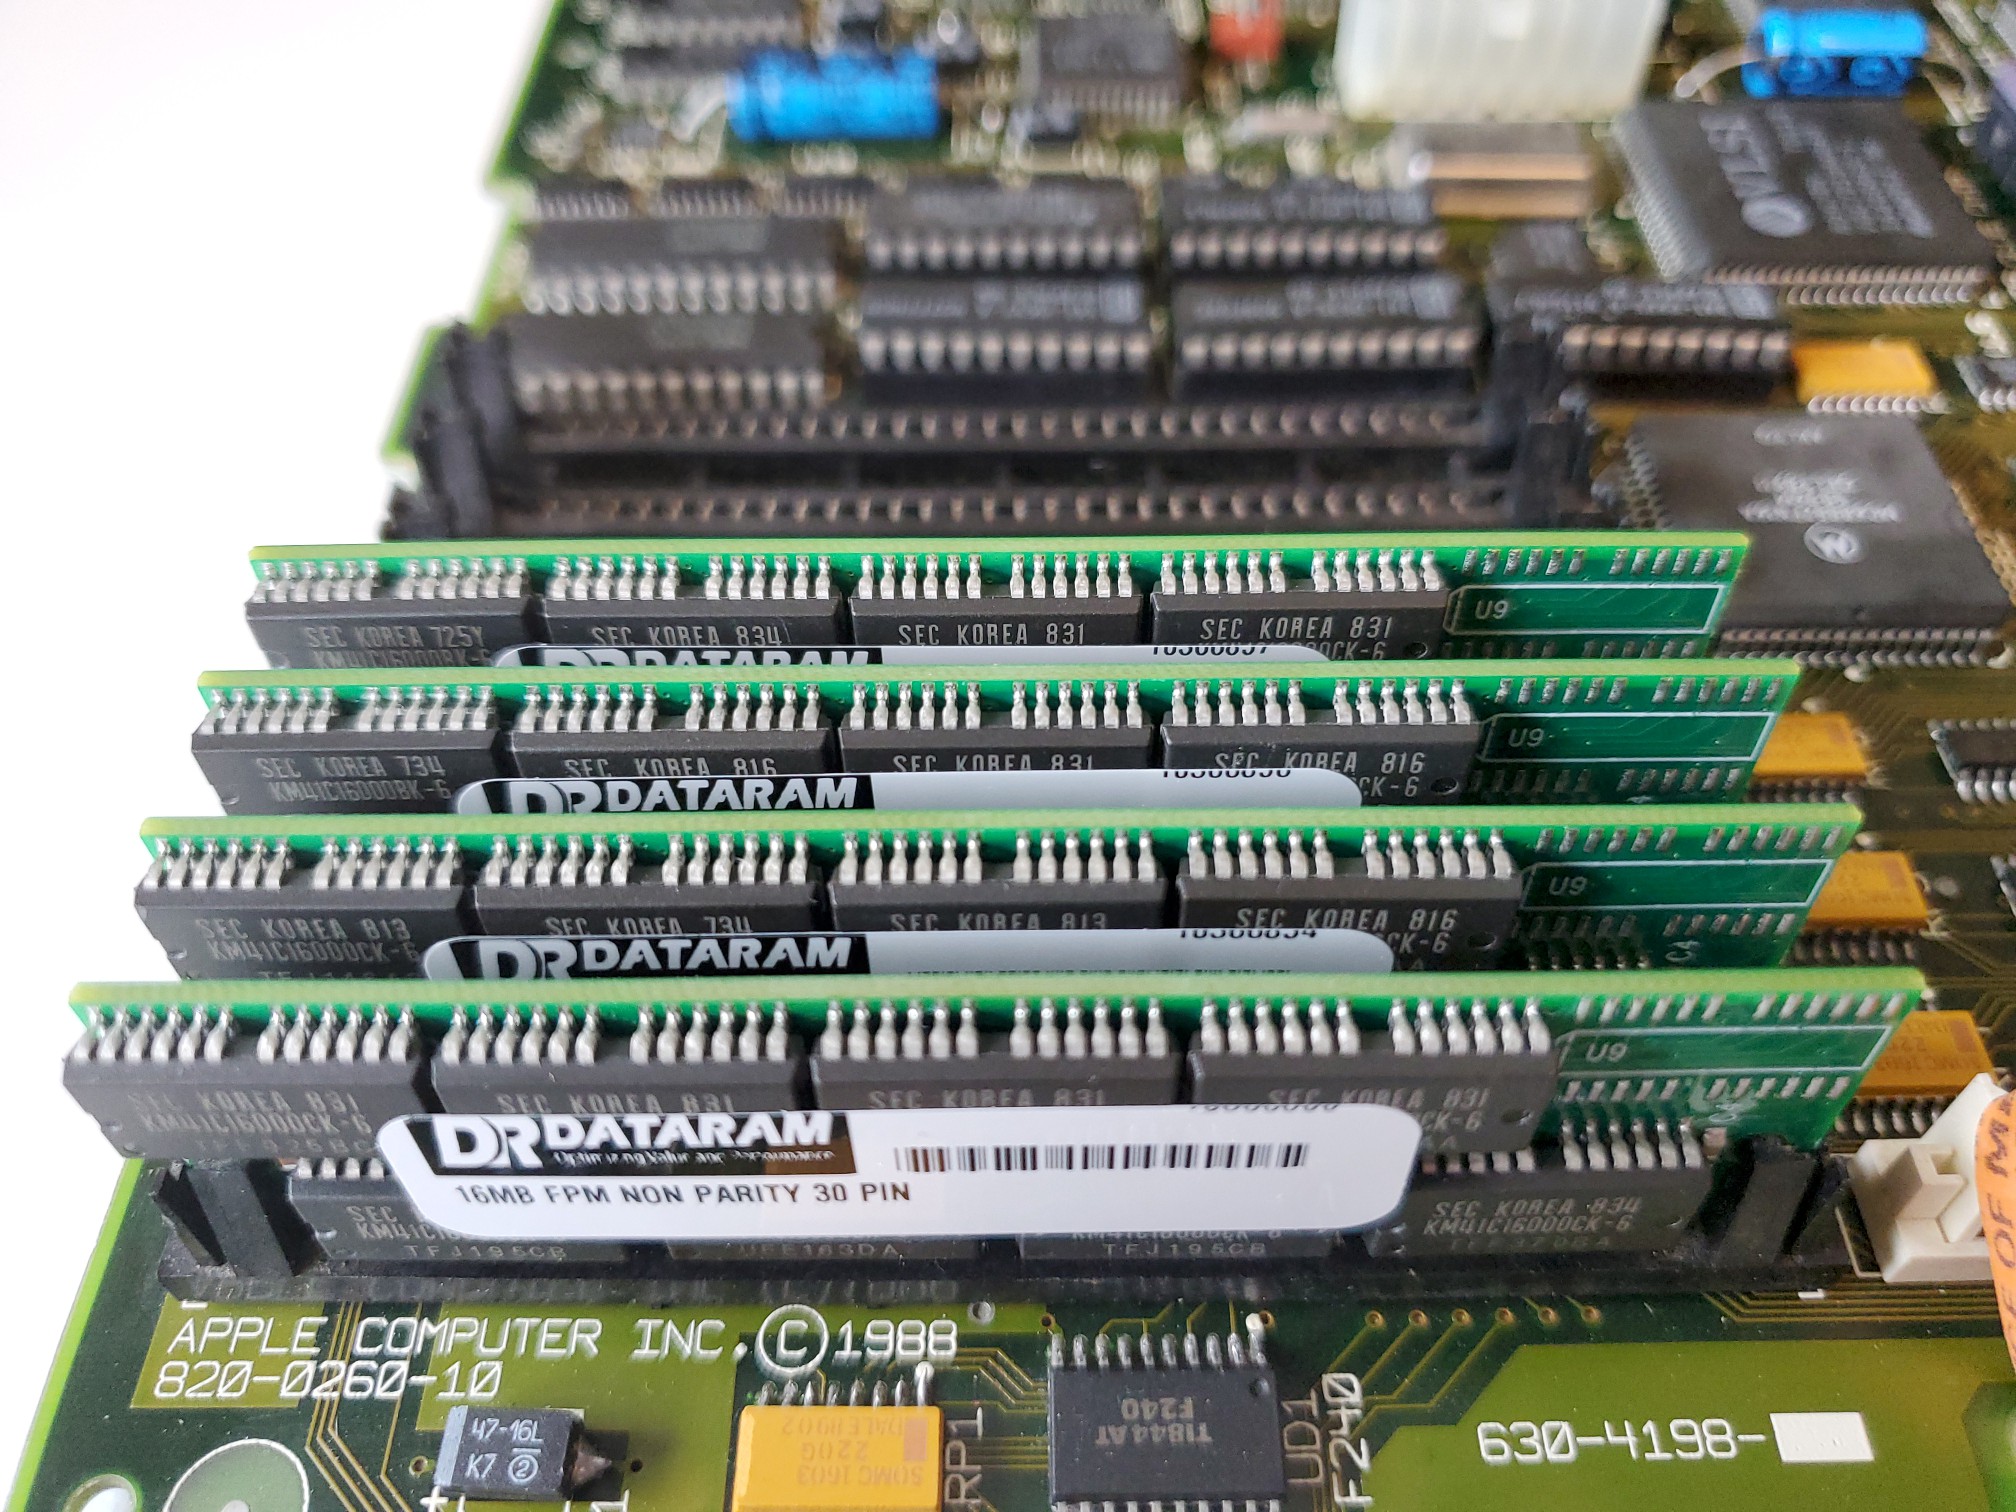
Here’s the new 16MB RAM SIMMs:

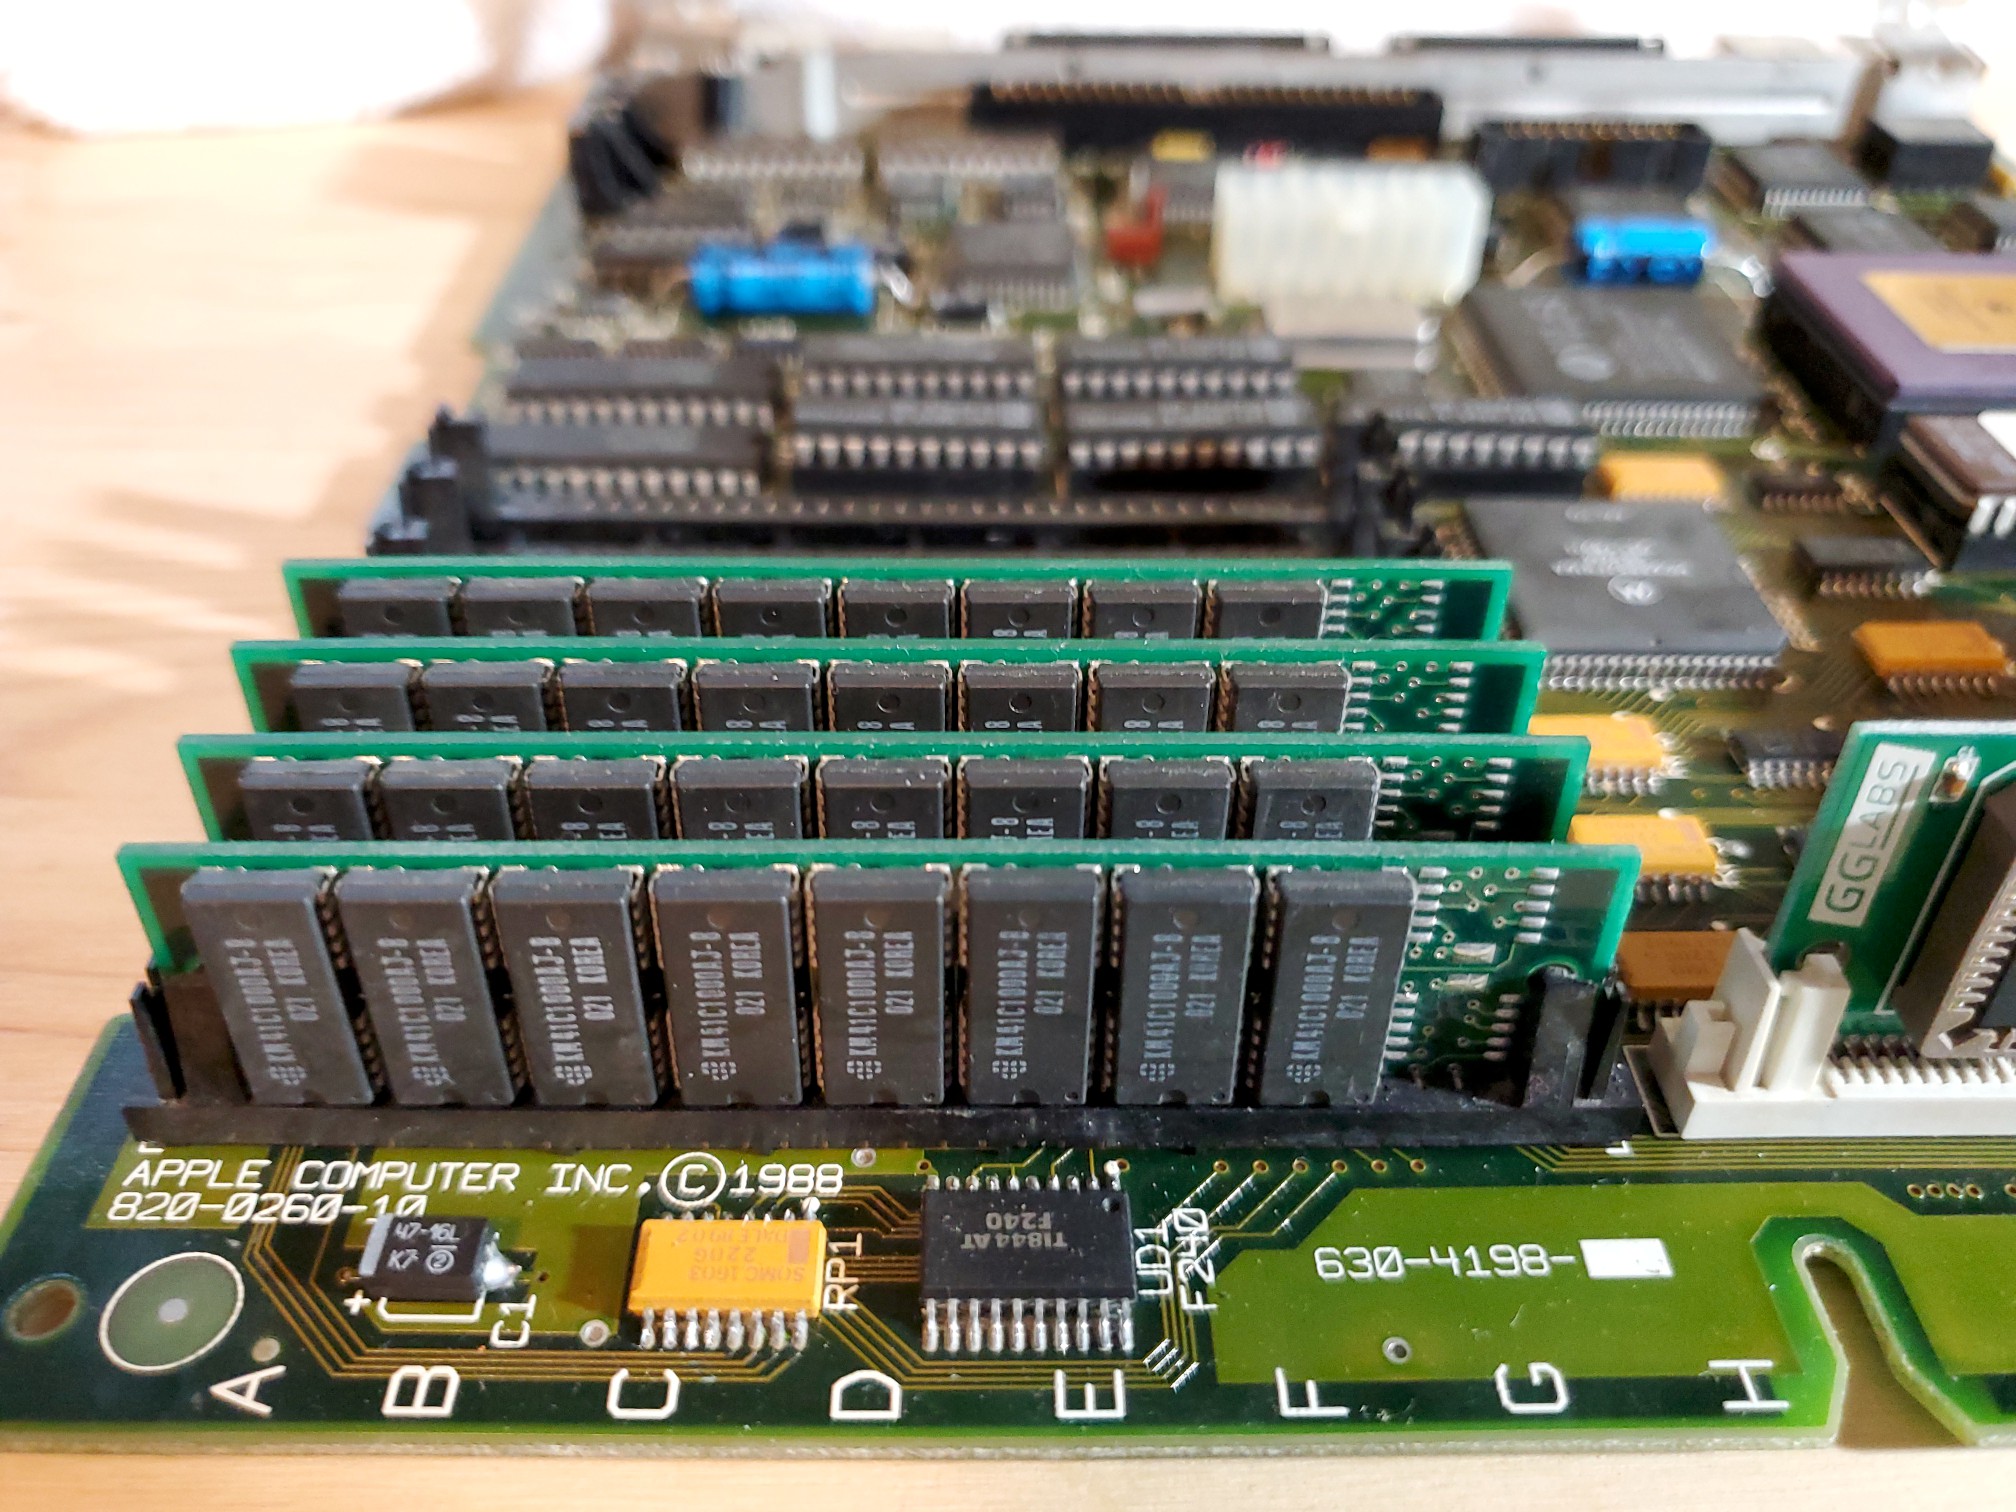
And together, here’s all 68MB installed:

Unfortunately it didn’t work. The machine booted to a Sad Mac image with an error code, complaining about the RAM. I tried different combinations of SIMMs, taking some out, putting them in different orders, but it didn’t help.

In the end, it seems the seller was right, there’s something wrong with four of the RAM slots. Rather than attempt a potentially tedious debugging and repair process right away, and glad that I hadn’t wasted the money on a full 128MB of RAM, I settled on just the straight 64MB:

As expected, with the broken slots left unpopulated, the machine booted straight away, confirming my upgrade to 64MB was a success:

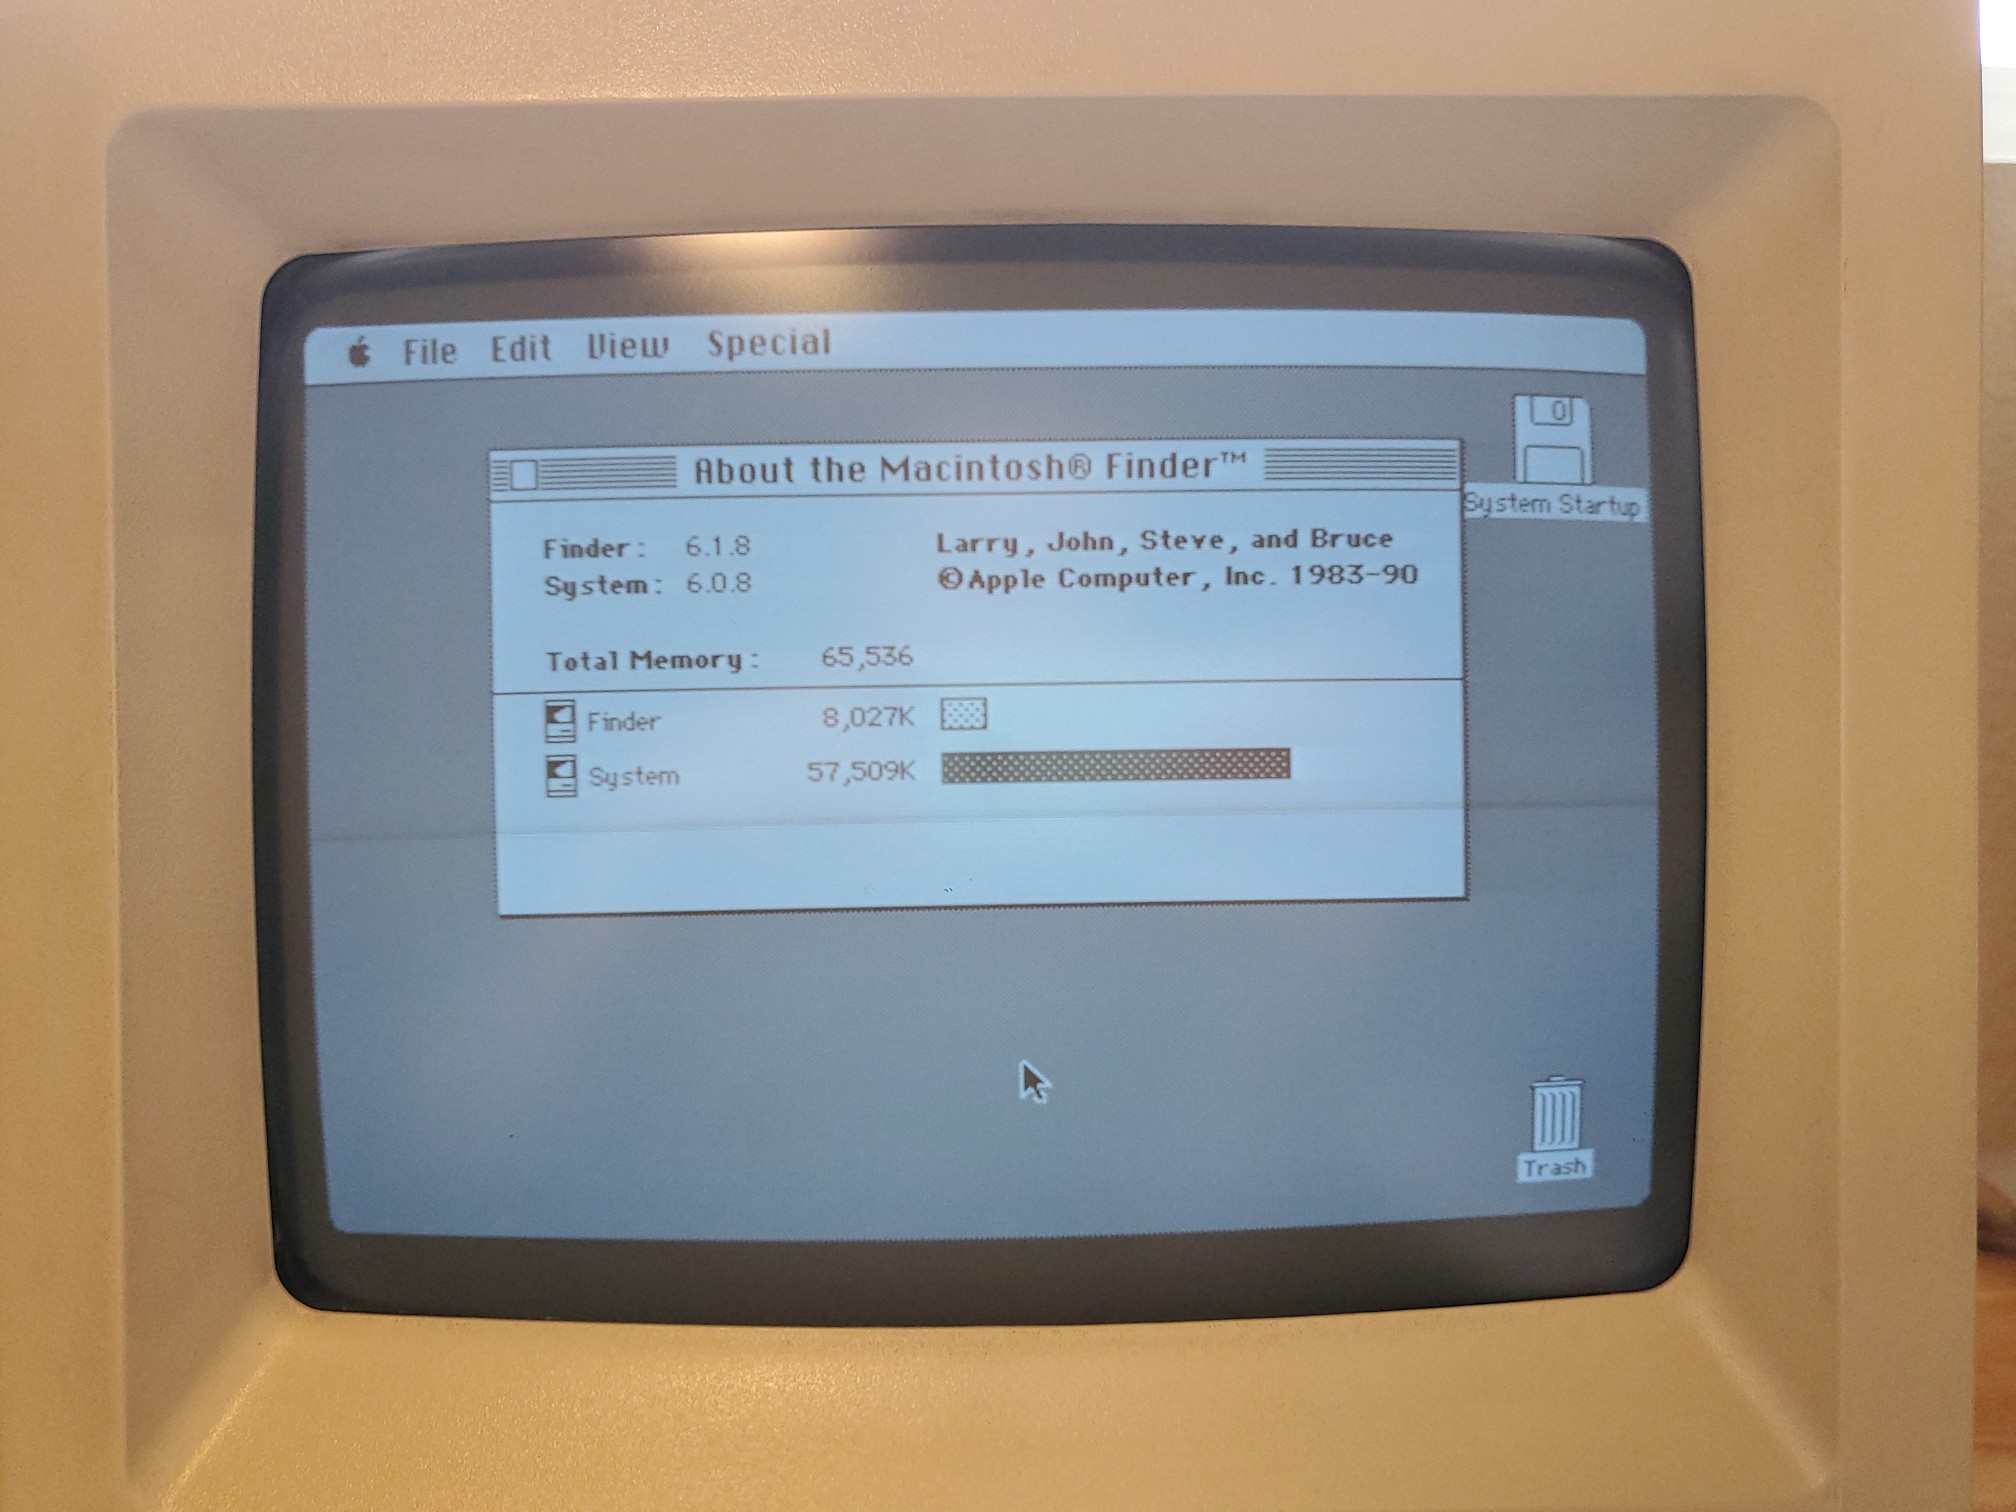
As you can see, even though System 6 can only use 8MB of RAM, it still recognizes that there’s 64MB installed in the machine. It just makes it unavailable to running applications by claiming that the system is already using it.

Next Steps

With the new ROM, I’ve made the first of two planned upgrades to this machine. The only other upgrade I plan to make is to replace the dead hard drive with the SCSI2SD. Other than that, it is still my intent to restore everything else (case, CRT, floppy, etc.) to original specs, with the goal to make this machine look and operate like a brand new SE/30 from 1989.

Well, okay, except for this:

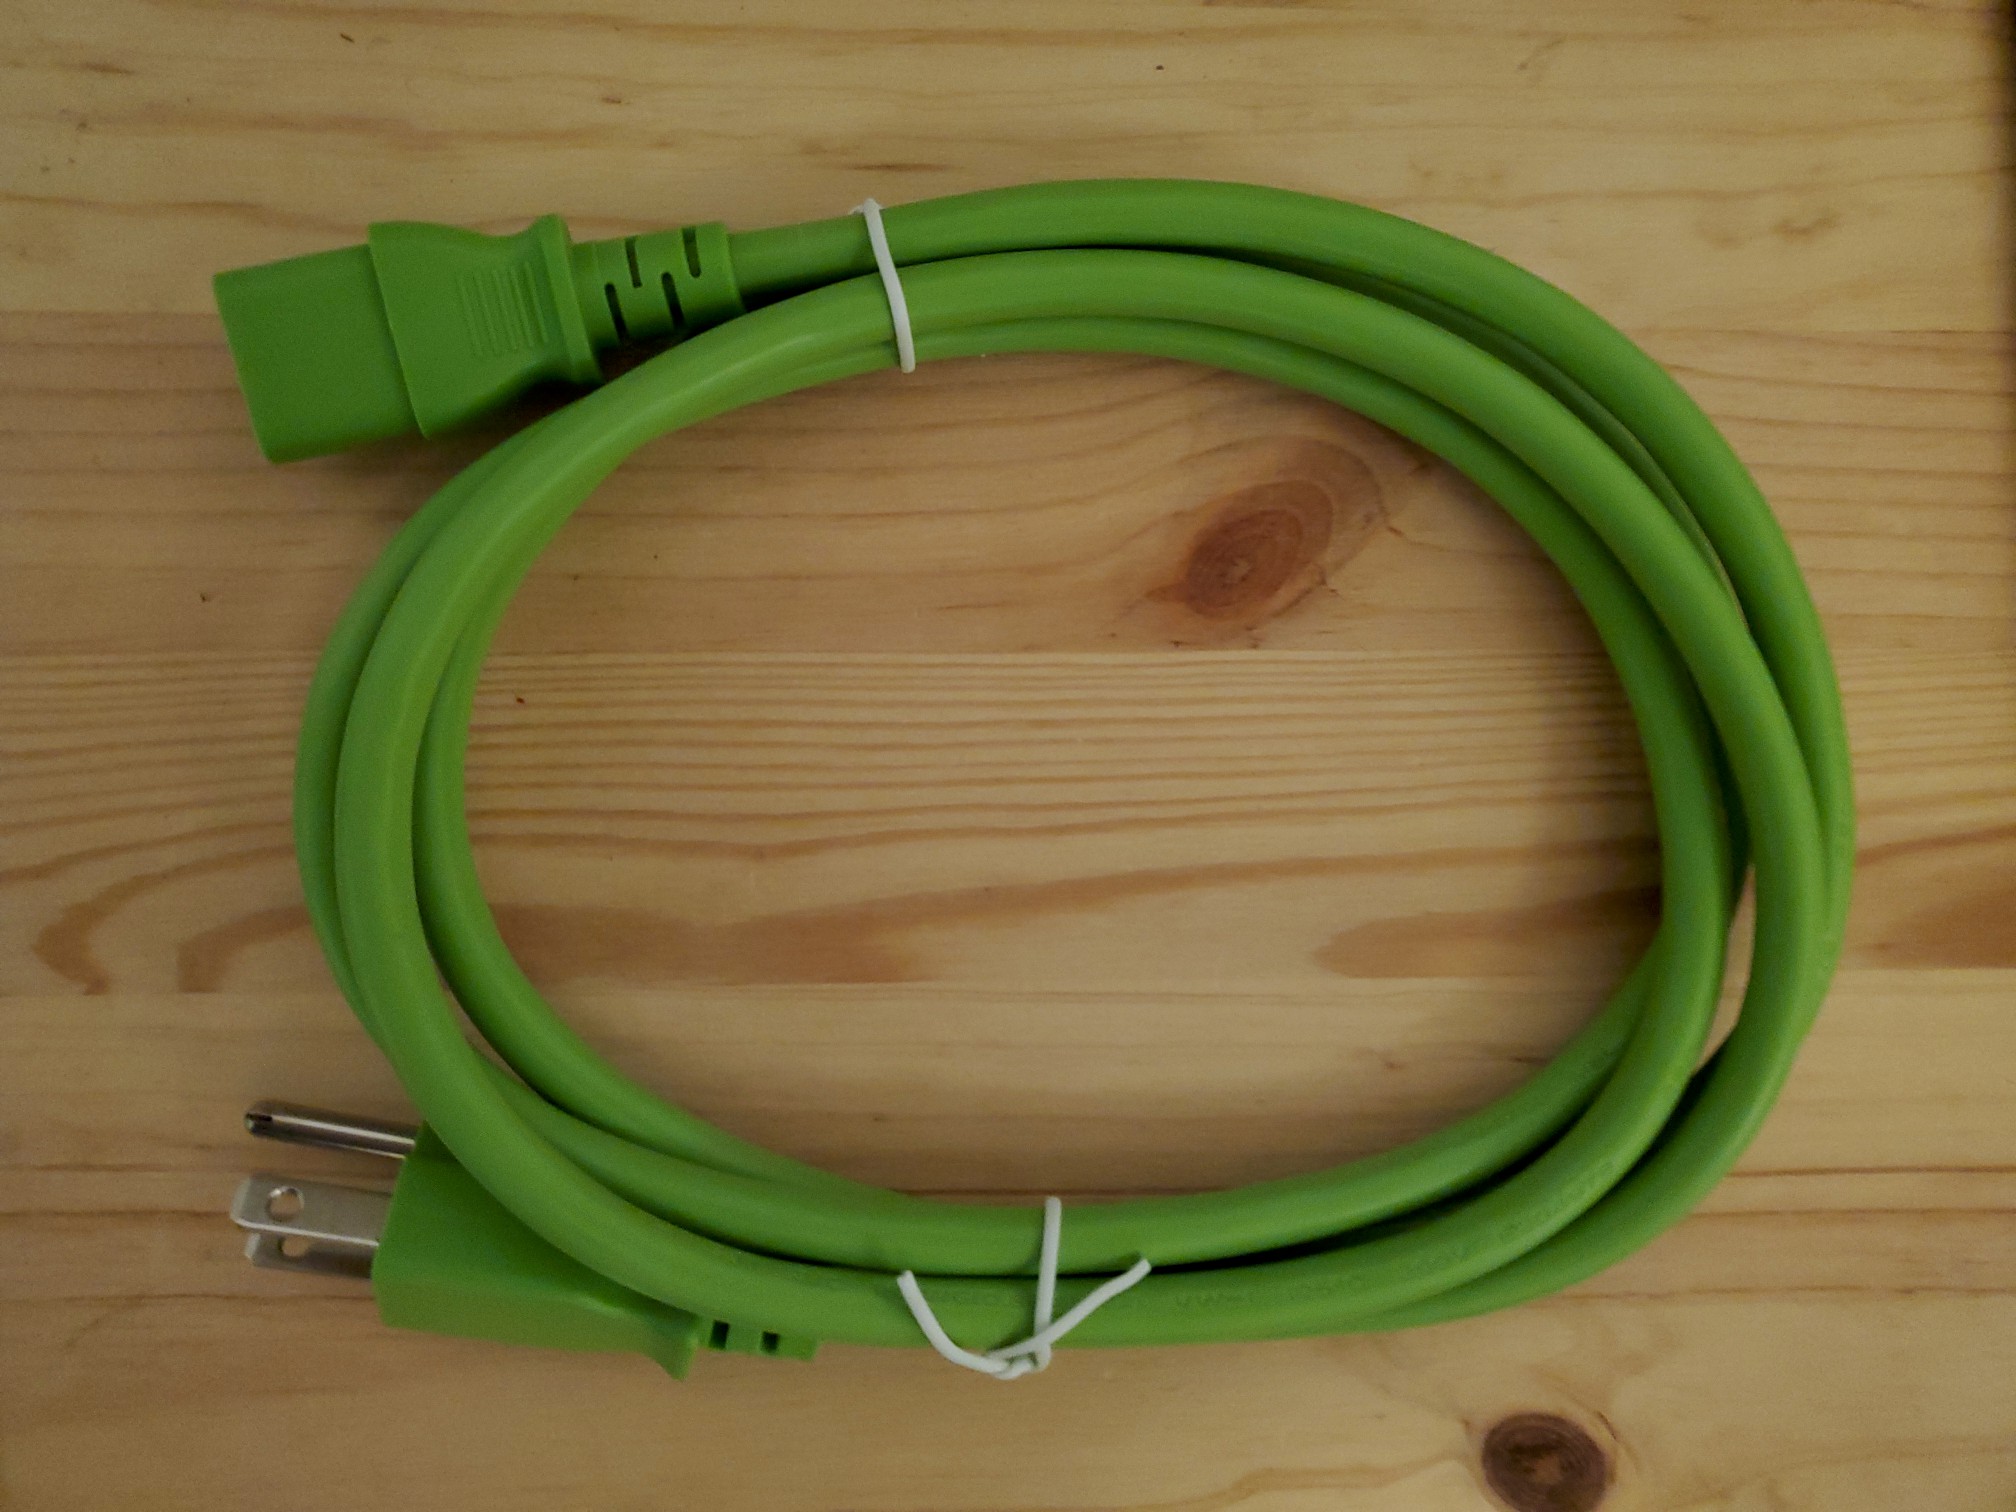
I mean, it’s just the power cable right? Who says I can’t have a green power cable?

Stay tuned for Part VI, where I replace the hard drive with the SCSI2SD.

/jon

Want to read from the beginning? Start at Part I.

My Mac SE/30 Part IV: Upgrade Plans

In Part III of this series I took out (and cleaned) the motherboard and disk drives of my Macintosh SE/30. At that point, I was stuck waiting for the upgrades I’d ordered to arrive. But what upgrades exactly?

As I’ve mentioned before, the SE/30 is one of, if not the, most popular model of compact mac ever made. That’s largely due to its speed and expandability – the SE/30 is essentially a powerful Macintosh IIx crammed into the smaller Macintosh SE case. Both the SE/30 and the IIx use the Motorola 68030 processor running at 16MHz with a 68882 FPU coprocessor.

However, despite the many hardware similarities, the SE/30 has one decided limitation: its ROM is “32-bit dirty”, while the ROM of the IIx is “32-bit clean”. What does that mean? Well, the ROM in a classic mac is essentially a bit of permanent software on a (ROM) chip that’s responsible for booting the machine and interfacing between the system and with the hardware.

I won’t get into the history, but having a “32-bit dirty” ROM means the system is limited to a maximum 8MB of RAM. So the SE/30 can only use 8MB of RAM, while the identically powered IIx can use up to 128MB. This doesn’t matter much if you’re running System 6 (which itself is “32-bit dirty” and can only use 8MB of RAM), but if you’re running System 7, it’s an annoying limitation.

But there’s good news! As it turns out, while the software in the SE/30’s ROM can not be updated, the chip itself is actually on a small removable SIMM board. Same with the IIx. So it didn’t take long for enterprising mac enthusiasts to trying putting IIx ROM boards into their SE/30s, and voila, it actually works! With the swapped ROM the SE/30 can see up to 128 MB of RAM. From what I understand, it was a very popular upgrade, and a big part of why the SE/30 became so popular.

My SE/30’s RAM

With that, let’s return to me and my SE/30. While I want the machine to look cosmetically as original as possible, I do want to upgrade the internals a bit, especially the RAM.

As I mentioned in the last post, my SE/30 has the max factory configuration: 4MB spread across four 1MB RAM sticks. I also mentioned that the original seller claimed that the other four RAM slots weren’t functional. Right off the bat, it seems that I’m already at the limit for this particular machine.

Now, if I could get my hands on a IIx ROM board, I could swap out my four 1MB sticks for four 16MB sticks, bumping the RAM to 64MB. Not the absolute max of 128MB, but still a very worthy upgrade.

However, if it’s hard and expensive to track down vintage macs in good shape, it’s even harder and more expensive to find upgrade parts, especially for popular upgrades and especially for parts taken from other vintage macs. But there’s more good news – we don’t actually have to track down an original IIx ROM board.

Modern ROM Replacements

Enter modern enterprising mac enthusiasts, who have created new replacement ROM boards. There are two options in the market today: the GGLABS MACSIMM and the BMOW Mac ROM-inator II. Both are relatively cheap ROM boards that can be installed in SE/30s, as well as other compatible models. Furthermore, both provide useful “customization” options for how the ROM works.

One useful thing they do is path the ROM to disable the memory test at boot. While the 68030 processor is a beast for its time, running a full memory test on 16, let alone 64 or 128 MB of RAM at boot can take up to a full minute. (For reference, when rebooting my SE/30, as-is with System 6, the machine is back to the desktop almost before the startup chime finishes.)

Another patch adds HD20 support, which is a useful (but older) protocol for hard drives that connect via the external floppy port. While I don’t plan on getting or using an HD20 hard drive, it’s useful to have because my Floppy Emu can emulate such an HD20 hard drive, giving me an easy way to transfer large files to and from the machine via SD card.

Now, it’s here that the two products take different philosophical approaches. The base MACSIMM model stops with just the two patches – no memory test plus HD20 support. There’s also a “deluxe” model which adds a built-in, bootable “recovery” disk, so even if you have no other disks installed, or none of them are booting properly, you can still boot into a working system to troubleshoot your machine.

The Mac ROM-inator II on the other hand, comes in only one model, which includes the recovery disk functionality, but also a lot of other customizations as well. The startup chime, a classic hallmark of vintage macs, has been replaced with their own custom tune. The “Happy Mac” startup icon is replaced with a custom “Pirate Mac”, and the startup menu displays some info like the amount of RAM installed, how to boot the recovery disk, etc. Price-wise, it’s also cheaper than both models of the MACSIMM.

My SE/30’s ROM

I want to upgrade my SE/30’s RAM to at least 64MB and I want the HD20 support. With the Floppy Emu and the SCSI2SD, I don’t think I really need the recovery disk. Also, in keeping with my desire for the machine to look and feel original, I was actually turned off by all of the Mac ROM-inator II’s customizations.

In the end, despite having to pay a higher price, I went with the MACSIMM. It helped a little that the Mac ROM-inator II was out of stock at the time. Also, when I contacted GGLABS to confirm that the MACSIMM did not include similar “stylistic” customizations, he explained that he too preferred the basic setup, though he’d happily reflash his board with whatever alternate ROM image I gave him.

So I ordered the basic MACSIMM module and started looking for more RAM. Thankfully, unlike with the protracted ordeal I had finding RAM for the Power Mac 8600/200, I found a seller with 16MB sticks of compatible RAM quite quickly, and at a price within my remaining budget. Still, I limited myself to only ordering four sticks – I reasoned that without any guarantees that all eight slots worked, I didn’t want to waste any money up front. Plus, other than it being really cool, I still wasn’t even sure I’d find a way to use 64MB at once, let alone 128MB.

Alright, now that the plan’s in place, stay tuned for Part V, where I start actually upgrading my machine.

/jon

Want to read from the beginning? Start at Part I.

My Mac SE/30 Part III: Motherboard and Drives

It’s #MARCHintosh, a time for retro-computing enthusiasts to celebrate their passion for classic macs.

In Part II of this series I took my first look at my newly acquired Macintosh SE/30. I’d cleaned the external surfaces and even took off the case for a quick peek inside, but I hadn’t taken anything out yet.

The next thing I wanted to do was to take a closer look at the motherboard. It’s located on the very bottom of the machine, which you can see once I’ve removed the RFI shielding:

To remove the motherboard, you first need to disconnect the power, speaker, and drive cables. It’s a fiddly bit of work because you have to reach in past the monitor yoke and hard drive and pull out the cables from the top. But once that’s done the board slides completely out:

Overall the board was in pretty good shape. The PRAM battery hadn’t exploded, and you can see that yes, the capacitors have already been replaced as per the original listing. Zooming in however, you can see that there’s still a good deal of grime and dried capacitor goo:

The first order of business was to try and clean things up a bit. I got out a toothbrush and a bowl of isopropyl alcohol and started meticulously scrubbing away. At first I was annoyed that the previous owner hadn’t bothered when they’d recapped the board – but after an hour of hard scrubbing I decided to give them the benefit of a doubt. That goo (technically electrolytic liquid) is pretty nasty stuff, so I shudder to think what it could have looked like before.

Anyway, after the cleaning, I decided to take a look at the RAM slots:

There’s eight total slots, currently populated with four 1MB sticks. According to the original listing the other four slots don’t work, but I don’t have any other sticks to verify that. I gave a cursory look over the traces to see if any were damaged, but I didn’t see any obvious problems. The only thing left to do at this point was install to a new PRAM battery and move on:

Next I turned to the drives. The hard disk is mounted in a caddy on top of the floppy drive, and with the cables already detached I simply removed both as a single unit:

With the caddy removed I separated the two drives so I could give them both a cleaning with a wet cloth and some compressed air:

I don’t have much hope for the hard drive. Even if I knew how to repair it, it would only be worth doing if it contained personal data I was trying to recover. I do however intend on keeping the floppy drive in good working order. I know at some point I’ll need to give it a thorough overhaul and lubricate all the moving parts, but I’ll save that as a project for another day.

Well, that’s enough for this post. Stay tuned for Part IV, where I start planning our the upgrades!

/jon

Want to read from the beginning? Start at Part I.

Adventures in Macintosh restoration Part IX: Captain, She Needs More RAM!

In Part VIII, I added USB to my Power Macintosh 8600/200 and got the final system setup installed and running. Now it’s time to address my final planned upgrade for this machine, adding some more RAM.

Video RAM was easy

The first thing I upgraded was the machine’s video RAM. The default configuration is only 2MB, giving a max display resolution of 1280×1024 with 256 colors, but it can be upgraded to a max of 4MB, bumping the max resolution to 1280×1024 with 16bit color. Now as a crossover machine, it isn’t a strictly “necessary” upgrade. It has no impact on any of the software I’m using, and without the high-resolution features of a modern OS (like sub-pixel anti-aliasing, or system-wide font scaling) I’ve honestly found more than 1024×768 to be hard on the eyes.

Really, the main reason I did it was because of the price – I found the two 1MB RAM sticks on eBay for pretty cheap, and it was strictly additive. That is, I didn’t replace the existing video RAM, I just filled in the rest of the open slots.

So if it wasn’t necessary, why spend the money? Well, this machine served a role in its day which I haven’t really spoken to yet – presentations and video production. You see, this model actually has built-in jacks for video capture and playback, via standard composite (the RCA yellow, white, and red) as well as s-video connections. With the right software, you can can capture SD video, edit in effects or what have you, and export back out to other A/V equipment.

The standard 2MB of video RAM even lets you use the A/V output to connect to a TV instead of using a regular monitor. With the 4MB upgrade, you can mirror your regular monitor display to the A/V output. This makes the machine perfect for live presentations as most video projectors of the era still used standard A/V inputs.

Frankly, the thought of using this old machine to capture video intrigued me as a fun project for another day. So I decided that I might as well upgrade it while I could.

Regular RAM was harder

Next came the regular RAM. The existing 80 MB is fine for a machine of this era, most of the time, especially if you’re offline and not doing any heavy media manipulation. Connecting to the internet is another story – especially browsing the web. Then, the more RAM the better.

Way back in Part III I hinted that the price and availability of RAM for this machine was going to be a problem, and I’ll admit, one that caught me by surprise. During my research I’d of course looked at the RAM specs for this machine – it had 8 slots and came with 32MB from the factory. In 1997 the largest stick you could buy for this machine was 64MB – giving an official limit of 512MB. Soon 128MB sticks were available, bumping that max up to 1GB – a monster amount of RAM.

So when I started costing out this machine, the first thing I did was look for those old 128MB sticks. I couldn’t find any, but the 64MB sticks seemed readily available for cheap, so I settled on living with 512MB. I saved off the listings for later, wanting to verify the machine even worked before I put more money into it.

It wasn’t until after I’d gotten the machine to boot that I returned to that saved listing, and noticed that something wasn’t right. During the cleaning I’d actually held the original RAM in my hands, and the pins looked very different from the photos in the listing. I held off on buying more to do more research.

Turns out I was right – the RAM was different. The Power Mac 8600/200 uses 168-pin 5V FPM/EDO DIMMs and the RAM I was looking at was 168-pin 3.3V EDO DIMMs. Despite having the same number of pins, the layout of those pins were thankfully designed such that you couldn’t accidentally mix them up and break something.

So I’d made a mistake, but at least I hadn’t wasted the money, and so I started appending “5V” to my searches.

It wasn’t long before I realized that all anyone had were 3.3V DIMMs. It turned out that the particular 5V variety used by this machine were not used by very many models, and as such were exceedingly rare to find these days. People restoring these machines today are usually stuck with whatever RAM was still in the box.

In fact, one thing I’d noticed when first cleaning out the machine was the rather odd placement of the existing sticks – rather than start in slot A1 (the pairs of slots are labeled A-D) they started on B2. It doesn’t affect anything, but usually people start with A1 right?

Then it hit me. When I got it, the machine was missing both its hard drive and the valuable internal ZIP drive – two things someone upgrading to a new machine might take with them. I didn’t even bat an eye at the missing hard drive – I’ve gotten through plenty of upgrades where, even if I wasn’t planning on using an old drive, I didn’t have time to wipe it properly, so it was easier to just pull it before sending the machine to a recycler. I didn’t care about the missing ZIP drive, and seeing how expensive it was to replace (well more than I paid for the rest of the system) I just shrugged and moved on.

The previous owner probably had the largest sticks in the first few slots and pulled them for their next machine. Or maybe a reseller knew how rare they were, and popped them out to sell separately. Either way, it looked like I was stuck with the 80MB I already had.

Success off eBay

My dreams of 1 GB, or even 512MB dashed, I moved on. Then one day I saw someone post on Reddit that they’d found a great deal on a bunch of 8MB EDO DIMMs, which they’d bought up to fill all the open slots in their Power Macs. Some store was trying to clear out vintage inventory.

To my surprise, they even listed 64MB sticks for $10 a piece! I jumped in feet first and ordered a full set of 8. After talking with some more people online, someone pointed out that they were listed as ECC memory, which I hadn’t noticed in my haste. I couldn’t find a definitive answer if my machine could handle ECC memory, so I was a little worried that after all that waiting I may have still wasted my money.

The store contacted me the next day to apologize – they actually only had 3 sticks in stock, so I could either get refunded for 5 or cancel my order altogether. I opted to take the 3, which made me feel better about the risk if they didn’t work.


They arrived and fit perfectly. I crossed my fingers, but unfortunately, one of the sticks didn’t work. I tried moving it around into different slots, but it just appears to be bad. But even with that loss, I still got 128MB of RAM for $20, when the best information I could find said those 64MB sticks still floating around in the past decade usually sold for around $50 a stick.


So at the end of the day, I’ve got 208MB of RAM in this machine. More than plenty for my needs, and I still have free slots if I stumble on any deals in the future. Not bad!

But I have to say, that’s it for this machine for now. I never got the original manual and CD, though I did finally get a refund two months after the initial order. The machine isn’t 100% restored – I haven’t finished buffing the case or bleaching it back to its original color – but it’s more than ready to be a crossover machine when the time comes.

Which surprisingly enough is much sooner than I expected.

Is there a compact mac on the horizon? You’ll have to stay tuned!

/jon

Want to read from the beginning? Start at Part I.